MODS!!! Lets see em!!
Recent › Forums › Main Forum › Sharpener and Accessory Maintenance › MODS › MODS!!! Lets see em!!
- This topic has 291 replies, 53 voices, and was last updated 05/13/2024 at 4:11 pm by
Micheal Fuller.
-
AuthorPosts
-
01/07/2020 at 8:06 pm #52946
Thanks Marc. So far I’ve only done 2 knives from a new profile. I did find a little slippage from the large knurled knobs while going through the various grits. So I continued to use the white plastic screws to hold the adjusters in place as a double safe against slippage. I just got a new knife in yesterday that I’ll need to reprofile it so I’ll try it without them this time. Even though I had to recheck with the angle cube 1/2 way through it was a breeze to get the angle back to the 19 degrees I was using. But one side did move 1/2 degree.
Maybe using both the screws and the locking knurled knob was the reason for the knurled knob loosening?01/07/2020 at 8:29 pm #52948Oops, my original post got deleted when I went to delete the dupe pic.
Here it is again: Just wanted to show off “NotSharpEnuff’s” custom made micro adjusters. I don’t know if he still makes them in all stainless, but they make zeroing in on the angles for me a dream especially without having to use an allen wrench for each adjustment. I’ve only done a few knives so far, but quite a nice upgrade over the adjusters that came with my Gen III Pro unit.
Attachments:
You must be logged in to access attached files.
1 user thanked author for this post.
01/08/2020 at 2:37 pm #52938This was a post that vanished with the Forum issue.. Will remove the part that is no longer applicable but leave the important stuff, if it doesn’t Vanish when I submit it:-)
Just was listing who makes what in response to an incorrect statement about something I do no make. (also want to see if the update works without a VPN running)
I, airscapes, make the stone stops, strop covers and angle cube adapters, MarcH makes the stone Rack-Its. All 3 of us try to work together to provide the forum community with helpful custom accessories. NotSharpEnuff (Ed) has graciously offered to stock some of my accessories, also, to include with his adjusters in a package or bundle, to save the forum members on double shipping, as we all hate to pay shipping for multiple items!
Thank you to all who have purchased any of our products!
01/10/2020 at 3:29 pm #53029I want to give Ed’s (NotSharpEnuff) upgraded micro adjustment kit a big endorsement. I am new Gen 3 Pro user. This is an amazing tool. However on my very first knife, after taking great care to set it to exactly 20 degrees with an angle cube I started practicing on a cheap knife from Target. Just as I got to the last 3 micron grit the right arm fell out. It had been unscrewing the entire time as I progressed through the grit. I learned my lesson. Now I tighten the jam screw and keep checking for tightness as well as rechecking the angle when I move through the stones. I read Tommie’s post https://knife.wickededgeusa.com/forums/topic/observations-and-some-success-from-a-rookie-we-user/ where he talked about his experience (Thanks Tommie) including Ed’s micro adjustment upgrade. After search around the forum I contacted Ed and ordered the upgrade kit. Ed is terrific. He quickly replied to email, patiently answered all my questions and mailed off the kit right away. Even though they are more money I went with the stainless option since I liked the look. This kit is excellent. Angle adjustments are much easier . You no long have to try and get your fingers between the stanchion and the ball joint. Best of all they never come loose- at least I have not had any problems. Honestly I think for a ~$1000 /piece set up Wicked Edge should license this from Ed and make it standard equipment. It is just better.
One note. Ed had warned me that occasionally people had an issue installing the kit and I was one of those. The threaded rod started ok but bound up as I was trying to thread it through the stanchion. It was easily correct by running a 1/4-28 tap through the stanchion as Ed suggested. I think when I tightened the jam screw against the micro adjustment screw it might have mess up the threads.
The new knobs do stick out a bit so I had to cut a little of the foam from the case so it fit but that was 60 seconds with a razor blade. (Picture attached)
Attachments:
You must be logged in to access attached files.
01/10/2020 at 4:01 pm #53036I had a similar great experience with Ed and the kit. I opted for the plastic knob version and feel that is very robust (I too really like the look of the aluminum version, but I still have a bunch of stones etc. to buy!) Highly recommend it!
2 users thanked author for this post.
01/10/2020 at 7:36 pm #53043Dear Expedia, I noticed from your pictures that you have the second thumb screw (locking) on the inside between the ball joint and the stanchion. In Ed’s picture he shows it on the outside, on the opposite side of the stanchion from the ball joint. This lets you get the ball joint much closer to the stanchion and is easier to access. I set my up that way and so far have not had any loosening of the micro adjuster. I have attached a picture Ed sent me on how to set up his upgrade FYI. Perhaps it doesn’t matter but thought I would share it.
Attachments:
You must be logged in to access attached files.
1 user thanked author for this post.
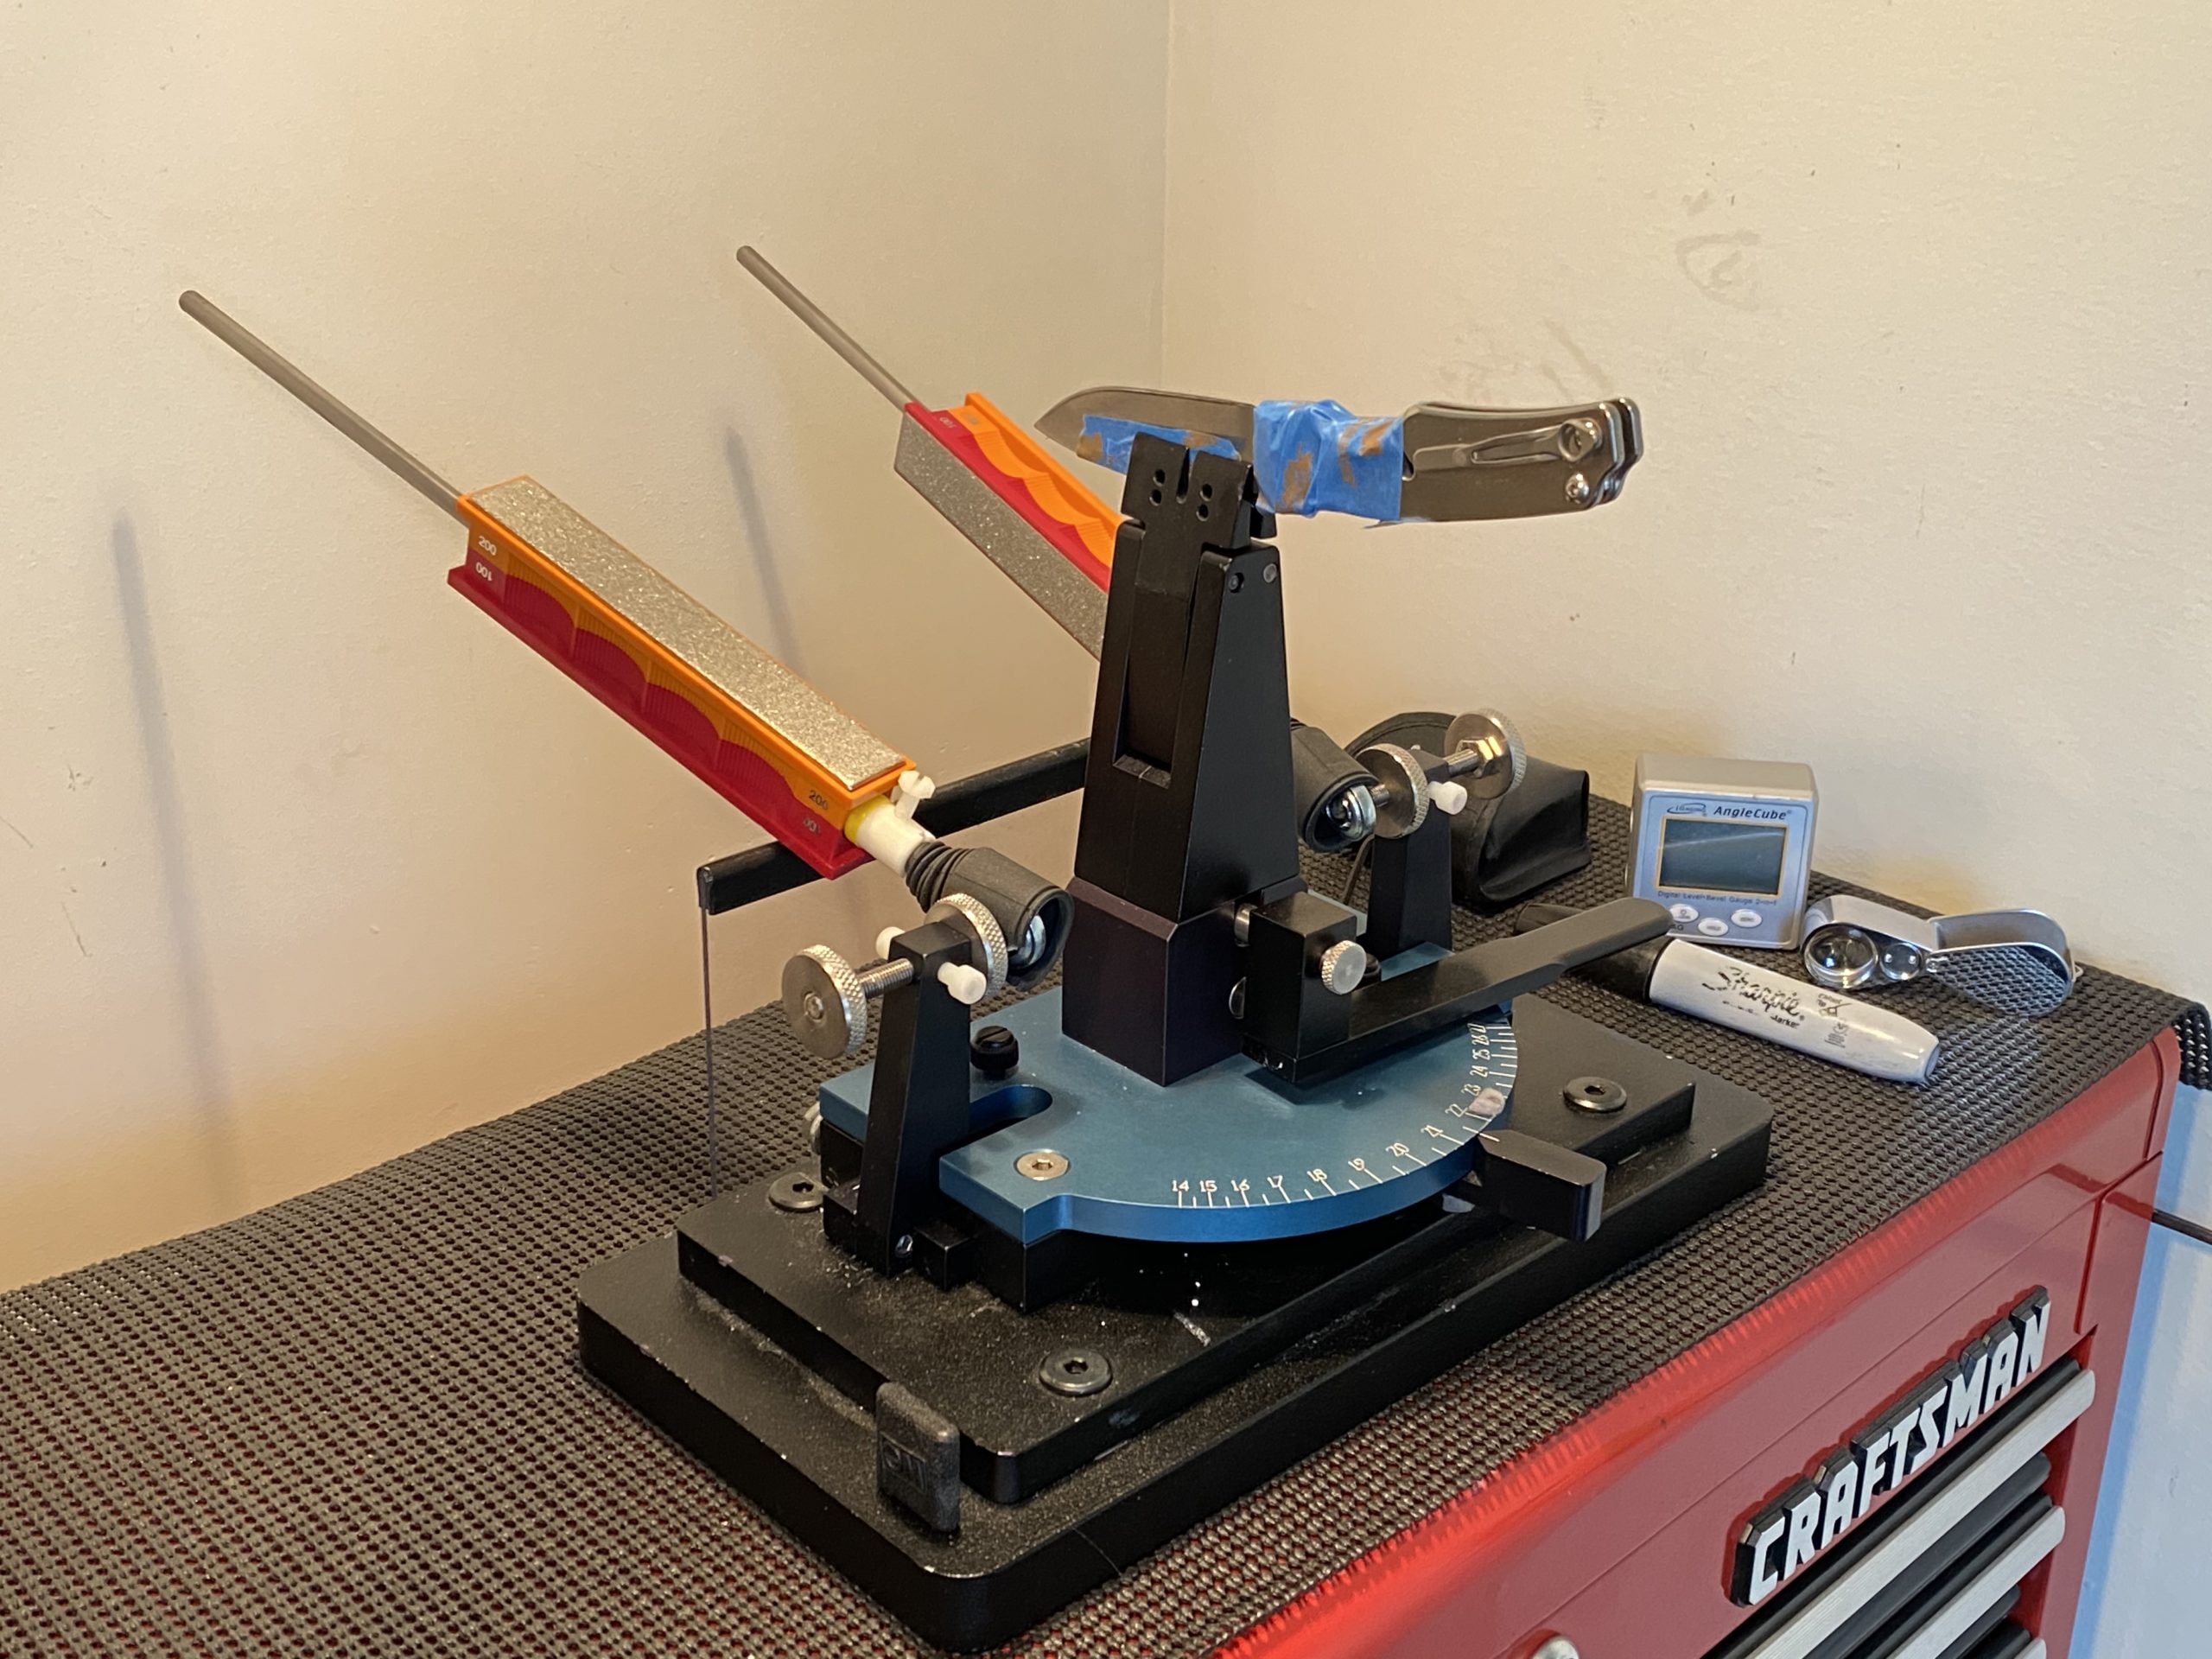
01/10/2020 at 7:57 pm #53046That’s an astute observation, WFB100. The older, pre-2018 model Gen 3 Pro had a different shape end bracket then your newest model Gen 3 Pro. Your black end brackets are vertically sided and symmetrical, inside and outside. Expidia’s and my older models have a slanted or angled outer side, with only the inner side of the end brackets are vertical and straight. That forces us to use the locking thumb wheels on the inside where they can make flat and complete interface with the bracket side to allow for the best secure locking of the adapter mechanism.
You can see the slanted side in the Image. Notice how narrow it is at the top and wide at the bracket base as compared to your new style bracket That’s why Ed K. asks which model/version you’re using when you order his micro-angle adapters. The adapters are made to best fit your model.
Marc
(MarcH's Rack-Its)1 user thanked author for this post.
01/10/2020 at 8:32 pm #53049WFB100,
Expedia has the older Gen3 pro which has the stanchion angled on the outer side and flat on the inside. For those models, other users have suggested putting the jam knob on the inside of the stanchion (flat side.)
The older models have a large black screw on the blue plate on each side of the vise. I have a later model like you, and I put the jam knob on the outside.
I have no experience with the older model. For those models users might try both sides and see if one works better.
Here is what I know about the micro-adjust kit not threading easily in some Gen3 pro models. To date, I have sold about 20 Gen3 kits and WFB100 is the fourth one to have difficulty. I’m not sure how it happens but the stanchion threads seem to be the problem.
FYI, since the second reported threading problem, I run a 1/4-28 die over the rods before I send the kit out to make sure the threads are true.
I’ve also made and sold about 20 kits for the WE 120/130 that use the large and mini-L brackets. I’ve had no reports of the rod not threading cleanly thru the L brackets.
Full disclosure – the micro-adjust mod is not my invention. Others on the forum (tcmeyer for one) have put the parts list and directions up for everyone to make their own. My input was to find a cheaper knob/L screw combination and to customize the threaded rod lengths for different WE models.
I offer to make them for those who don’t have the tools or time to make them for themselves.
Ed K.
Attachments:
You must be logged in to access attached files.
1 user thanked author for this post.
01/10/2020 at 8:51 pm #53051Test post to unsubscribe
01/10/2020 at 9:45 pm #53052I believe the buggered threads seen in the end brackets on the newer Gen 3 Pros when first installing Ed’s micro-angle adjusters were originally caused by the opposing screw locking system utilized in the new Gen 3 Pros as delivered. I believe the two flat screw ends jammed together from opposite sides buggers the threads as they push each other back against the aluminum threads.
After threading the adapters stainless threaded rods on the ball ends through the brackets the first time, the softer aluminum threads should be reshaped. Locking the knurled knob thumb wheel in place on the threaded rods, with the jam nut, all the way threaded up against the ball ends, should make it easier to turn the threaded rod through the bracket the first time. Of course if you have a 1/4-28″ threaded tap, that’s a better way to go. (Although, I doubt many of you have a tap).
This is not problematic with the newer WE120/WE130 with the mini “L” brackets, that are being fitted with Ed’s micro-angle adapters. The locking method these employ is essentially the same as that utilized with the new adapters.
Marc
(MarcH's Rack-Its)2 users thanked author for this post.
01/10/2020 at 9:56 pm #53053Marc,
Totally agree. For those without a tap, I have suggested threading two jam nuts onto the rod all the way to the ball joint. Lock them together and then start the rod into the stanchion. When the resistance exceeds the ability to use fingers, take a wrench and slowly turn the rod until it clears the other side.
Run the rod back and forth with the wrench and then remove the nuts and thread it thru using fingers only.
Ed K.
01/11/2020 at 8:53 am #53058I agree the opposing screws probably mess up the thread. When I was inserting the threaded rod it started to bind right where the two opposing screws met.
1 user thanked author for this post.
01/11/2020 at 12:35 pm #53059This stabilizing system look wonderful for things like filet knives. Can you tell what parts you purchased and where so I can duplicate it. I also want to thank you for all the wonderful information you provide. WE are lucky to benefit from your experience.
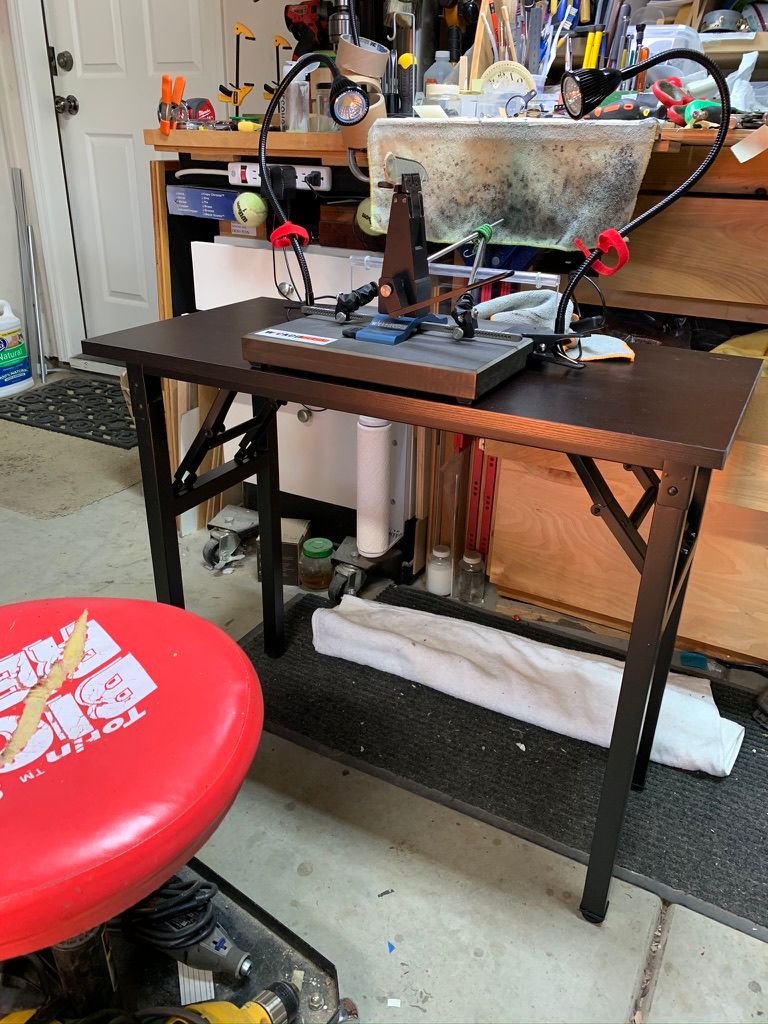
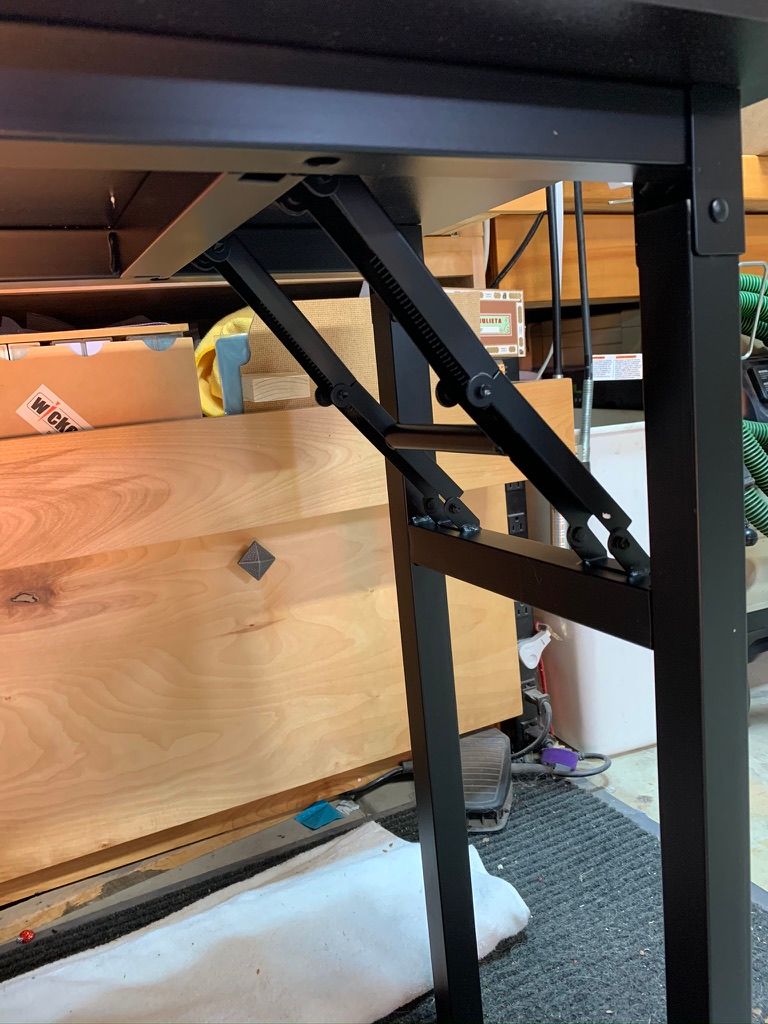
01/11/2020 at 4:17 pm #53061OK…this is not really a mod, but I didn’t where else to put this. I have a garage shop that I use for a car, clock restorations and woodworking, so space is at a premium. I needed a small table that is stable and collapsable. I found this table and it is working out great. I sit on a low stool, so I did have to shorten the legs, however the adjustable feet pop out easily, so I was able to cut the legs to length and pop the feet back in. I’ll try to post a pic and link.
 01/11/2020 at 4:19 pm #53062
https://smile.amazon.com/gp/product/B06XT13CGV/ref=ppx_yo_dt_b_asin_title_o00_s00?ie=UTF8&psc=1
3 users thanked author for this post.
-
AuthorPosts
- You must be logged in to reply to this topic.