Digital angle measurement
Recent › Forums › Main Forum › Techniques and Sharpening Strategies › Basic Techniques and Sharpening Strategies › Digital angle measurement
- This topic has 37 replies, 8 voices, and was last updated 02/12/2021 at 9:16 am by
 000Robert.
-
AuthorPosts
-
02/09/2021 at 10:45 am #56033
. The downside of trying to work at this level of precision is it slows you down while you make all the very small increment micro-angle adjustments while trying to use this instrument to it’s fullest capabilities. The precision afforded by the WE sharpeners invites us “perfectionists” to attempt to work at this level.
true that. 😀
02/09/2021 at 11:21 am #56034Consistency becomes really important using this device.
Where you place the cube against your stones, how high or how low on the stone. Then how your stones are placed while leaning against the knife edge. Again, how high or how low the stone is relative to the apex. Are you holding the stone in that position? If so, with how much finger pressure and where are you holding it, placing your fingers. Or, is the stone simply resting or balancing against the edge?
Every little thing effects the readings. Due to the sensitivity of this cube.
I prefer to rest my stones centered with the vise on the knife edge while it’s held up in place centered top to bottom, with a lower stone stop. I take all angle readings this same way, every time. This is simply my attempt to remove any chance for differences in readings due to method and inconsistencies.
It is slow and can be tedious. Especially if you prefer to check and micro-adjust your bevel angles with each and every grit change.
Marc
(MarcH's Rack-Its)1 user thanked author for this post.
02/09/2021 at 1:59 pm #56047. The downside of trying to work at this level of precision is it slows you down while you make all the very small increment micro-angle adjustments while trying to use this instrument to it’s fullest capabilities. The precision afforded by the WE sharpeners invites us “perfectionists” to attempt to work at this level.
Yeah, it does take more time. I spent nearly 3 hours on my leather knife taking the edges up to my new 3000 grit stones using my new Tormek SVM-00 small knife jig at 16dps. One side was exactly 16dps and the other side was a little off so I reprofiled it to 16dps. Even though my new 2200/3000 stones are not broken in yet, they still did a pretty good job.
Time? Oh well, it’s a labor of love!
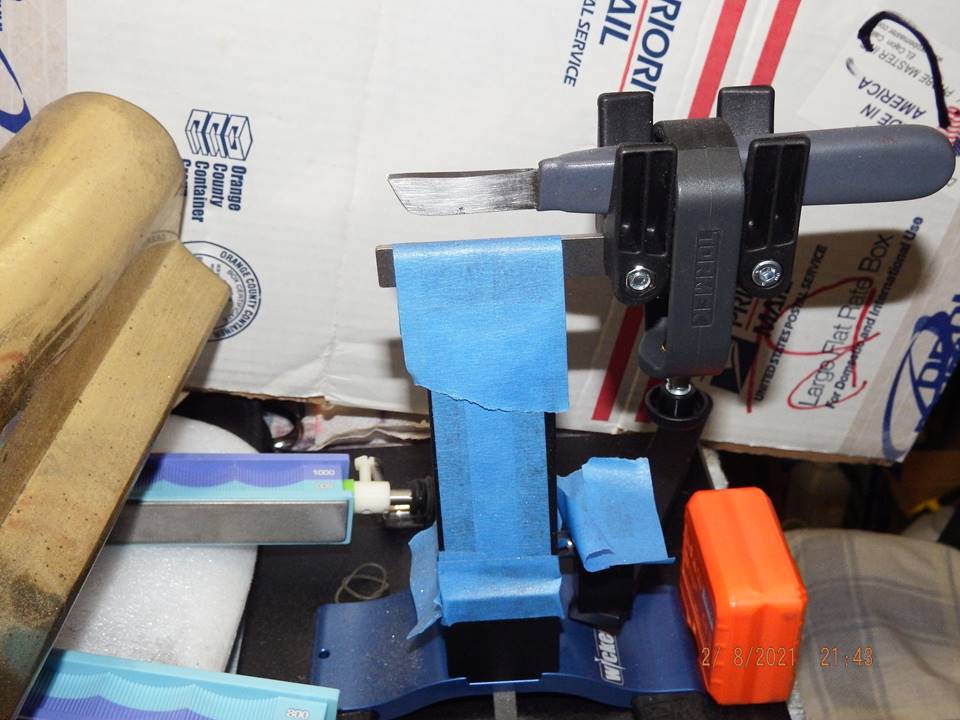
Attachments:
You must be logged in to access attached files.
1 user thanked author for this post.
02/12/2021 at 5:10 am #56084I am attaching a download of the procedure. Use it even if the version is not the same as your model. Try to use this starting on page 15, for the red cube. DXL360S-v2-Dual-Axis-Digital-Protractors Do it the first time with it still is off, as a dry run.
This link was very helpful – more so that the printed instructions in my opinion. Two things to keep in mind:
1) My cube was not giving an accurate angle indication until AFTER I re-calibrated it – so while it SHOULD be calibrated correctly – don’t count on it. I was seeing the protractor suggest that the vise was wrong when in fact it was an out-of-calibration DXL360S.
2) As you go through the steps, the cube will beep as it stores information about that position and then immediately indicate an error about the position being wrong – which may make you think you just did something wrong. But that error isn’t about the position you just completed – the cube is telling you that you aren’t in the correct position for the NEXT step – not the step you just completed. So when the beeping stops and you get an error – just move on to the next position in the sequence – the error will go away and you can initiate calibration for the next position.
After re-calibrating the cube the error I thought I was seeing in the vise went away and everything is not within a couple of tenths of a degree which is about as good as you’re going to get.
1 user thanked author for this post.
02/12/2021 at 7:55 am #56085Regardless of the type of cube you use, the table you place your gear on is also important..
Zeroing your cube while leaning on a table that is not rock solid will show you a non zero when not leaning on the table.. You would be very surprised at the change that can take place on a seemingly stable surface.
1 user thanked author for this post.
02/12/2021 at 9:02 am #56086Regardless of the type of cube you use, the table you place your gear on is also important.. Zeroing your cube while leaning on a table that is not rock solid will show you a non zero when not leaning on the table.. You would be very surprised at the change that can take place on a seemingly stable surface.
I zero my cube on the base in front of my vise.
02/12/2021 at 9:10 am #56087.
I zero my cube on the base in front of my vise.
The point I was trying to makes is if you are working on anything other than maybe a granite counter top that can not shake or move, you have to be careful not to lean on, bump or shake the table you ware working on.. I have done this and it will mess up your Zero. Not saying you did it just mentioning it for the betterment of anyone reading in the future.
For instance you put your left hand on the table while pushing the zero button, or when checking an angle between grits and you are leaning on the table in a manner in which you were not when you zeroed, you may be altering the reading because you are working on a table that has legs on it and can move.. as a for instance.
02/12/2021 at 9:16 am #56088.
I zero my cube on the base in front of my vise.
The point I was trying to makes is if you are working on anything other than maybe a granite counter top that can not shake or move, you have to be careful not to lean on, bump or shake the table you ware working on.. I have done this and it will mess up your Zero. Not saying you did it just mentioning it for the betterment of anyone reading in the future.
Of course you don’t want to shake the table. I have the aluminum base and it is pretty solid. I also give the cube a few seconds to settle after I zero it before I start using it.
-
AuthorPosts
- You must be logged in to reply to this topic.