CliffCurry
Forum Replies Created
-
AuthorPosts
-
01/21/2017 at 10:18 pm #36803
I volunteered to do the knives for a local church kitchen. They had drawers full of an assortment of super dull items. They were super grateful and it goes to a good cause.
1 user thanked author for this post.
09/25/2016 at 11:07 pm #35129Thanks everyone for the welcomes back and encouragements.
 Id love to say Ive been enjoying the space but Ive set self imposed things that need to get done(like finish painting the house before rain season hits). Its killing me to have the space and a huge motivator to keep going on this huge project so I can finally chill out in my “daddy space”. It will happen but for the time being thats where Ill be if anyones wondering….B back soon hopefully to really get back into it!
Aloha, Cliff
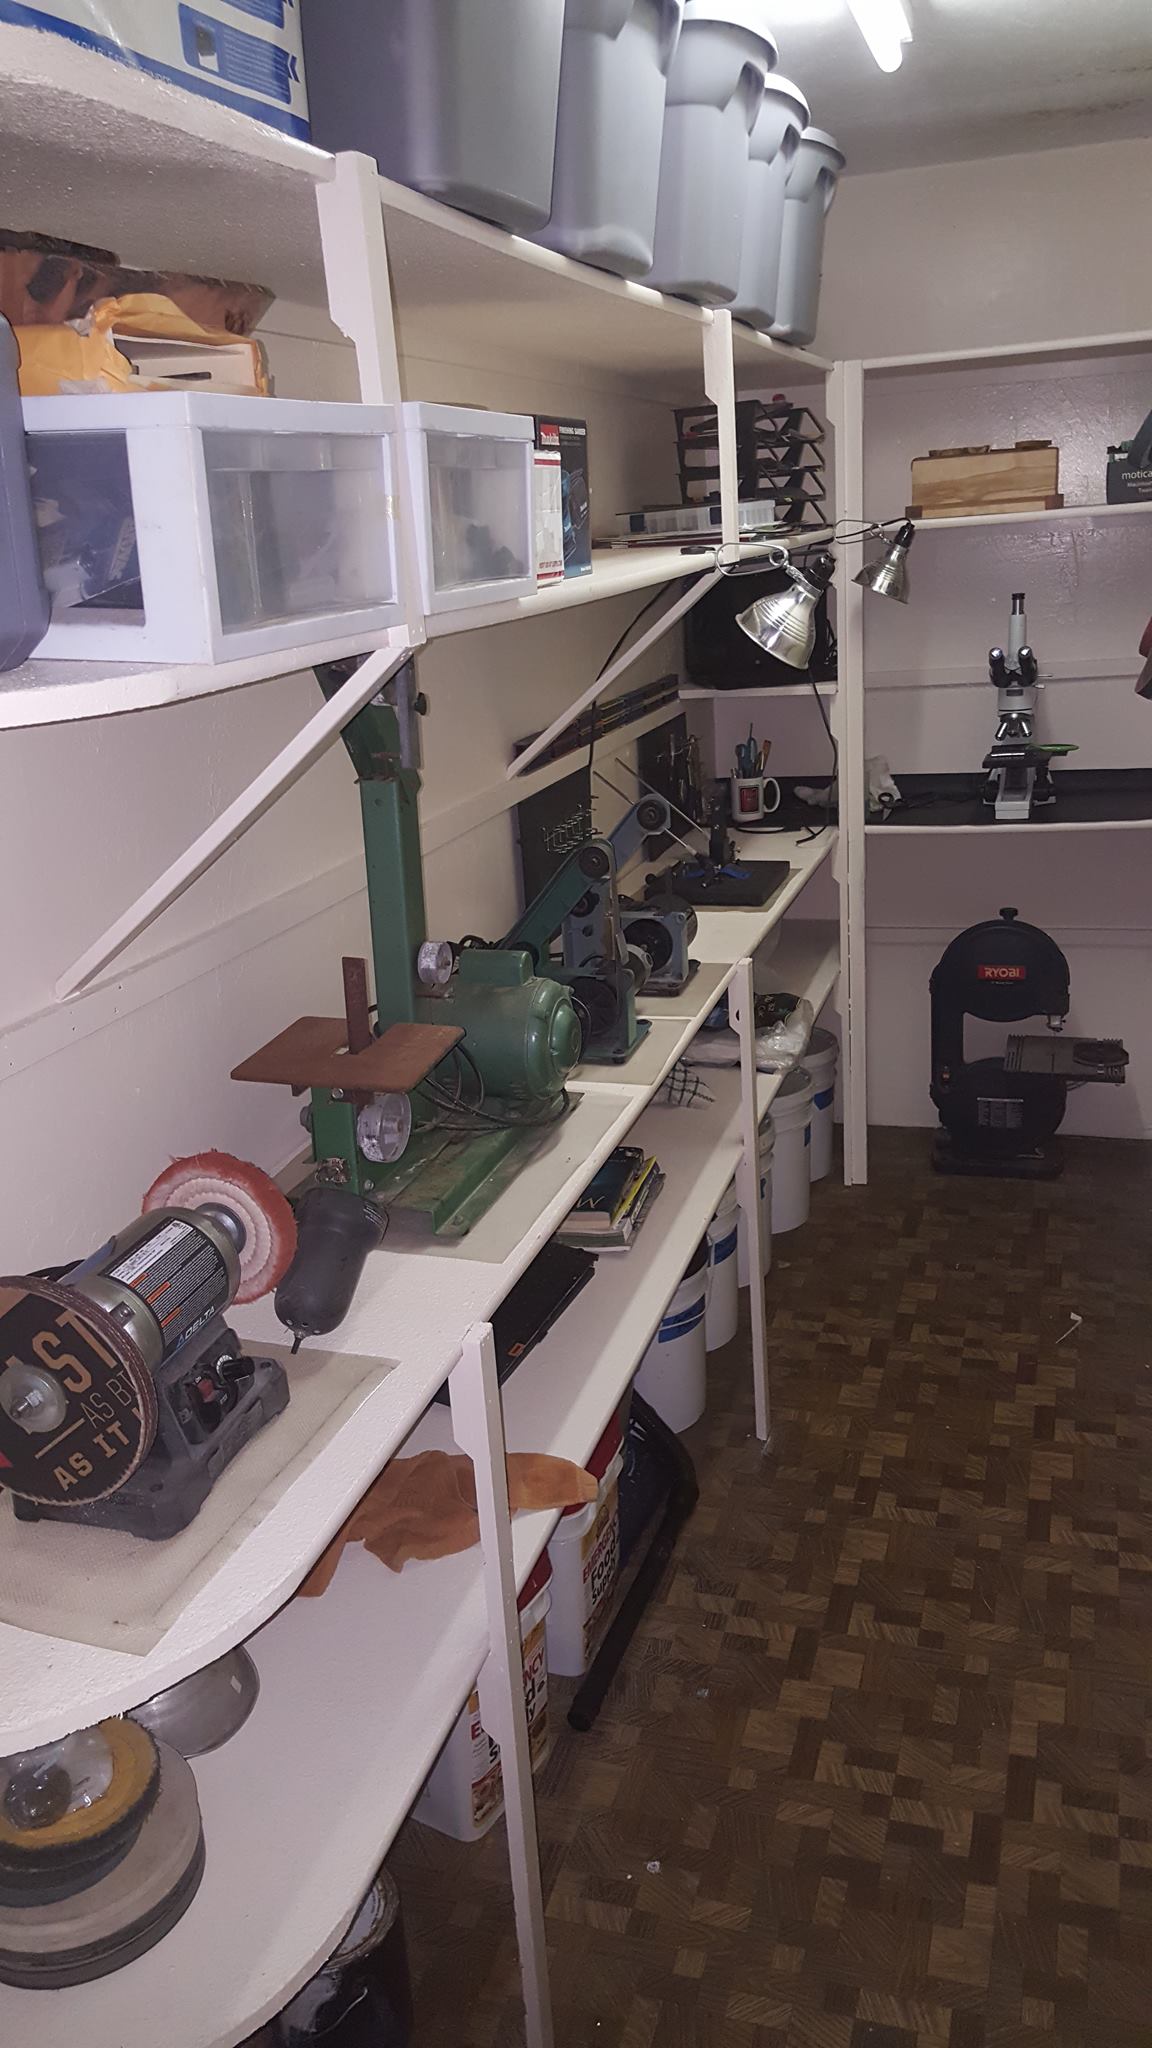
09/05/2016 at 6:14 am #34980Thx guys, still getting my organization compartment system figured out but sharpened a few sets and really enjoying the extra room.
Large boxes on top are our storm supplies for emergency. I like to be prepared.

1 user thanked author for this post.
08/27/2016 at 10:45 pm #34923Looks like the old link expired. I went into my purchase history, found it, and searched it again. He is the exact same one Im using:
http://www.amazon.in/Mad-Max-Yyb29-Madmax-Rubber/dp/B00MVU5T5IThere are many more, just search rc car shock/axle boot/cover. I wished I could have found mine in a matching blue color but black works.
1 user thanked author for this post.
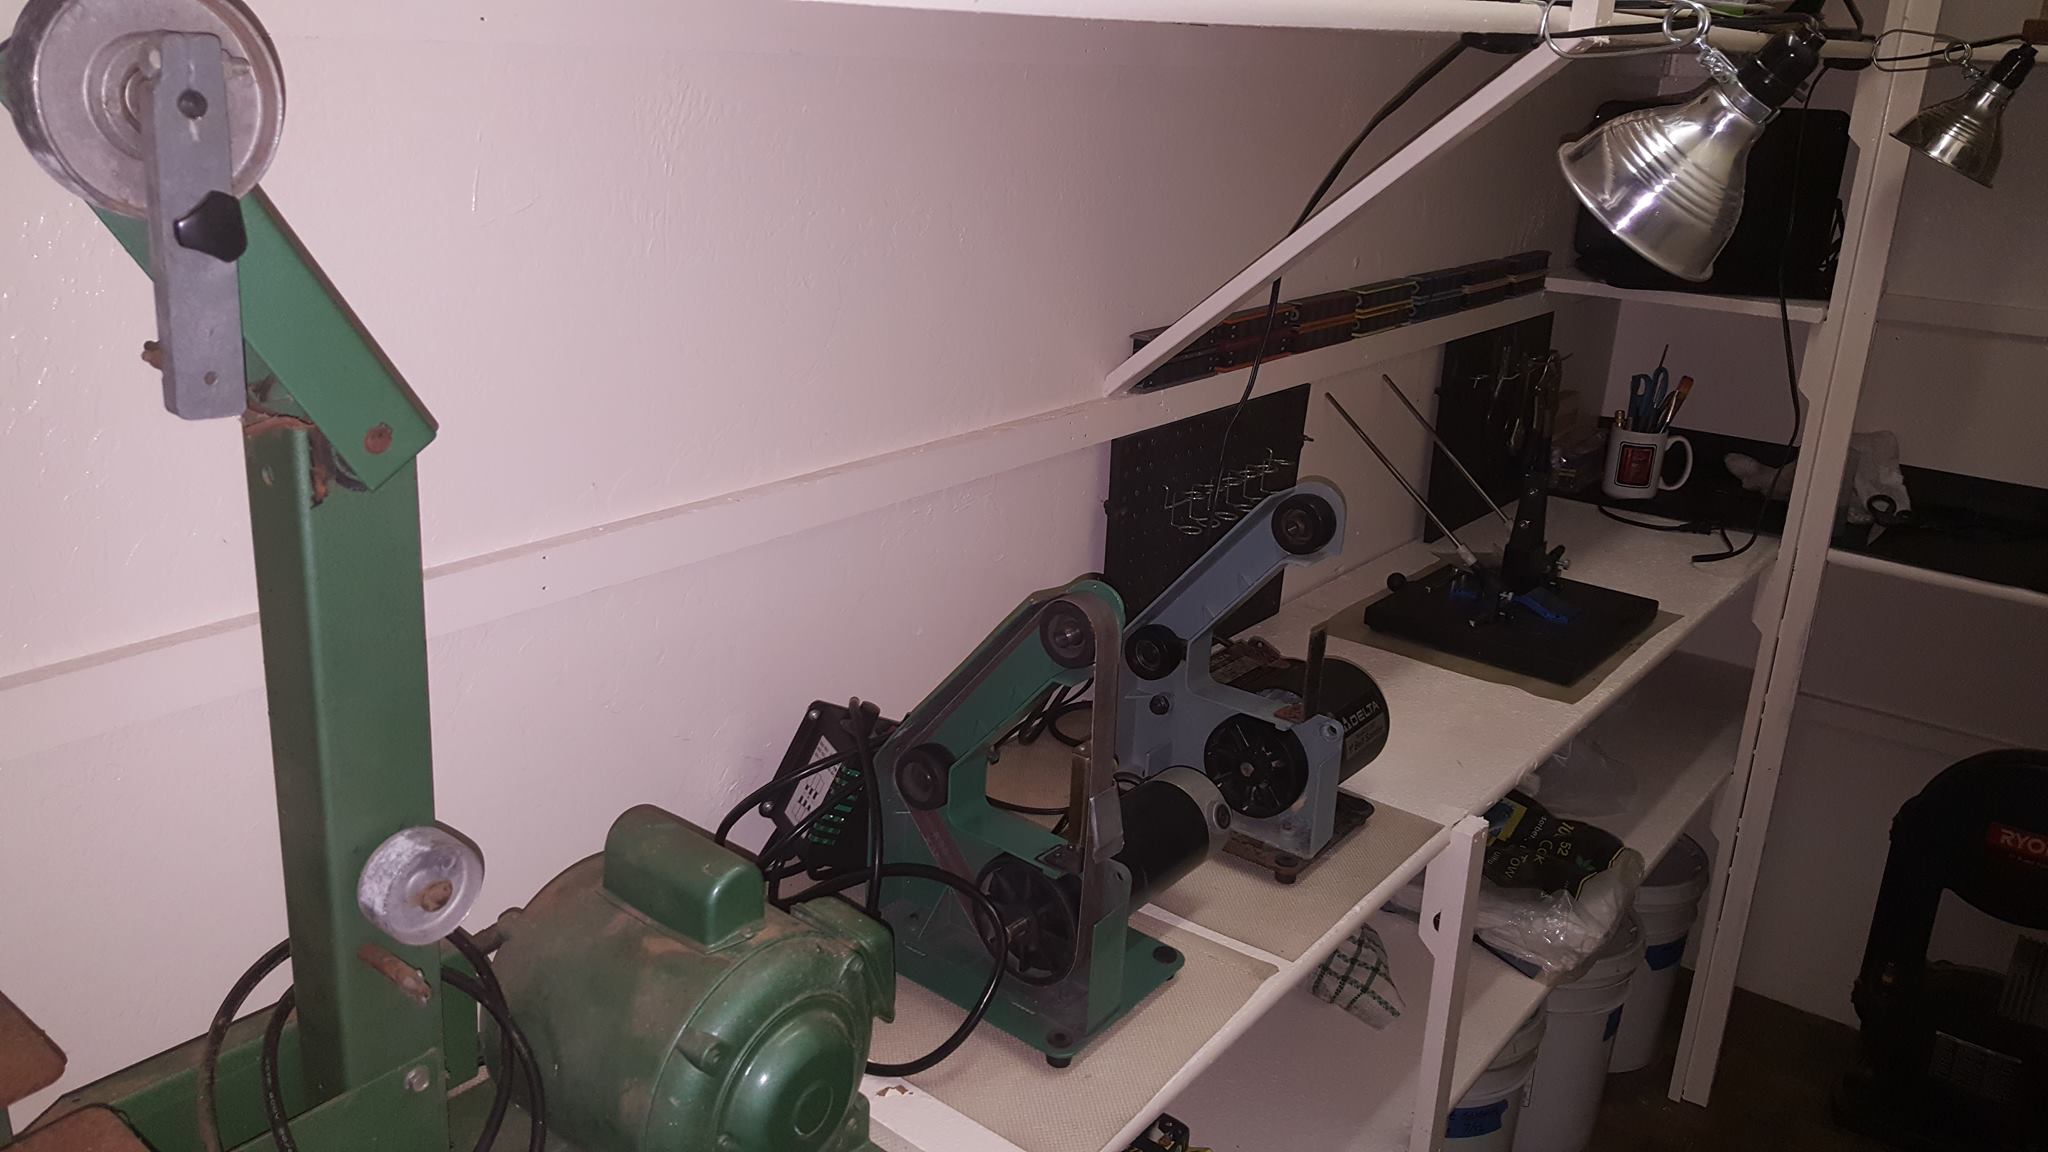
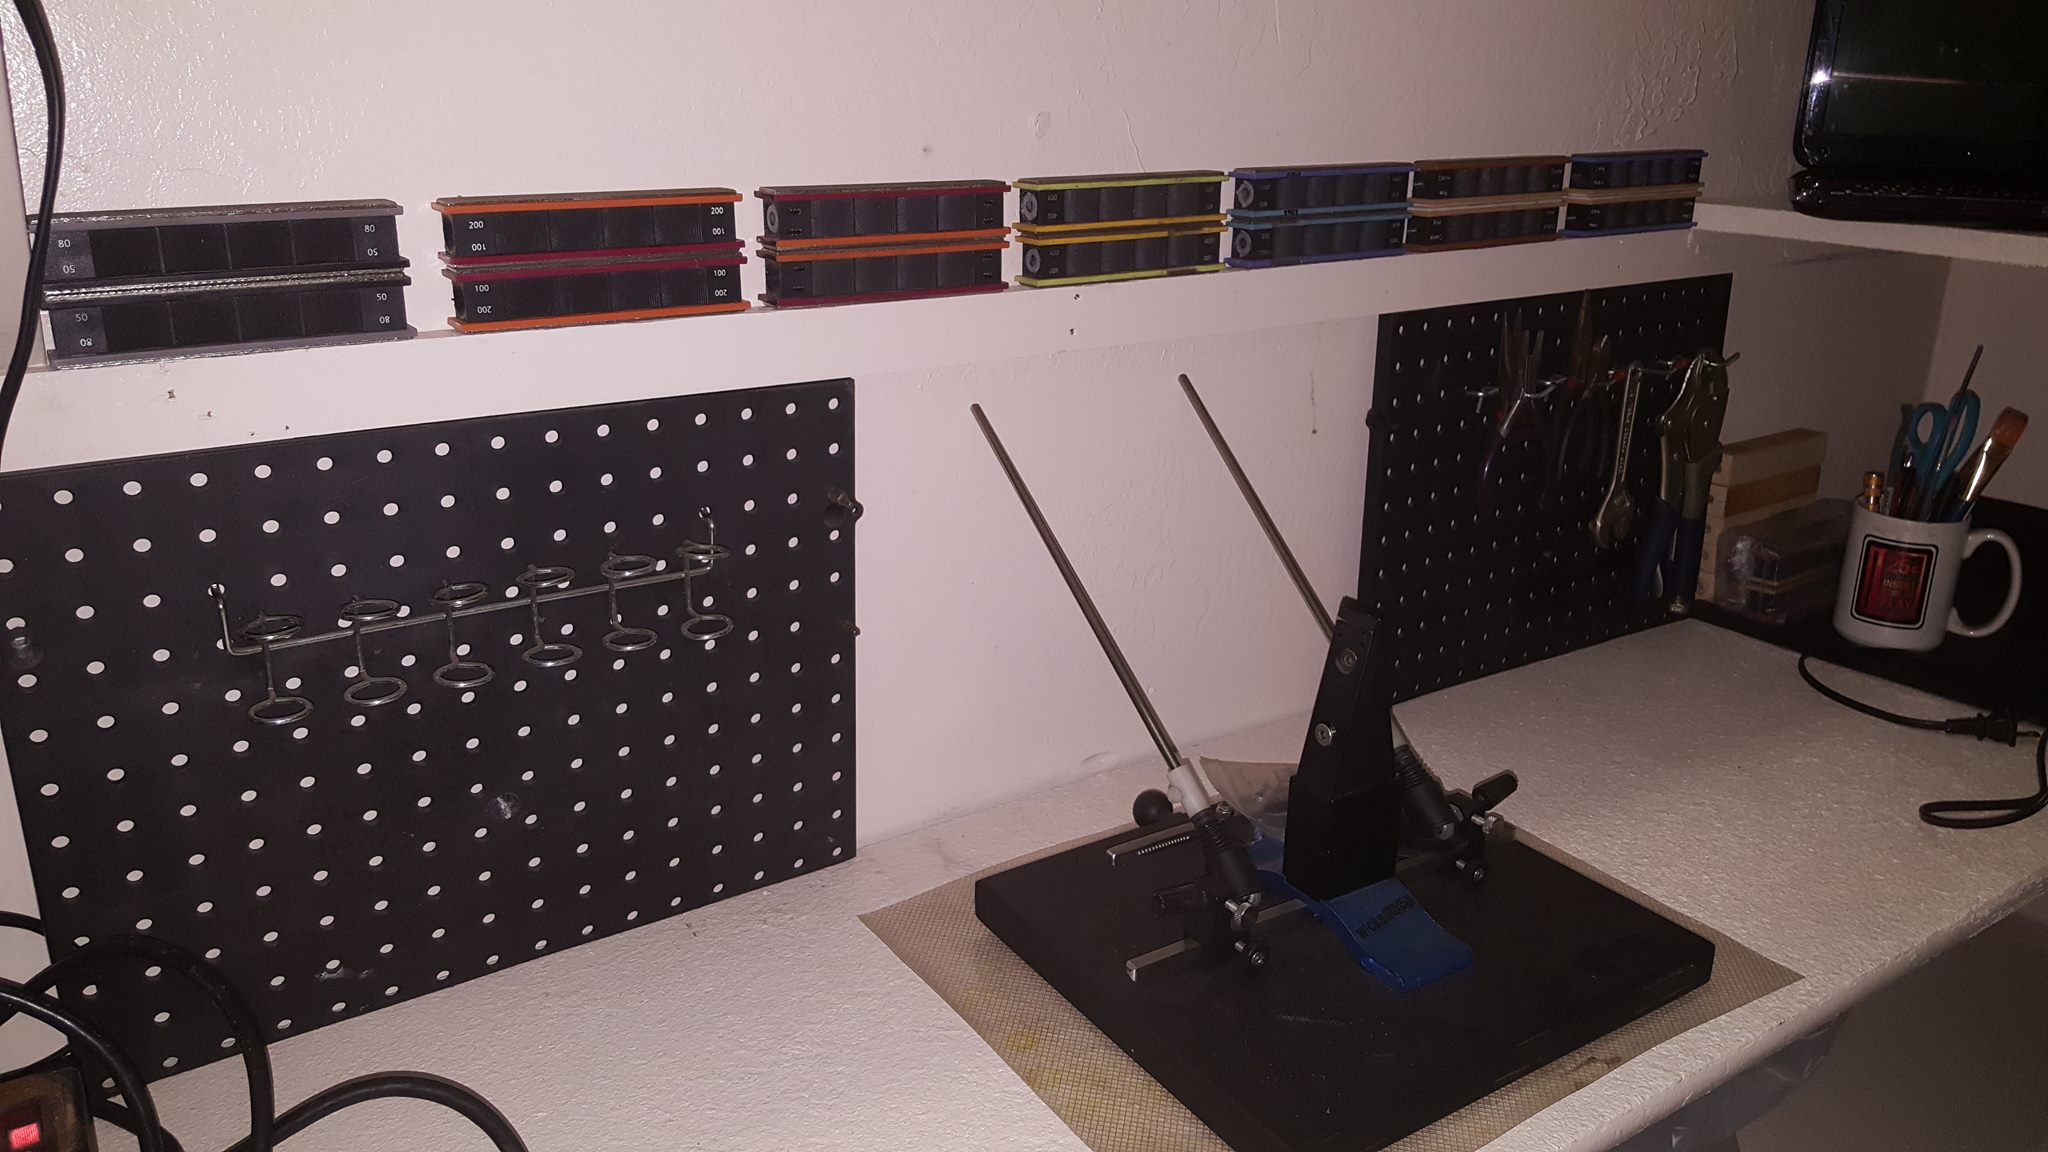
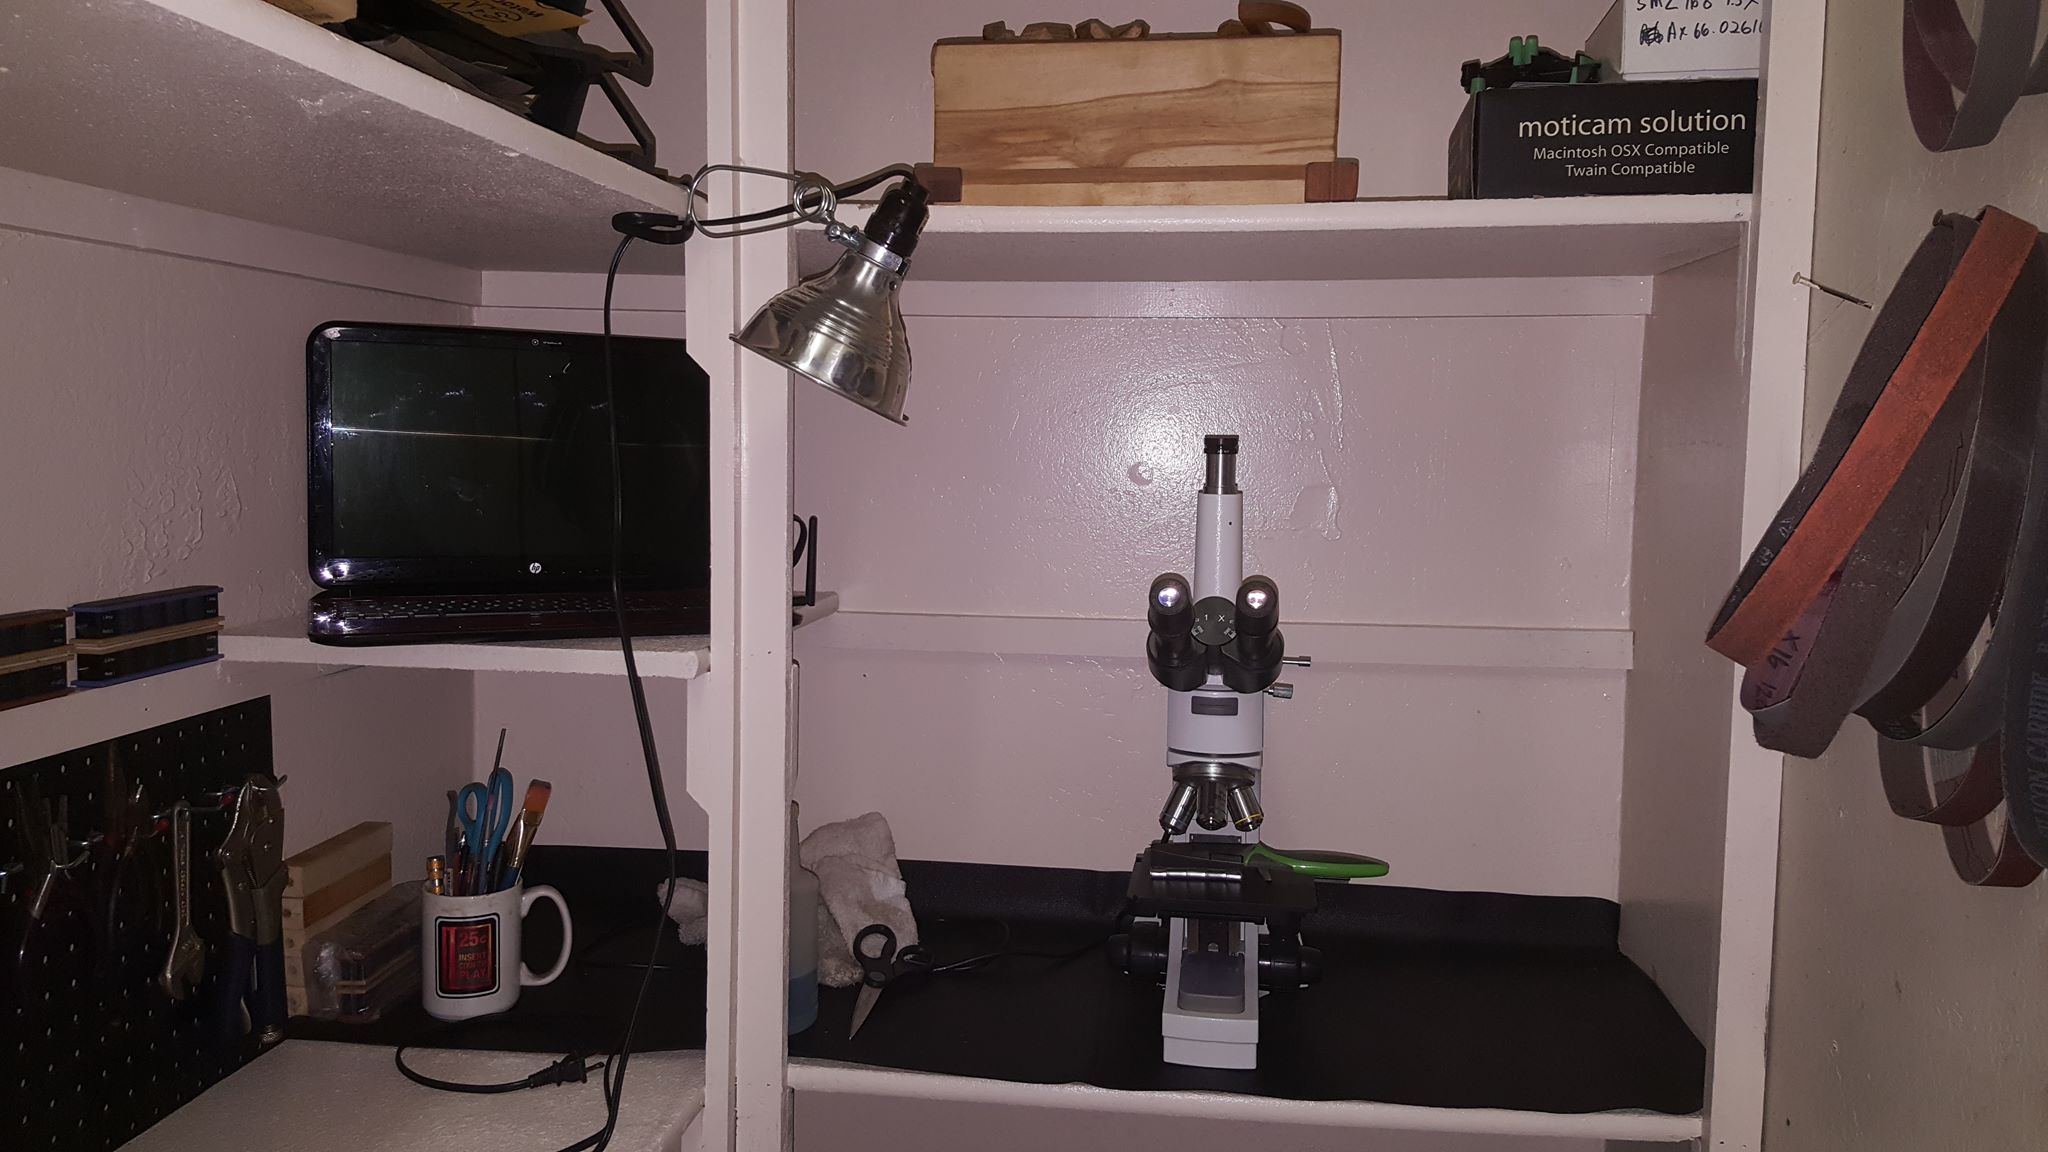
08/22/2016 at 1:03 am #34845The final part of today’s work went into the beginning phases of re-inserting the equipment back in to the expanded space:

Another great motivator to do this was I just picked up some new equipment from a buddy leaving the Island and having it in place will allow for regrinding, handle replacement, and full on knife fabrication. The Grizzly 1×42 may look old n beat up but you cant find tools like that out here so I am excited for that alone! Also got a bandsaw for handle scales!

Still at the heart of the workbench is my trusty Wicked Edge


And finally the latest tool is the Metallurgical scope and computer station:

Still a long way to go…plan is to have the entire back area sealed behind a plastic wall or sheet of some kind, ventilation/filtration system to remove airborn particles, wall mounted subwoofer magnets, and the biggie would still be a compartment storage system to sort the cluttered small items it seems there’s no end to. All in all a good couple days work and should be back in action after reclaiming my “Happy Place”!
Aloha, Cliff
Attachments:
You must be logged in to access attached files.
06/28/2016 at 10:19 pm #34482Welcome to the club Dan. the anticipation is indeed brutal. As a visual learner myself I had watched all the youtubes repeatedly and when I finally got mine the learning curve was small. Best of luck and keep us posted!
1 user thanked author for this post.
06/28/2016 at 10:17 pm #34481Welcome to the club John. There is a ton of hard won experience here that should get you to that mirror edge in no time!
1 user thanked author for this post.
06/28/2016 at 10:13 pm #34480The good news is…there’s help, The bad news is…we are it.

Or at least that’s what they told me when I joined a few years ago now. Come to think of it, I never seemed to have gotten better, just sharper n sharper knives. Cant count how many times Ive said “Sharpest Knife EVER!” lmao
1 user thanked author for this post.
06/26/2016 at 10:07 pm #34453This may be a situation where the Wicked Edge LAA(low angle adapter) could be the ticket as it clamps directly onto the blade removing all the side to side wiggle wiggle. Depends on the desired angle and how wide the blade is.
Another thing worth mentioning…I’ve sharpened many knifes in the tormek jig and have compensated for side to side slop by placing the index finger of my off hand against the back side of the blade to stabilize, then switch hands and repeat. Its slower but you get a nice level of control going with a single paddle method. I know TC uses this method and I almost prefer it sometimes for the level of control it can give.
1 user thanked author for this post.
06/21/2016 at 4:27 pm #34420Thanks for the warm welcome guys! I’m about to burn my eyes out reading all the post and watching the videos. lol!!!

Welcome to the club Fubar. Your in the same position myself and may more were in when we started, trying to absorb all the info from past rabbit holes….
The nice thing is all discussions seem to eventually cycle back around to the top of the barrel. LOL
2 users thanked author for this post.
06/21/2016 at 4:18 pm #34419Welcome to the club Stacey!
1 user thanked author for this post.
06/11/2016 at 2:56 pm #34353Morning,
I found this handle steel chart here that lists it as ” CV Steel:1095 Steel with added Chromium (1%) and Vanadium (.18%) to improve hardening and strength. The term usually refers to knives made by W.R. Case & Son but others also use the steel. It is sometimes referred to as a semi-stainless carbon steel due to the added chromium.”Id probably go with something like a scotch brite pad to minimize material removal but a fine grit sandpaper would work slightly better if the pitting is deeper. Since it is listed as a semi-stainless carbon you may want to consider a protective coat of something like a 3-in-one oil. Sometimes just a light rubbing with 3-in-one can remove surface oxidation without having to resurface the entire primary bevel.
Aloha, Cliff
1 user thanked author for this post.
05/31/2016 at 7:17 pm #34298Good topic… just outta curiosity, are all the pictures the same magnification? The bottom one looks like a higher magnification. (It also kinda looks like it still has a burr that’s just folded over?) Interesting stuff, regardless!


I thought all the images were at about the same magnification and now have calibrated scale for future shots.
I think the final image may be zoomed in or cropped but should be in the same range. The difference is all the 600 grit lines are almost all buffed out. Also was surprised to notice faint tints of color appearing. Not a good sign.
I also was wondering if the burr had folded, cracked, or was then torn off in a manner that left it like that.
Future experiments will focus exclusively on the WEPS. I had hope to speed up the testing process and get quicker repeatable results but I fear the methods are to dissimilar. More of an apples to oranges thing but still interesting to observe as a starting point.
1 user thanked author for this post.
05/26/2016 at 11:48 pm #34247Compare the sharp area to the unsharp area under magnification? Maybe with a loupe or pocket scope. You kinda need to see what’s going on to know for sure and correct.
Also you could lightly flatten the apex and then sharpen again until light doesn’t reflect off the apex anymore…I usually do this for a couple reasons. Id also maybe try to go down to the 400/600 grit paddles for starters.
Ive done it myself where Id swear up n down that its apexed. Looks apexed. Feels apexed. But under magnification, even low power, you can see a whisper of black marker still hanging at the top…..not apexed.
05/24/2016 at 12:29 am #34217You can’t leave us “hanging” like that Cliff
 , how are you calibrating the images on the cell phone without posting a ruler in the image?
 You are correct, I used ImageJ software. First I took photos of the calibration slide at x100, x200, x400 and then repeated w/ camera digitally zoomed x2, x4, and x8. Then in ImageJ I calibrated a measurment off those pics and used that to add a scale bar in the corner of my knife pics shot at same magnification. Its also tedious and needs to be manually reentered every time the photo changes magnification. Sucks but gets it done.
With the moticam software you just calibrate once for each magnification, then when snapping images you just add the appropriate scale and its a one click deal. If the camera didnt suck soooo bad. Maybe I can talk Moticam into an upgrade? haha
-
AuthorPosts

