Just can't get anything sharp…
Recent › Forums › Main Forum › Techniques and Sharpening Strategies › Basic Techniques and Sharpening Strategies › Just can't get anything sharp…
- This topic has 13 replies, 8 voices, and was last updated 06/29/2016 at 11:21 am by
Ardvaark.
-
AuthorPosts
-
05/26/2016 at 10:03 pm #34244
Pictures: https://imgur.com/a/IyNEr
Hi everyone,
I’m really struggling here and i’m not sure why (other than I don’t know what i’m doing!). I’ve spent about 3 hours today trying to sharpen my benchmade impel. I’m not even aiming for hair whittling sharp, just being able to cut printer paper easily is my goal. After installing the knife in the WE and testing with a sharpie 19 degrees/38 degrees inclusive got me closest to the stock angle and seemed like the best place to start.
Starting with the 800 grit stone (first time sharpening since factory new) I was able to remove the marker at the top of the bevel on both sides without too much trouble, I then made sure a burr was being created on both sides to ensure I went far enough. I then progressed to 1000, then to the 1200/1600 ceramic stones, and finally strop with 3.5mu paste.
I’m not even sure if all those steps are even necessary just to cut paper well? Either way it didn’t work, at least not entirely. The middle of the blade and back to the heel are extremely sharp, mission accomplished. However the front quarter of the blade is much duller, unable to easily cut printer paper. I’m positive a burr was created across the entire blade.
Do I need to move to a more acute angle? Is there something else i’m missing? Thank you for any help!
05/26/2016 at 11:22 pm #34245If it’s getting sharp at the middle, and at the back to heel, but not the curved part at the front quarter of the blade, you may not have found the sweet spot. See this link for more info.
Molecule Polishing: my blog about sharpening with the Wicked Edge
05/26/2016 at 11:31 pm #34246Thanks for the reply! Considering i’ve removed enough material at this point that the stones set to 19 degrees remove marker evenly across the entire blade i’m not sure how to find the sweet spot anymore?
05/26/2016 at 11:48 pm #34247Compare the sharp area to the unsharp area under magnification? Maybe with a loupe or pocket scope. You kinda need to see what’s going on to know for sure and correct.
Also you could lightly flatten the apex and then sharpen again until light doesn’t reflect off the apex anymore…I usually do this for a couple reasons. Id also maybe try to go down to the 400/600 grit paddles for starters.
Ive done it myself where Id swear up n down that its apexed. Looks apexed. Feels apexed. But under magnification, even low power, you can see a whisper of black marker still hanging at the top…..not apexed.
05/27/2016 at 8:37 am #34250Could be wrong, but just from your pictures, it doesn’t look like you’re hitting all the way to the edge…
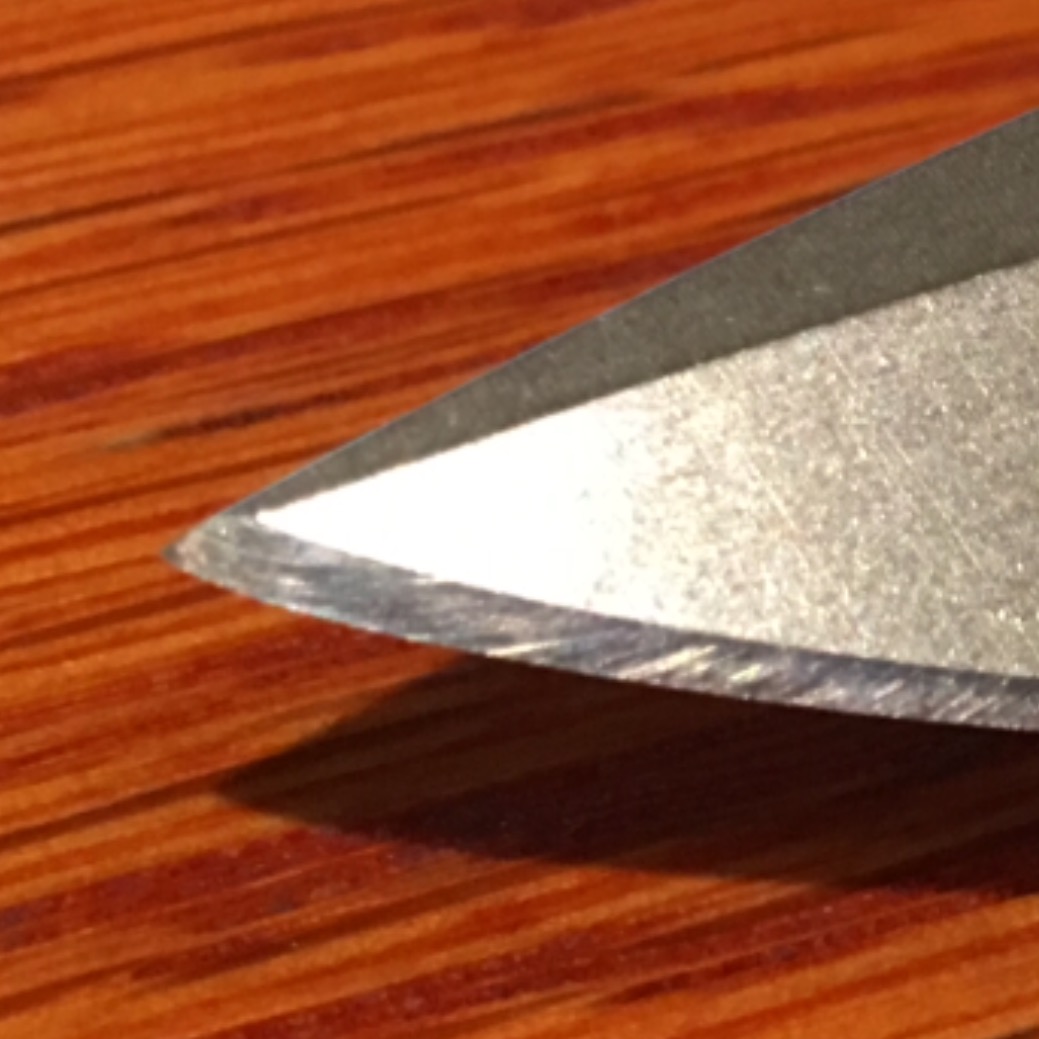
… it looks like there’s a change in the grind at the very edge, especially as you near the tip. It could be, that, even though you created a burr with the first stone, the subsequent stones weren’t hitting the bevel at the same angle. You might try remarking your blade with a Sharpie between stones, and make sure each level is making contact in the same spot.
Attachments:
You must be logged in to access attached files.
2 users thanked author for this post.
05/27/2016 at 11:59 am #34253Thank you everyone, i’ll throw it back on the WE and inspect the sharpie with a loupe. What grit can I get away with stopping at to achieve my goal of easily cutting paper? I always end up working my way through all the stones I have which is always a huge waste of time because I end up with a dull knife anyways due to me screwing something up along the line…
05/27/2016 at 12:51 pm #34255600 grit should give you a very nice, toothy working edge, but it might seem a little coarse when trying to slice paper. I normally go to at least 1000 grit. If I’m really fussy about it, I’ll then polish it with 6 micron diamond film. For mirror edges, I’ll do the entire progression; 400, 600, 800, 1000, then 15, 9, 6, 3, 1,5, 1.0, 0.5 and 0.1 micron films. The 15 and 9 micron film is an equivalent to the 1200/1600 ceramics.
I think Cliff is spot-on about you’re not having reached the apex along the entire edge. If you fail to hit the apex with your 400 grit, you’ll waste a lot of time after that trying to make the edge sharp when in reality you haven’t yet made an edge. If you check with a loupe and are still unsure, go back to 400 grit and stone one side at a time until you can feel with your fingertips that there is a small burr on the opposite side and that it extends full length. A burr is the one sure tactile way of telling you that you’ve reached the edge. Do the same on the other side and when you know you’ve produced burrs on both sides, you know you have an edge and can move on to the next grit. You can follow the same procedure, or you can use the loupe to inspect the scratch pattern. Now you’re looking to see if the current grit’s scratch pattern extends to the top of the bevels. If you’re not sure, give your micro-adjusts a quarter turn CCW. A quarter-turn is roughly 0.1 degrees.
Usually, after having achieved an apex full length, I use five strokes per inch of blade length, which I’ve found will usually remove the scratches from the previous grit. Most of your time is spent on your lowest grit and things go pretty fast after that.
1 user thanked author for this post.
05/27/2016 at 7:17 pm #34259I want to thank everyone for their help, you guys are really great! I started back at square one, this time at 600 grit and went until I was completely sure a burr was created, checking with a cotton cloth/my finger and using a loupe to verify all the marker was removed. I did this through 1000 grit then went to the super fine ceramic stones (1200/1600) checking with an angle cube after every grit change.
At this point I tested some paper on the blade without removing it from the WE and it wouldn’t cut at all. I proceeded to strop, decreasing angle from 19 degrees to 18 (not sure if that was wise?) with 3.5mu paste. After this the blade came to life and cut paper pretty well! I was curious what would happen if I used the 1.5mu diamond lapping film so I set back to 19 degrees, lapped for a bit and then re-tested with the paper. I’m not sure if i made things better or worse, but the blade still cuts reasonably well. It’s still much better towards the heel than towards the tip, but at least the tip does cut, it’s just not effortless. I don’t know if that’s just a symptom of the blade shape/angle or if I’m still doing something wrong?
Do you always need to strop after sharpening to get a well cutting blade? Should stropping always be the last step or can diamond film be the last step?
05/28/2016 at 1:50 am #34261I use only diamond film, but I’m probably one of the early few on this frontier. More are joining.
I am suspecting more and more that your problem is likely a matter of technique. For each grit to match the same plane of the bevel, and therefore the apex. you have to use a very repeatable technique. You’ll notice that the standard stone handles have a little amount of “looseness” in the bore-to-rod fit and it’s possible to unknowingly “rock” the stone around the shoulder of the bevel if your pressure point moves above and below the level of the bevel. This can produce angular errors of more than one degree in the middle of a stroke. I recommend trying to maintain a grip near the bottom of the handle and try not to let your grip point get much higher than the edge.
The rule of thumb generally agreed to on this forum is that you should increase the angle by 1.5 to 2 degrees when you go to soft strops. This is because the strops may roll over the apex and round off a perfectly good edge.
Perfecting your technique is something that we all struggle with from time to time, especially if you go thru periods of no sharpening. It’s a very important factor. How do you execute a stroke? Alternating left/right, left/right or one side at a time? Edge leading or edge trailing? Heel to tip or tip to heel? Where do you grasp the handles? How much pressure do you apply? Try to simplify your technique at the start, then add refinements as you get more comfortable with it.
05/28/2016 at 6:54 am #34262Do you always need to strop after sharpening to get a well cutting blade? Should stropping always be the last step or can diamond film be the last step?
No… you should have a ‘well cutting blade’ prior to stropping. In fact, if you don’t have a decent cutting edge off the stones, I wouldn’t strop at all until you do. 600g should be easily cutting paper.
The rule of thumb generally agreed to on this forum is that you should increase the angle by 1.5 to 2 degrees when you go to soft strops. This is because the strops may roll over the apex and round off a perfectly good edge.
I thought it was the opposite… isn’t Clay lowering the angle a degree or two when stropping with leather? (Just to clarify, if he sharpens at 20 deg. he strops at 19?)
At any rate, tcmeyer’s post has some good info. My first thought is you’re using too much pressure… it doesn’t take a lot to sharpen, especially with the finer stones. Pay attention to this and the other points tcmeyer brought up.
My only other thought at this point is, if you do have a burr the entire length, the 2nd step is getting rid of it. Try this. Take the finest ceramic stone, raise the angle 3-4 deg. (so if you’re sharpening at 19 deg. raise it to 22 deg.), start at the heel of the blade with the bottom of the stone touching and make 2 very light, edge leading, alternating strokes, heel to tip. Very light… you’re not trying to create another bevel, just trying to remove any burr that might be there. Test the edge… if you don’t see any change try it one more time… if it doesn’t work, then stop (something else is wrong, and I don’t want you creating a new bevel you’ll have to sharpen out). Can’t emphasize VERY LIGHT enough.
Finally, don’t get frustrated, although the WE produces very sharp knives, the basics of sharpening still need to be learned to get there.
1 user thanked author for this post.
05/28/2016 at 11:28 am #34266No. no! you’re right! I was half asleep when I made that post. You should decrease the angle by one to two degrees when stropping.
05/28/2016 at 9:36 pm #34267I can add two things to think about: the first is making sure you’re not using too much pressure, especially as you get to the finer stones. The second thing is that your stones are still very new and are probably leaving a pretty ragged edge. I’d spend more time with the ceramic stones to clean up the edge.
-Clay
06/03/2016 at 11:33 am #34315How did end up working out? Were you able to identify your issue and get the blade sharpened to your liking?
06/29/2016 at 11:21 am #34486Quote: “The rule of thumb generally agreed to on this forum is that you should increase the angle by 1.5 to 2 degrees when you go to soft strops. This is because the strops may roll over the apex and round off a perfectly good edge.”
Once I started doing this, I was on an entirely different level of sharpness. I didn’t realize that by stropping at the same angle I was sharpening I was removing my hair popping edge. I use a very very light touch when stropping so I go even less than 1.5 degrees. About .5 to 1 seems to do the trick for me. Or, I just go a half a turn on the adjusting screw.
3 users thanked author for this post.
-
AuthorPosts
- You must be logged in to reply to this topic.