Polishing an Elmax blade
Recent › Forums › Main Forum › Techniques and Sharpening Strategies › Polishing an Elmax blade
- This topic has 31 replies, 10 voices, and was last updated 08/31/2015 at 6:42 am by
Mr.Wizard.
-
AuthorPosts
-
04/19/2015 at 6:45 am #25305
Kat: FYI, the acronym SWAT was a term used in discussions prior to the release of the production units, when WE named them more appropriately as Variable Stone Thickness Adapters. A number of the guys involved in those discussions still prefer the term SWAT.
04/19/2015 at 7:40 am #25306Kat: FYI, the acronym SWAT was a term used in discussions prior to the release of the production units, when WE named them more appropriately as Variable Stone Thickness Adapters. A number of the guys involved in those discussions still prefer the term SWAT.
…which is clearly an acronym for Stone Width Accommodation Thingies.
04/19/2015 at 7:47 am #25307Thanks guys! Now that is freaking nifty. Is it worng that I had a mental image of the stones in swat gear invading a room full of knives? I may look in to picking a set of those up in the future as I progress futher. I think I have a much better understanding now of how all the parts come together and work, and owe a huge thank you to you folks for helping me fast track that!
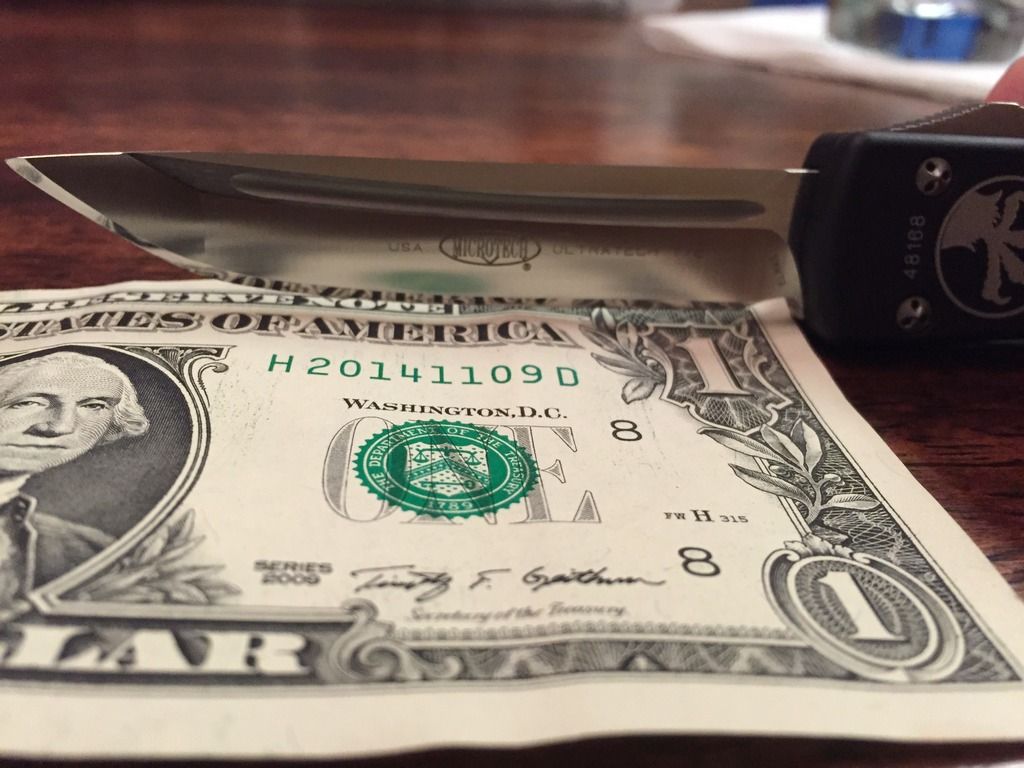
attempt #2 at mirror polish of Elmax blade. Again sorry for such large pics. This still is far from perfect, but much better than my first attempt. I think a couple more and I will be there. This knife is a Microtech Ultratec Elmax blade. My personal EDC. I praticed on about 18 other knives, not only sharpening but mirroring, before my first attempt with this knife, then went back and praticed on about 5 more before coming back to it. The last pratice knife, a CRKT (AUS8 steel), I spent the most time on, and kept going back to the 1K stone then the ceramics untill I think I’v just about got it, and mirrored that blade. Then I started on this one for the second attempt. I started at the 600 grit stones 800, 1K, micro fine ceramics, then leathers strops with 1. micron / 0.5 micron paste.
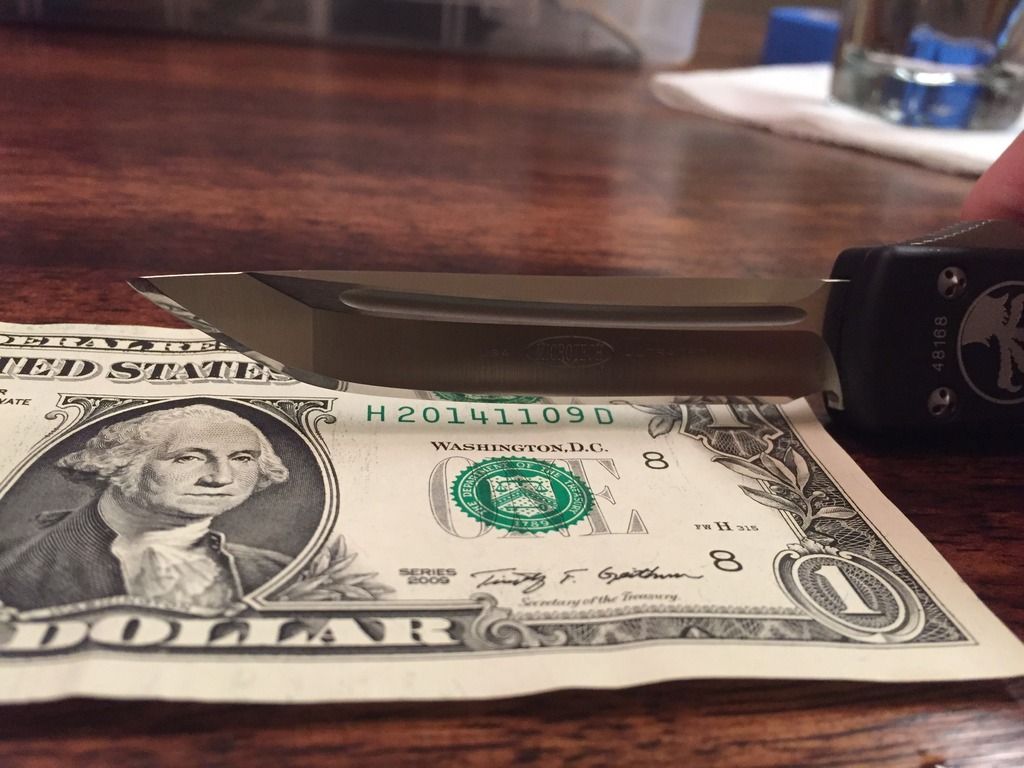
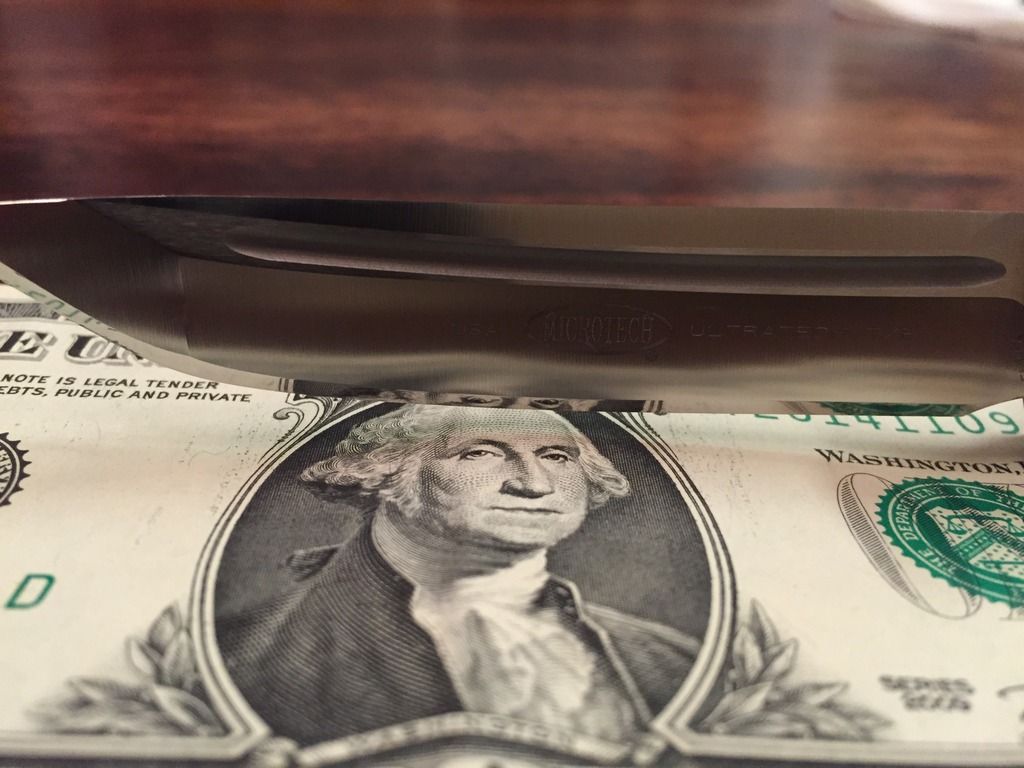
Like I said, I’m not there yet, but I think I’m starting to get a little closer.04/19/2015 at 11:05 am #25308Like I said, I’m not there yet, but I think I’m starting to get a little closer.
Nicely done! And you’re pretty much there imho. So don’t be surprised if one of these pics goes up on the webpage. :cheer:
04/19/2015 at 8:39 pm #25311Nicely done! And you’re pretty much there imho. So don’t be surprised if one of these pics goes up on the webpage. :cheer:
Thanks! Would be nifty to see the pics used somewhere. There is still some minor scratches in the heel, and yokote area that doesnt show in the pic, but I feel I have a much better understanding now of how to remove and fix this with the Wicked Edge.
To be honest the Elmax showed me something that I suspected but was really able to see with the softer steels, whcih is I have to pay much closer attention to my left hand as it moves along the blade. Reconstructive shoulder surgery has changed the way I use that arm a bit. :blink:
So this has been a great time learning not only the different steels, the Wicked Edge, but also the body mechanics involved. While this is completley off topic, I personally have found that the design of the Wicked Edge is amazing. In spending some time with it, learning it, as well as how I move while using it I have found the economy of motion to be outstanding. Watching videos of Clay, as well as others use this and how they move, it seems that there is very little wasted motion. Ok, I dont count reaching for my coffee cup as wasted motion, I count it as productivity in a cup. :woohoo:
 04/23/2015 at 2:38 am #25360
The micro-fine ceramics are very hard. When they come out of the kiln, the grits are sintered and look very flat under magnification. Lapping them with a diamond plate, which is even harder will texture the surface to somewhat resemble the grit size of the diamonds. Because the stone will be lapped in multiple directions, the area of the peaks may be smaller and that will actually increase the space between them, meaning you’ll slightly get smaller, deeper and more widely spaced scratches from the stones than you had before lapping. Lapping with higher grit diamonds will make for a finer texture with smaller peaks. Eventually the peaks will wear off but it takes time.
Here’s a picture of the micro-fine stone at 1200x:
You can see that the particles are very flat so you can imagine how that surface will change as you rub diamonds across it.
*A note on the stones themselves – They are made from aluminum oxide particles that have been sintered at very high heat. The original particles in the micro-fines are in the range of 2.4um-48um for the coarse stones and 1.4um-25.2um for the fine stones. After sintering, the particles are fused and flattened into the form you see in the image above. Calculating the actual grit for these stones is very challenging which is why the manufacturer uses a metric called Roughness Average or RA. They converted their RA numbers to microns for us though it’s not extremely precise and is based mostly on the size of the scratches they leave. We’re in the middle of a project with Los Alamos National Labs to improve our sharpness testing machine design and tighten up our experimental methodology. Part of the project will be examining edges under their SEM. One of the things we’ll be looking at are the scratches from the micro-fines in an attempt to precisely quantify them.
Clay: There’s long been talk about how very fine diamond grits cut, as opposed to other types of abrasive media, which do something closer to burnishing. Looking at the photo above, should we infer that this is the case with the micro-fine ceramics? Do they burnish by virtue of their very hard nature?
Can you micro photo the scratch marks of the micro-fine ceramics and compare it to the scratch marks of an equivalent diamond film?
04/23/2015 at 3:12 am #25361I did not exactly do that, but something similar: https://moleculepolishing.wordpress.com/2012/08/12/more-on-the-wicked-edge-micro-fine-ceramic-stones/
Molecule Polishing: my blog about sharpening with the Wicked Edge
04/23/2015 at 5:36 am #25362Mark:
I had seen your blog on this before and was befuddled by what you were seeing for scratch patterns, as they were totally different from mine.
My micro-fines created a polishing effect that seemed perfectly aligned with my diamond films under 5 or 6 microns. Then I lapped my micro-fines on my 1200-grit EZE-Lap plate. I was astounded to see scratch patterns similar to yours.
Did you lap your ceramic stones before the test on your blog?
04/23/2015 at 8:48 am #25366Tom, that’s weird. No, I hadn’t lapped my micro fine ceramics before I took those photographs. And I never have since. What struck me was that the coarse micro-fines seemed a lot more coarse than the listed 1.4 mu. (Now I know that a mu spec makes not much sense for ceramic stones. Clay explained this well.) Back in the days, when the micro fine ceramics were just out, there were more reports by people with this experience.
What doesn’t surprise me is that after lapping on a 1200-grit plate your scratch pattern is similar to mine (which seems a bit finer than that of a 1000-grit diamond stone). Effectively you maybe somewhat “transfer” the grit size and pattern of the diamond plate to the ceramic stones.
But am I right in concluding that lapping the stones actually made them coarser for you?
Molecule Polishing: my blog about sharpening with the Wicked Edge
04/23/2015 at 9:30 am #25369Mark:
Absolutely; lapping the stones on a 1200-grit diamond plate effectively transferred that grit to the micro-fine stones. Both, not just the coarse stones.
Thinking I had maybe wrecked the stones permanently, I tried re-lapping them on diamond film. Surprisingly, they seemed to recover some of their original performance, or something like it. Luckily, Josh had put me onto a less costly film source.
I don’t understand what happened to your micro-fines, but it seems clear to me that they aren’t as advertised. Micro-fines should take a 1000-grit diamond finish and take it to a really nice polish. Ask Clay to send you a new set, or send yours to him for evaluation.
Tom
04/23/2015 at 12:12 pm #25374Tom, I’m not sure what you mean exactly. If the micro fines would operate “as advertised”, the coarse stones should have a grit size finer than 10.000 grit water stones. This doesn’t take a 1000 grit edge to a nice polish directly.
I’m fine with the way the micro fines operate, since I know that the whole concept of grit size (or micron size) doesn’t make much sense for ceramic stones. Clay wrote about this and I also wrote a blog post about it: https://moleculepolishing.wordpress.com/2013/08/08/the-mystery-of-the-spyderco-and-the-wicked-edge-ceramic-stones/
I have both the micro fine ceramic stones (1.4 mu / 0.6 mu) and the super fine ones (1200/1600). If I don’t want to use waterstones and want a fine edge, I usually use the progression 1200 -> 1600 -> 0.6 mu. The 0.6 mu stones are (without lapping, and in my case) finer than the 1600 ones.
Molecule Polishing: my blog about sharpening with the Wicked Edge
08/28/2015 at 8:17 pm #26394mark76, following from this perspective:
I think Wizard is right re: the hardness of the 1200/1600 vs the hardness of the micro-fine stones. The 1200/1600 stones behave more like (not entirely, just more so) waterstones than the micro-fines. It’s possible to texture the surface of the micro-fine stones and create different surface features to achieve a variety of results, depending on how you lap them. With the 1200/1600 stones, the surface features you create disintegrate quickly with the first use.
The 1200/1600 ceramics should have a native equivalent grit size independent from surface finish. Have you attempted to quantify it?
08/29/2015 at 2:10 am #26402I know that your question is for Clay but FWIW:
I think Mark was dead-on regarding the result seen from lapping the ceramic stones with different grits. I lapped mine (1.4/0.6) with my 1200-grit Eze-lap and the scratch patterns I got were very close to what I saw with 1200 grit. I was gobsmacked! I re-lapped one of them with diamond film and the resultant scratch patterns were exactly what I would expect from that diamond film.
Best Sharpening Stones lists 1200 as equivalent to 12 micron. Advanced Abrasives lists 1200 as equivalent to 15 grit. BSS doesn’t list a 1600 equivalent, but AA shows 1600 as equivalent to 12 micron. I use 15 micron diamond film and I think the scratch pattern looks just like my 1200-grit ceramic.
08/29/2015 at 2:38 am #26403Actually my question was addressed to mark76 but I hope no one feels unwelcome to answer. As indicated by Clay in the quote I posted the 1200/1600 ceramics do not be have the same as the micro fine (1.4/0.6) ones, the latter being dominated by surface finish as you note. I have removed the micro-fines from the next version of my “Grand Logarithmic Grit Chart” for this reason as I deem them too variable. The 1200/1600 ceramics apparently do not keep the surface finish that is applied to them but instead quickly normalize to their own native behavior.
08/29/2015 at 5:28 pm #26412In regards to the original topic, I recently sharpened my ZT 0560 on the Gen III WE. This has an Elmax blade. It originally had a 45 degree inclusive angle, but I wanted to decrease this slightly, so I went to 40 degrees. Started with the 100’s, and worked my way up through the grit progression to 1600 ceramics, then stropped from 5 micron down to .5 micron. The hardest part of the whole process was changing that angle from 45 to 40 and making sure the edge was apexed. It took a little time and a lot of patience, but I got it. I call it a high-polish, as its not quite a mirror finish, but the results are awesome and it cuts very well now. I may add the coarser strops to my collection, as I think that might help take out some of the larger scratches that the finer strops can’t.
-
AuthorPosts


- You must be logged in to reply to this topic.