ID A Japanese knife. A learning experience.
Recent › Forums › Main Forum › Techniques and Sharpening Strategies › ID A Japanese knife. A learning experience.
- This topic has 9 replies, 4 voices, and was last updated 04/29/2022 at 11:48 am by
Timm.
-
AuthorPosts
-
04/11/2022 at 2:28 pm #57805
A co-worker (kitchen manager at the pub) wants this sharpened:

Close-up of blade inscription:

Any idea? What steel? Can I do this with diamond stones going down to 2,200 grit?
Blade is 6 1/4″, OAL 12″. Octagonal grip.
All I know is that he says it was expensive and the steel is very hard. Double-side straight grind; symmetrical from what I can tell.
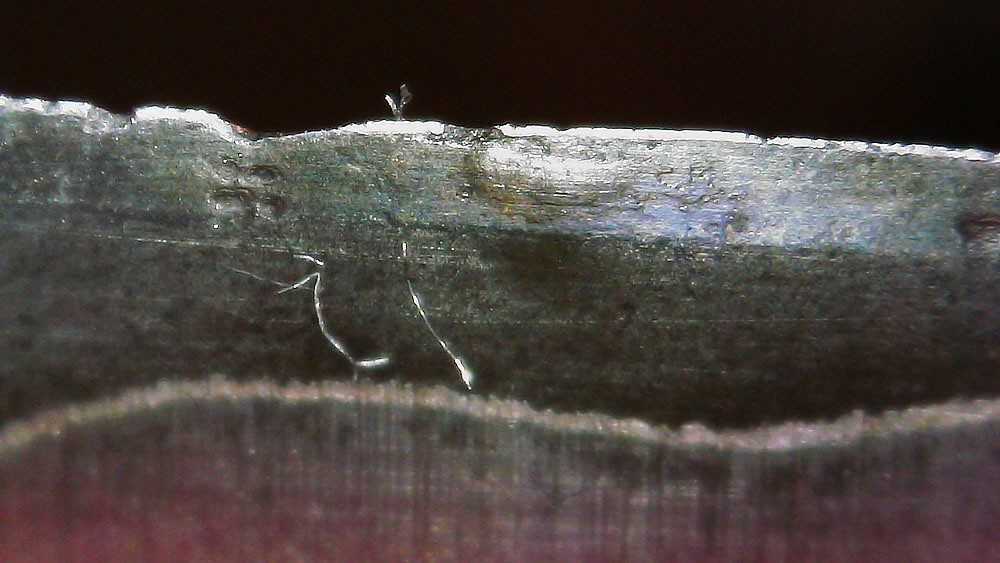
Edge currently looks like a cross-cut saw through my hand loupe. There seems to be enough of what may be the factory bevel to copy for angle.
04/11/2022 at 3:01 pm #57810The style is Wa Bunka. It’s a nice enjoyable style to use. It’s like a Santoku, multipurpose knife.
Ed K’s wife may be able to read the Kanji to help identify the brand.
From the looks it’s a high carbon steel like blue #2 or Aogami Super. Those steels are hard but sharpens nicely with the W.E. diamond stones. You’ll enjoy sharpening it. Nothing tricky there.
Marc
(MarcH's Rack-Its)04/11/2022 at 3:13 pm #57811Some idea of what I’m up against here, pictures from heel to tip (heel to the left, tip to the right in all pictures):


I started with 200 grit and have made about 15 strokes each side, edge-leading 12 dps measured. I seem to have already hit the apex, except, of course, for the chips and gouges.
I hope he takes better care of this after I sharpen it!
04/11/2022 at 8:24 pm #57814OK, Marc, so maybe rewarding, but far from easy.
Here’re a couple two or three pics from sharpening this knife:

After starting with 200 grit.
Later with 400 grit:

Still peeling edge off.

600 grit, still peeling the edge.
800 grit, starting to get a real edge:

1,000 grit, still some edge breakout, but better:

After 15 minutes or so of 1,000 grit:

1,500 grit. Now we’re actually getting sharp!

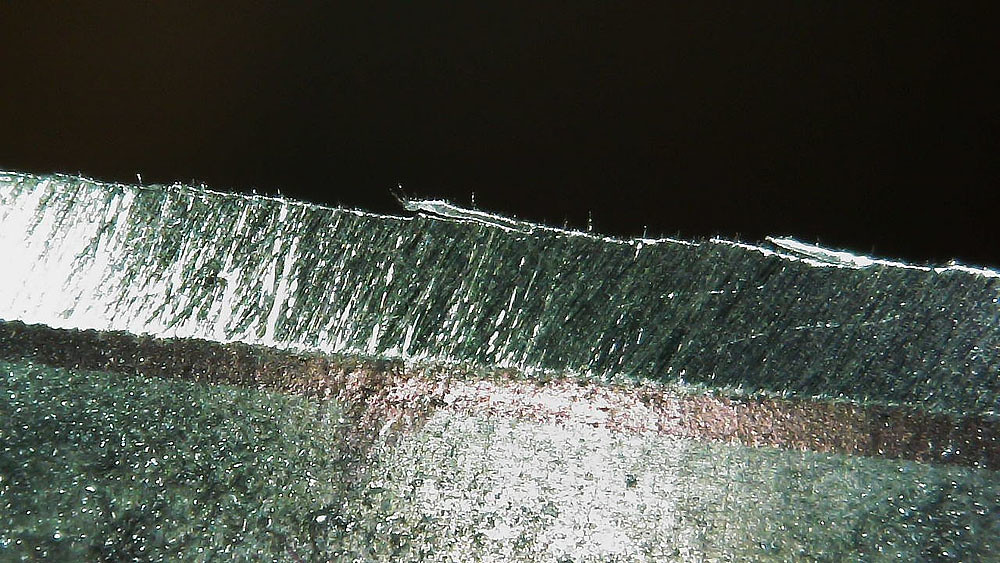
2,200 grit is starting to look really good, and as far as I can currently go:

I think the pictures tell the story. Everything up to about 800 was shaping and repair. 1K and above were actually sharpening the edge.
What I learned?
Be gentle! Laying the stone on the edge of the blade should be like a mosquito landing on the back of your neck. The pressure on the stone? None. Like a whisp of hair blowing across a woman’s face. Could kinda get a little sensual….
All were edge-leading strokes, alternating tip-first to heel-first, finishing with heel-first on every pair of stones.
Total time spent: 3 hours, 2 beers.
04/12/2022 at 4:53 am #57819Hi Timm: Actually, your photos are looking real good. I guess my only question would be if 12 dps matches what the factory had done, although I’d suspect that someone had subsequently installed the straight bevels. I’m under the impression that all handmade Japanese blades are hand-sharpened to a convex profile. The one knife I have came with a very, very thin foil edge. As near as I could tell, the angle at the apex was about 6 dps. The edge actually looked quite ragged before I ever used it. I have a Youtube video here. A year later, I found the edge badly fractured (video here) only to conclude that the damage was caused by me pressing down too hard when cutting hard-crusted artisanal bread. I later found a post I think on Blade Forum where a cook(chef?) said he’d never use a Japanese knife to cut bread. Regardless of this, I never use any other knife to cut bread. That thin edge is simply delightful. Nothing else cuts like it.
04/12/2022 at 9:53 am #57822Morning, Tom.
I’d agree that the original bevel was convex. The 12 dps setting hit the center of the bevel, so it was what I went with. You can see I didn’t have a lot to work with at the beginning. You can also see that my bevel is a little wider than the original.
I added a 15 dps micro bevel using about 10 strokes each side with the 1,500 stone just to try to prevent edge break-out. We’ll see how it holds up, as this will be in daily use in the pub kitchen.
Now to educate the owner in how to care for a high-carbon blade! As you can see from the “before” pics, much of the edge damage was pitting from being poorly cleaned and dried. I gave the blade a good wipe-down with some food-safe mineral oil, and will encourage the owner to do the same after every use. Hand-wash and dry immediately, of course.
Before and after:

 04/12/2022 at 10:11 am #57827
Timm, I have two Bunka knives. They both are sharp in the tip. Here’s a website you can look at that selection. All the models are sharp at the tip.
Marc
(MarcH's Rack-Its)04/12/2022 at 11:04 am #57828The owner mentioned that the tip had been broken off, so you’re on the money.
At least it’s now sharp all the way to the re-shaped tip:

I could reshape it to match the original profile if the owner wants.
04/22/2022 at 11:20 am #57846Hi Timm,
Thanks for enjoying your system! You did an excellent job on restoring and sharpening this knife. As I was going through your post, two thoughts came through my mind that I’m very happy that you addressed. First off, I was thinking that you were going to have to widen you angle, but you persisted through it and proved me wrong. Your bevels ended up being very nice and your edge straight. Secondly, I am very excited that you put a micro-bevel on this knife. It will increase the durability on this knife while keeping the look of “from factory” so to say.
Keep up the good work and happy sharpening!
Branden
Wicked Edge
04/29/2022 at 11:48 am #57851Thanks, Brandon.
Here’s the micro-bevel:

-
AuthorPosts
- You must be logged in to reply to this topic.