Microscope Test aka the Scope Showdown!
Recent › Forums › Main Forum › Pass Around and Buy / Sell / Trade › Pass Around › Microscope Test aka the Scope Showdown!
- This topic has 65 replies, 5 voices, and was last updated 01/16/2022 at 7:33 pm by
 tcmeyer.
-
AuthorPosts
-
02/19/2016 at 6:23 pm #31434
This is exactly what is intriguing me and why Im feeling so compelled to gain higher magnification….because the direction of strokes is lateral, it appears in the picture that no material is being pushed up and over the apex. In fact my theory is….similar to how we can take a 1000 grit stone and knock the top edge off at the beginning of the process then apex the blade until it doesnt reflect light (but no burr is formed either)….that the process is then repeated at the final level maybe using something as simple at newpaper on glass etc to “flatten” the apex, then maybe increasing the angle a touch to make contact with the top area of the 2nd bevel area only, and using ultra light lateral strokes to re-apex at the micro level. Does that makes sense to anyone?
Clay I was thinking of the “micro-bevel” if you will, not in the traditional toothy sense but using lateral strokes for the final finish passes with the absolute finest lapping films. Pictures are still awe inspiring regardless….Im more then a bit jelly. lol
Im doing some trial runs myself but flying blind as it were going by touch n feel.
1 user thanked author for this post.
02/22/2016 at 8:37 am #31461Cliff,
I’ll give that a shot as well. I wanted to add the 1000# micro bevel perpendicular to the horizontal scratch pattern just to show the contrast and the level of polish produced by the horizontal method with the lapping films.
-Clay
1 user thanked author for this post.
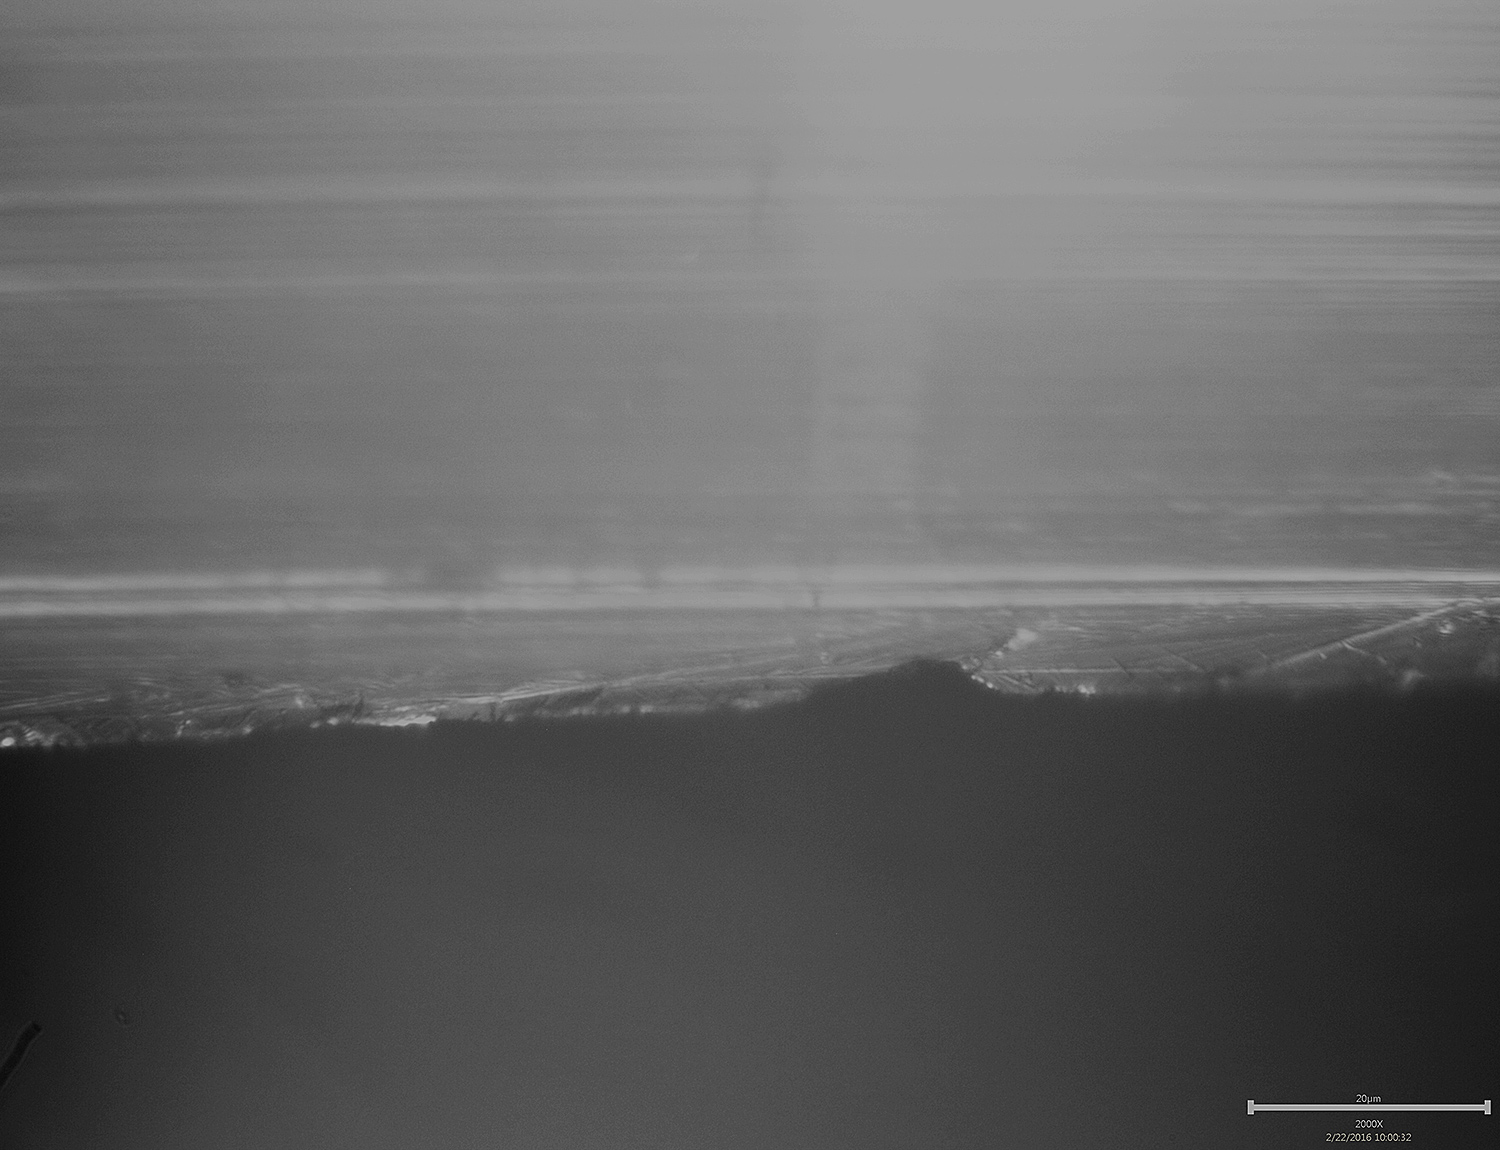
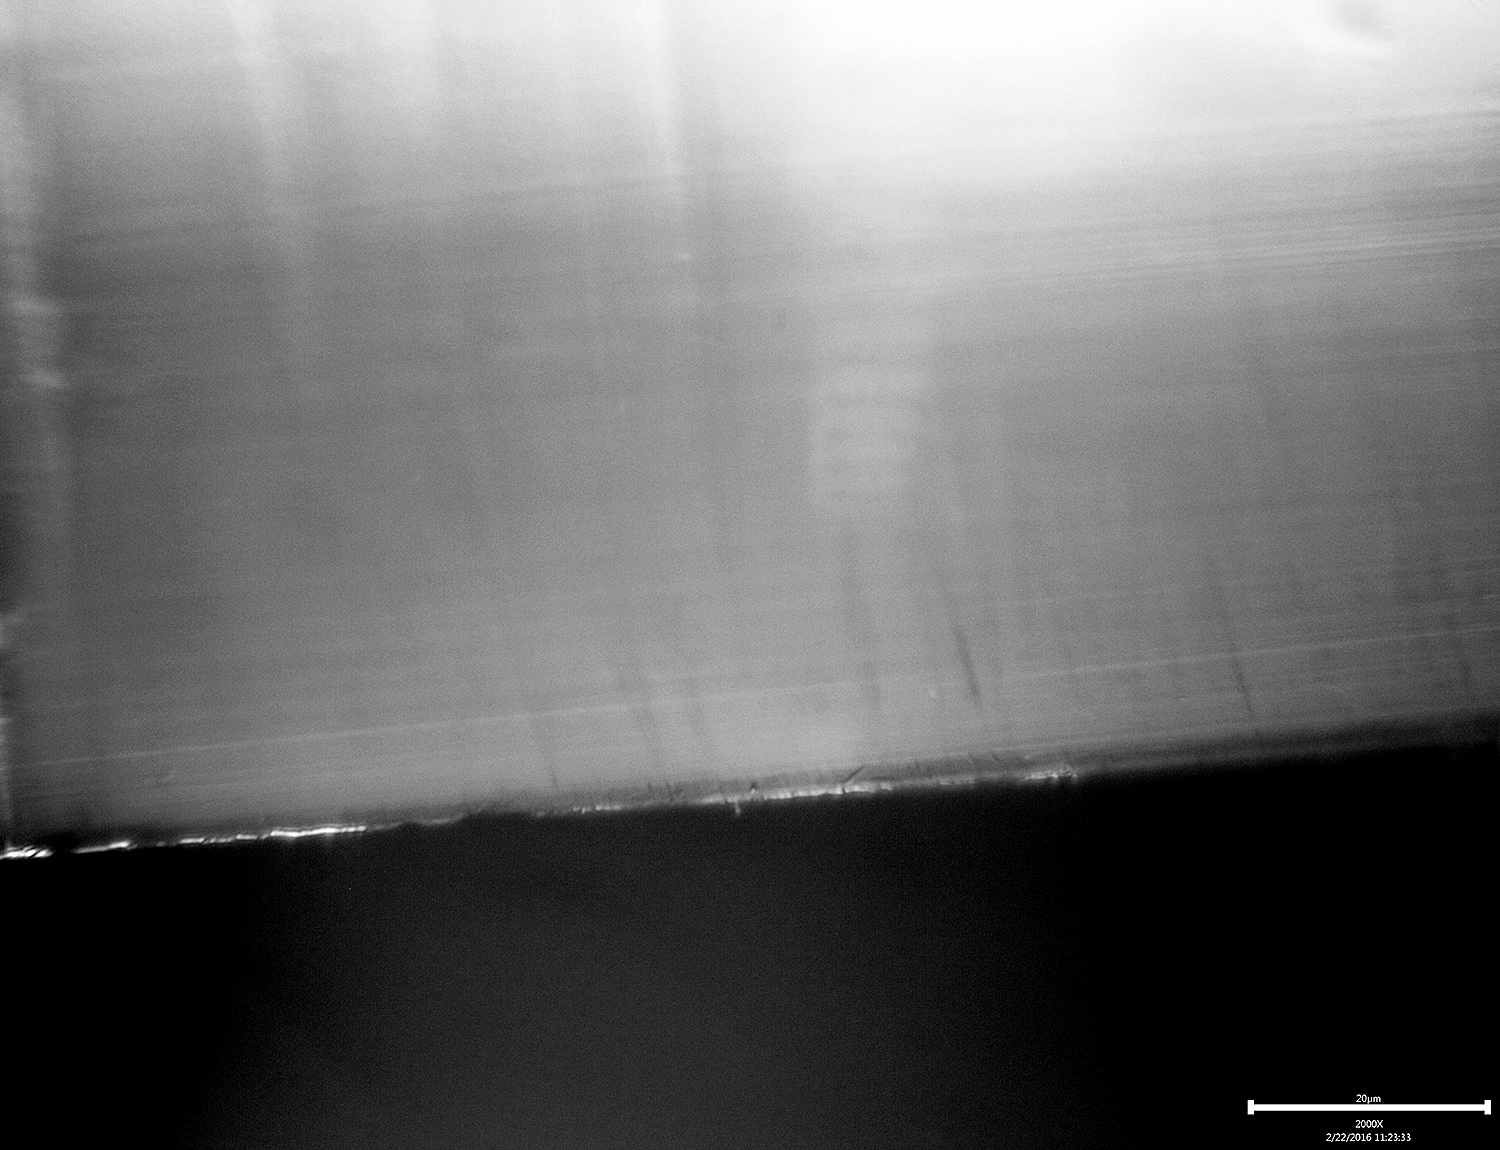
02/22/2016 at 10:49 am #31464I’ve been struggling to duplicate the edge sharpness with the horizontal stroke. It seemed that the edges I was creating with that technique were pretty dull, not even shaving sharp. To investigate, I rebuilt the bevel on the blade I was using last week and finished it down to .1 microns with lapping film, all with horizontal strokes and I was able to get a somewhat decent image at 2000x. The image explains why the blade was barely shaving, even at 15 degrees per side:
-Clay
Attachments:
You must be logged in to access attached files.
1 user thanked author for this post.
02/22/2016 at 10:53 am #31466It’s interesting to note that the above edge damage is not visible in my loupe.
-Clay
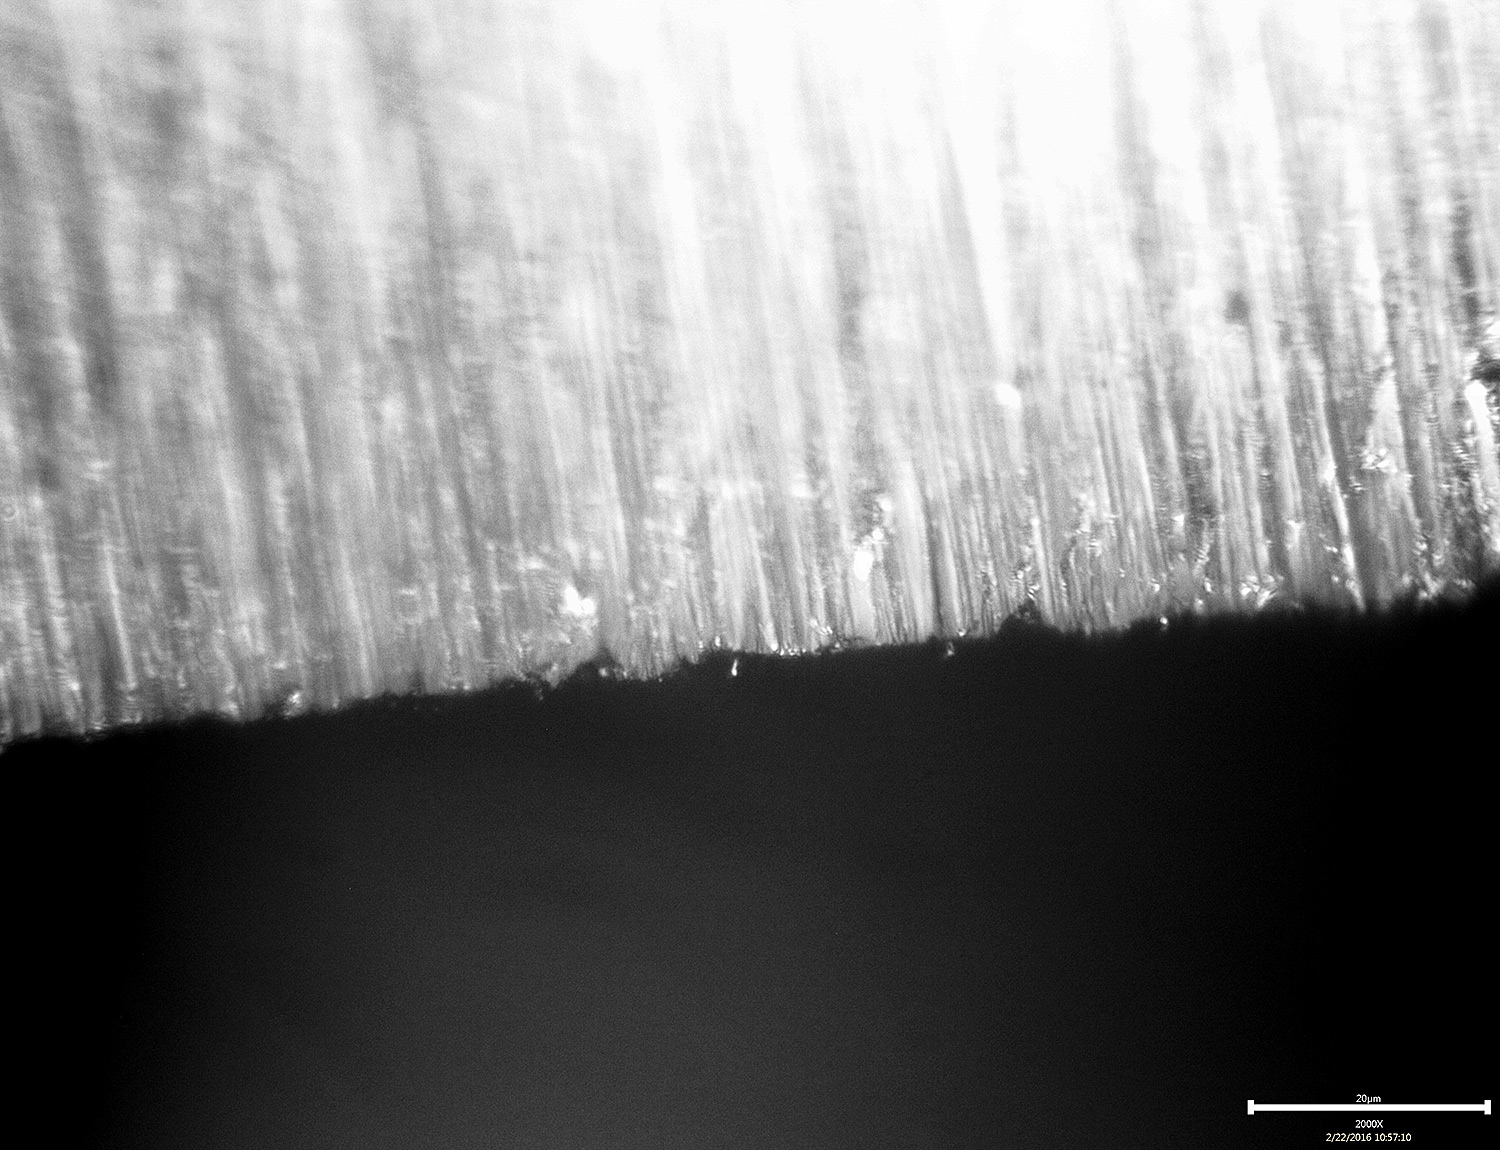
02/22/2016 at 11:18 am #31467Okay, more testing. First is 6 micron lapping film, edge leading, vertical strokes at the original 16 degree bevel:
This edge shaved, but not terrifically.
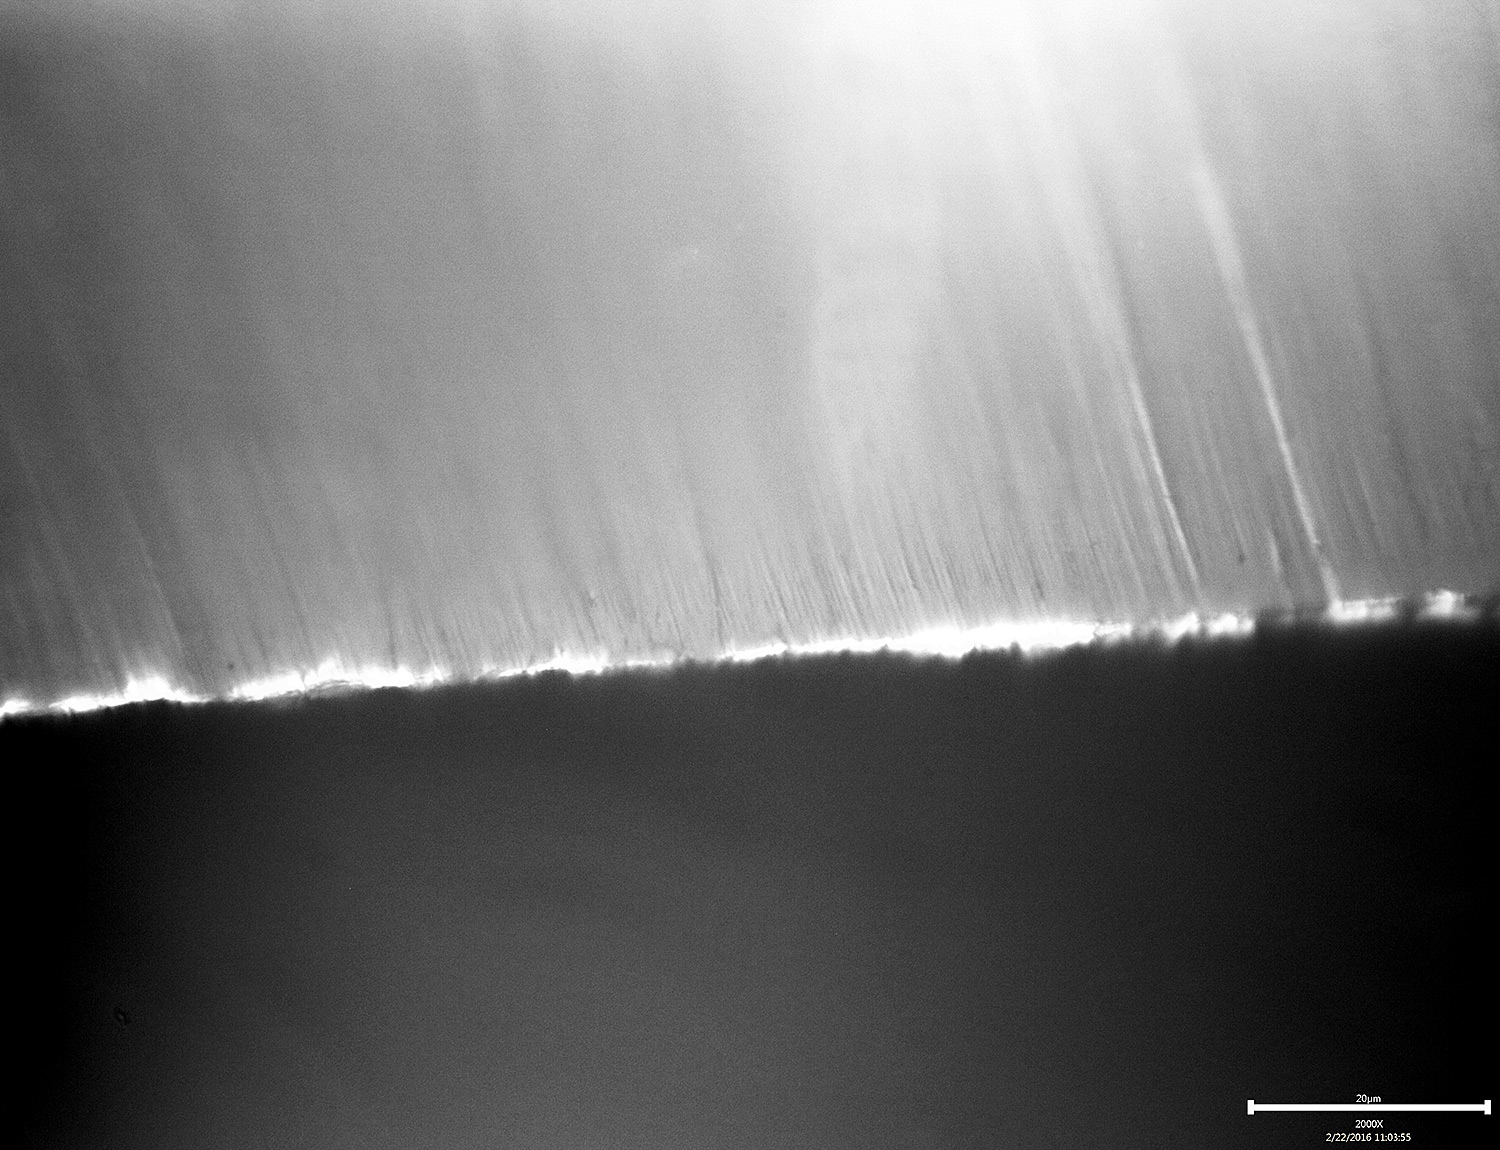
Next was .5 microns at 20 degrees, also vertical strokes, but this time edge trailing:
This edge shows some micro chips but shaves very easily.
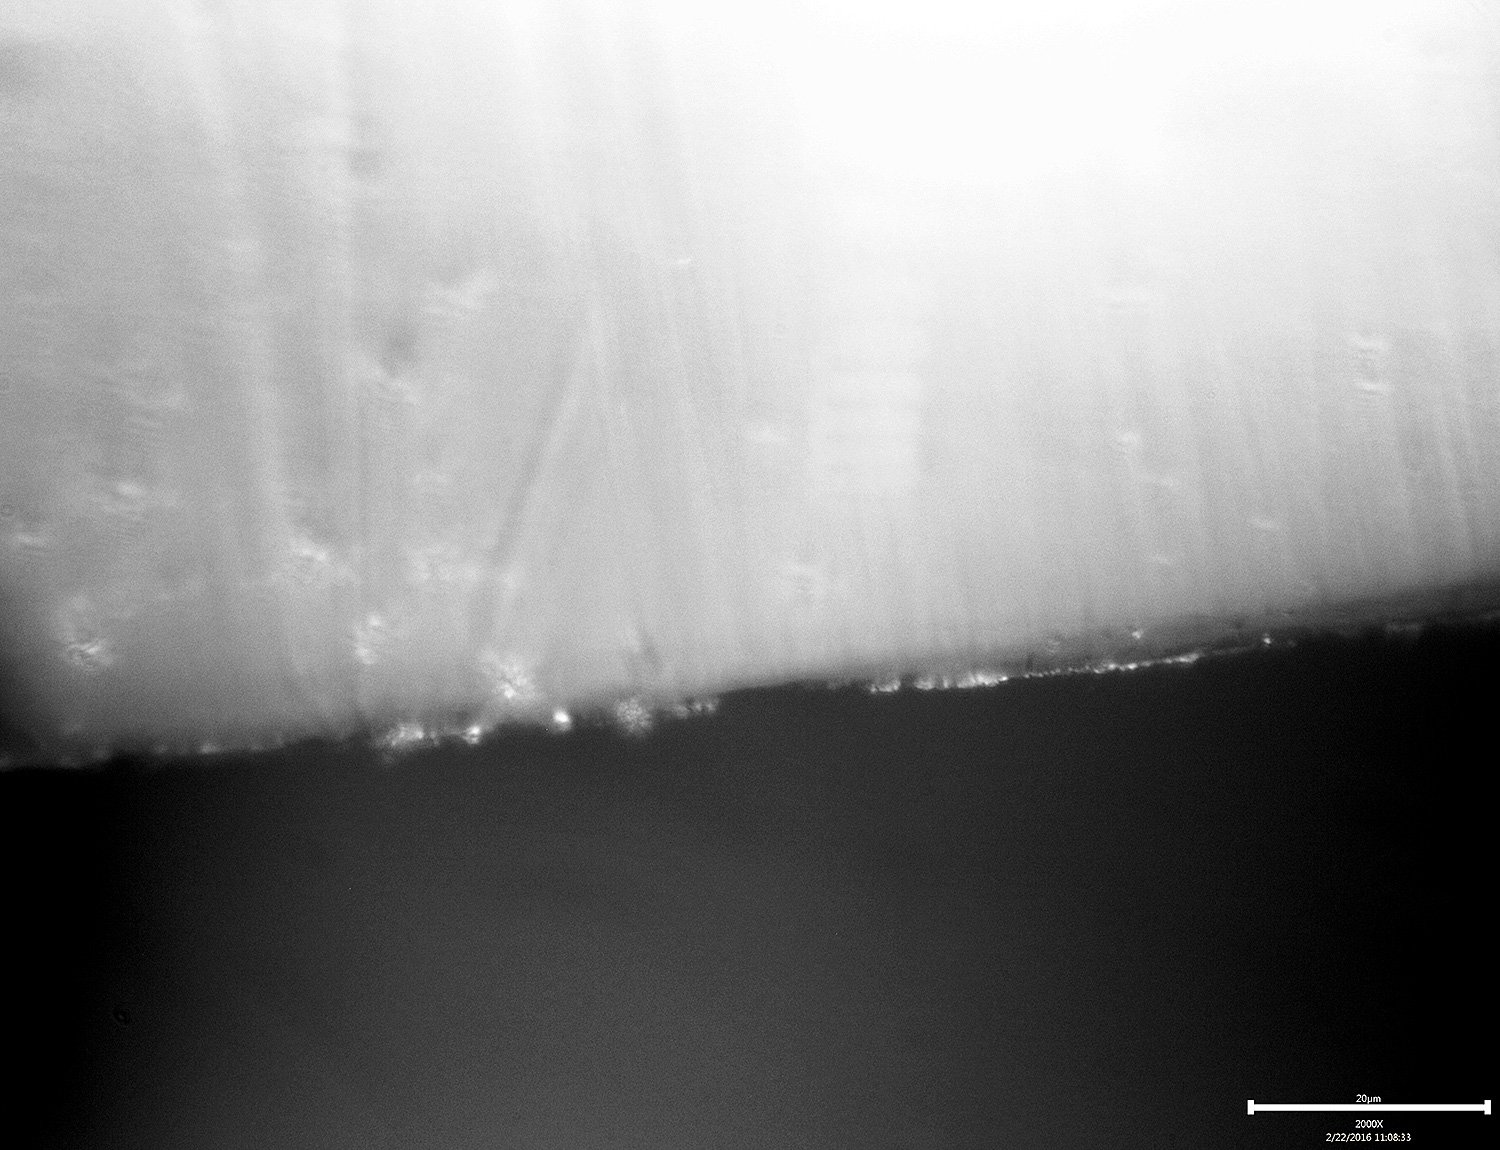
And then .5 microns at 15 degrees with leather strops instead of lapping film, edge trailing:
This last one not only shaved easily, but also was popping hairs easily, clearly the sharpest.
I think these are the best edge images I’ve been able to take at 2000x. I’ve been able to get good shots of the bevel but the edge gets somewhat lost, so I’m very grateful for this thread because it’s allowing for good, hi-res visualization of the edge. The foil edge is very easily seen after stropping in this last image.
-Clay
Attachments:
You must be logged in to access attached files.
1 user thanked author for this post.
02/22/2016 at 11:20 am #31471Is it possible that lateral strokes are less likely to hit the apex – especially with film? If your angle is off by even a tenth of a degree or so, you probably won’t hit it. If this happens with one or more of the earlier grits, you may not be able to correct it without starting over.
Maybe Cliff had a softer platen surface?
02/22/2016 at 11:27 am #31472This one is fascinating:
.5 microns lapping film with 5 very light horizontal strokes at 20 degrees. It was still shaving but lost the hair popping ability. I’d hoped to remove the foil edge by increasing the angle from the 16 degrees where it was stropped but a new foil edge was created at the higher angle.
-Clay
Attachments:
You must be logged in to access attached files.
3 users thanked author for this post.
02/22/2016 at 1:46 pm #31476Is it possible that lateral strokes are less likely to hit the apex – especially with film? If your angle is off by even a tenth of a degree or so, you probably won’t hit it. If this happens with one or more of the earlier grits, you may not be able to correct it without starting over. Maybe Cliff had a softer platen surface?
I had used the same 1000 grit paddle w/ bushings from the start to finish avoiding the variable thickness issue…and I did try this to finish:
Thanks Clay for all you time in on this. Fascinating stuff!
02/22/2016 at 2:05 pm #31478Is it possible that lateral strokes are less likely to hit the apex – especially with film? If your angle is off by even a tenth of a degree or so, you probably won’t hit it. If this happens with one or more of the earlier grits, you may not be able to correct it without starting over. Maybe Cliff had a softer platen surface?
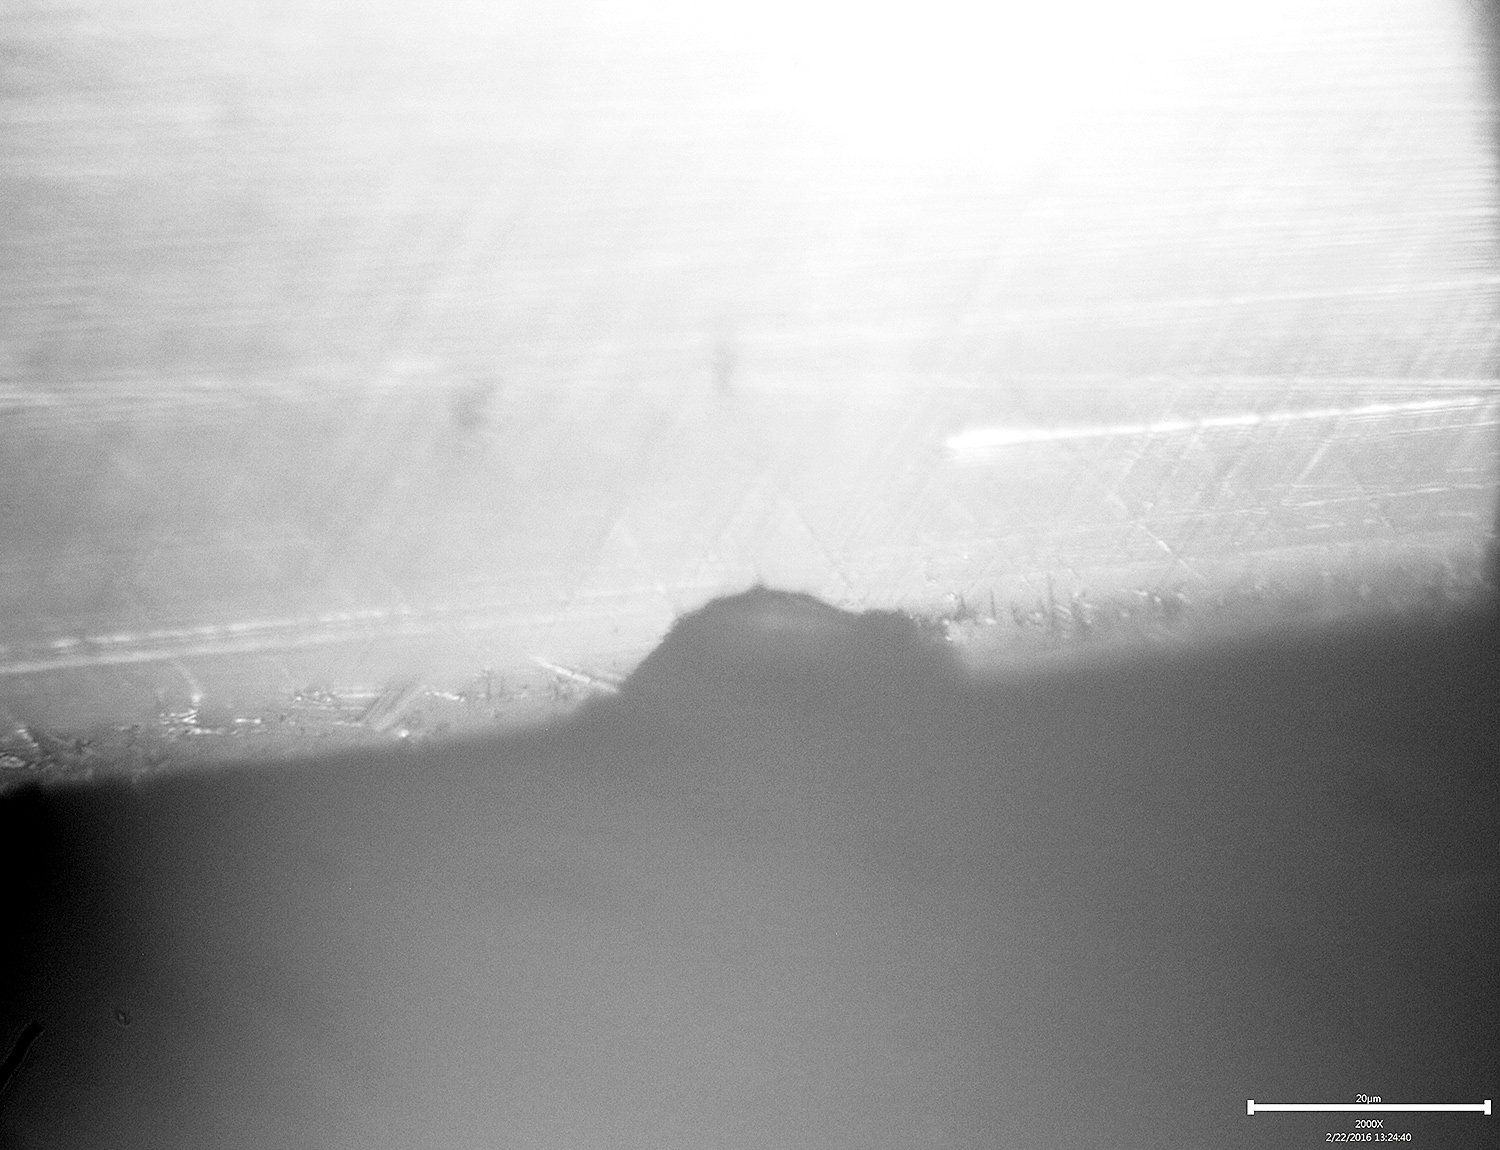
I’m finding that stones are making it to the edge, but taking out significant gouges as they go. I’ve repeated it a number of times today with the same results. Here’s a look:
The scale at the bottom is wrong, this was shot at 800x, not 2000x.
-Clay
Attachments:
You must be logged in to access attached files.
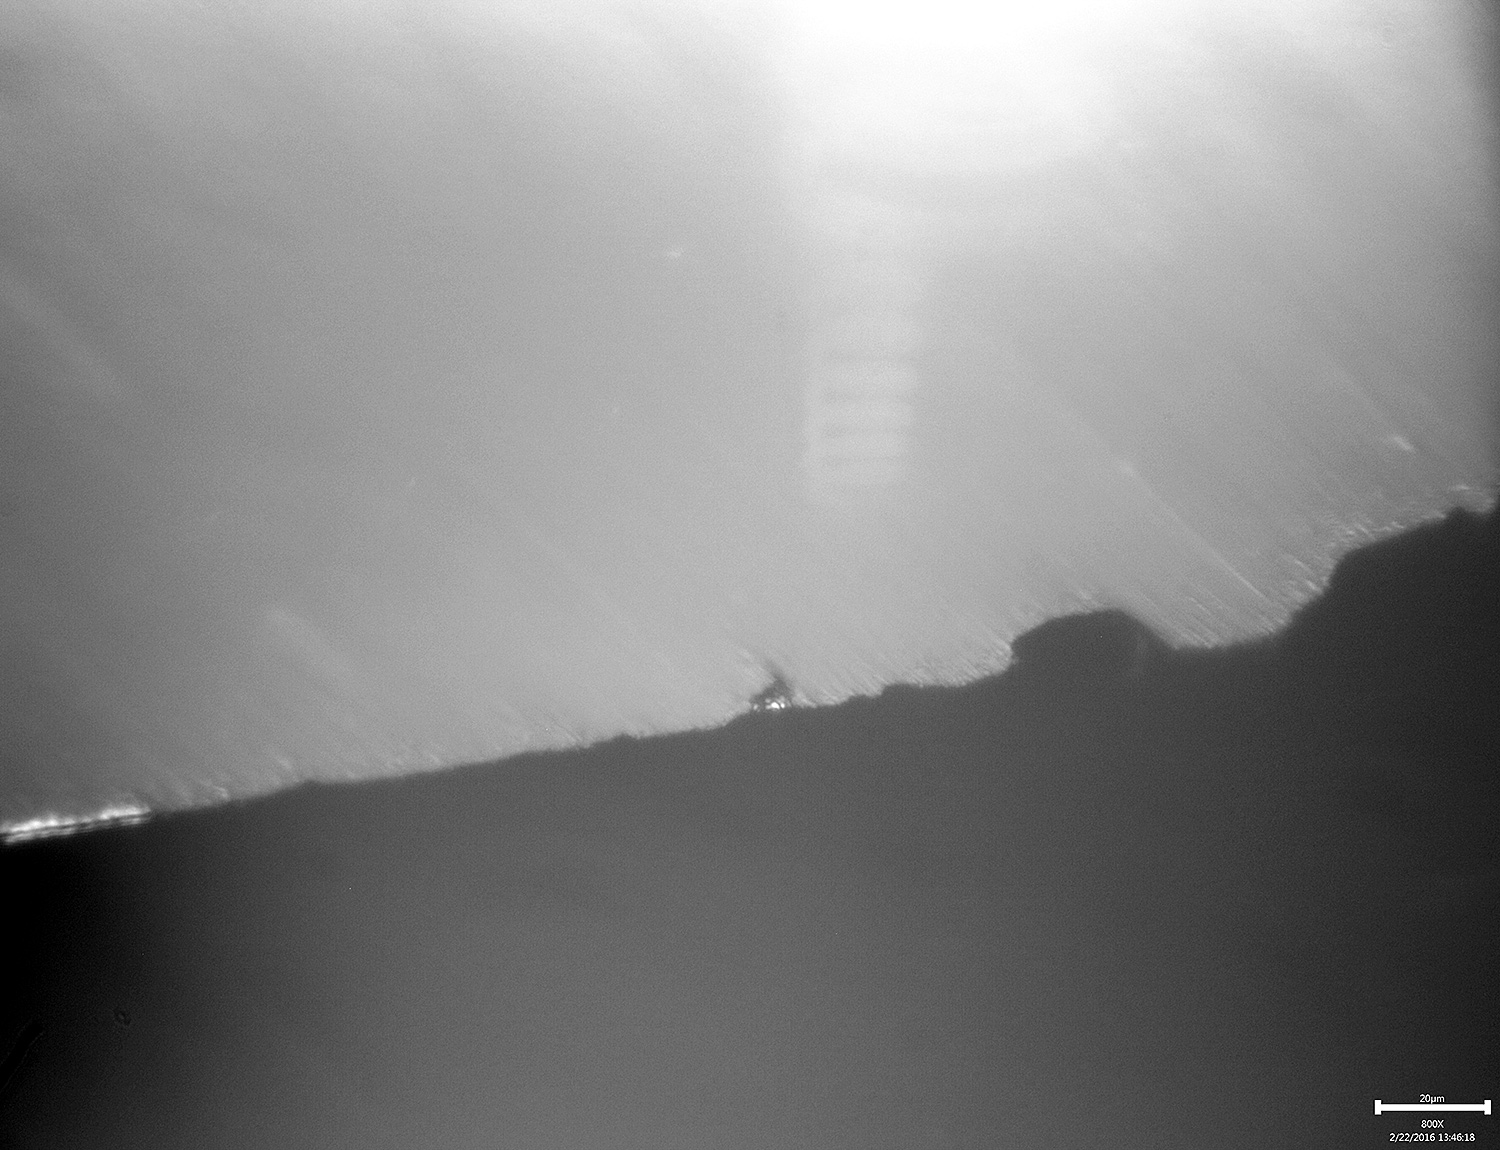
02/22/2016 at 2:08 pm #31480Here’s another look where I started back to diagonal strokes after doing the horizontal strokes. The big chunks are still there, but on their way out:
-Clay
Attachments:
You must be logged in to access attached files.
02/22/2016 at 4:18 pm #31485It’s hard to believe that the film could be taking out such big chunks. Is it possible the damage was happening when you still on the 1000 grit stones? That last one qualifies as a “toothy” edge for sure. If the scale is right (@20 microns) those chunks are just under 0.001″ wide and correspond fairly well with the width of a single, 1000-grit diamond particle, but going perpendicular to the edge, so even that makes no sense.
I would take a look at the chips edge-on, to judge the thickness of the break-out. Is the edge getting unusually thin with the lateral stoning?
You say that the problem repeats itself on further sharpenings. Do you mean on different knives, or do we have a problem with the steel in this particular knife?
I never see my edges at more than about 180X. I’m impressed that the film is polishing such a beautiful flat right out to the edge – none of the rounding I would imagine would happen with strops. Have you done a comparison between the two?
I’m trying to recall the name of the fellow who writes the very good blogs on sharpening – the guy with the SEM photos. This would be a great problem to put on his table.
I gotta try this on a couple of my old clunkers. I’ll dig out my el cheapo Chinese ‘scope @ 500X. Thanks for sharing this with us, Clay. I love a great puzzle.
02/22/2016 at 5:20 pm #31486It’s hard to believe that the film could be taking out such big chunks. Is it possible the damage was happening when you still on the 1000 grit stones? That last one qualifies as a “toothy” edge for sure. If the scale is right (@20 microns) those chunks are just under 0.001″ wide and correspond fairly well with the width of a single, 1000-grit diamond particle, but going perpendicular to the edge, so even that makes no sense. I would take a look at the chips edge-on, to judge the thickness of the break-out. Is the edge getting unusually thin with the lateral stoning? You say that the problem repeats itself on further sharpenings. Do you mean on different knives, or do we have a problem with the steel in this particular knife? I never see my edges at more than about 180X. I’m impressed that the film is polishing such a beautiful flat right out to the edge – none of the rounding I would imagine would happen with strops. Have you done a comparison between the two? I’m trying to recall the name of the fellow who writes the very good blogs on sharpening – the guy with the SEM photos. This would be a great problem to put on his table. I gotta try this on a couple of my old clunkers. I’ll dig out my el cheapo Chinese ‘scope @ 500X. Thanks for sharing this with us, Clay. I love a great puzzle.
I’m pretty certain it’s not breakout from the 1000# stones. I rebuilt the edge a number of times and looked at it at each stage of each iteration and I only saw the breakout like that when I went all the way to the edge with the edge-parallel strokes. I’ll see what I can do about looking at it edge on. The depth of field at the higher magnification is pretty poor, so all you see is one small portion of it but I might be able to look at 230x or maybe 500x and get some measurement. I think though that kind of job is really more for the SEM level. Todd Simpson is the guy you’re thinking of. It would be interesting to prepare some samples and send them off to him. If you guys want to suggest a few, like maybe 4-6 preparations, I could set them up and send them his way to examine. As far as polish goes, the edge-parallel (maybe lateral is a better term) technique looks great at low magnification and to the naked eye, just the opposite of a highly stropped edge which looks great at high magnification but not as good at low ranges. One thing that I keep coming back to is that the edge isn’t very sharp for me when I’ve used the lateral technique, barely shaving even at 15 degrees and .1 microns. I can take an edge that I’ve prepared with perpendicular or diagonal strokes that’s easily whittling hairs and do the lateral technique until all marks are gone and end up with an edge that won’t shave at all. Weird. Then, looking under the microscope, I see the big tear outs and it seems clear that something about the process is beating up the edge. I’m trying to picture the forces involved as the stone slides along and I’m not sure yet how it compares to the forces with other stroke directions. Maybe tomorrow I’ll prepare an edge the traditional way with a very smooth scratch pattern up to the edge and then I’ll work laterally, a little lower than the final angle and try to creep up on the edge to see when the tear out happens, if it happens at all. I could take a few images as I progress so we can be sure that the tear outs aren’t present before the lateral strokes. Or, I could just start on the edge right away and see what happens. Since I’m clearly rambling now, I’ll hang it up for the night and go play some racquetball.
-Clay
3 users thanked author for this post.
02/22/2016 at 6:11 pm #31487Following this thread…in absolute amazement, as I frequently find myself doing.

Alan
3 users thanked author for this post.
02/23/2016 at 3:58 am #31492Just a thought….
Can it be that with the lateral strokes, the edge of the stone is tilted ever so slightly and is “digging in” ?
02/23/2016 at 8:09 am #31496It’s interesting that very little can be found on this, outside of woodworking. I wonder if, for example, razor blade manufacturers ever did a study.
i did find one interesting quote in a wood working forum about side (lateral) sharpening…
I don’t like side sharpening for the final finish scratches at an edge. The edge failures are different and not in a good way (they are wider and make bigger marks in my experience – only a big deal for smoothing, but that’s probably all half the people who use hand planes use them for, anyway).
Not to mention even common trade discussion that I’ve read says the last set of scratches laid on when sharpening should go in the direction of cut. Right off the top of my head, the last place I read that was Odate’s book, but I know I’ve seen it elsewhere.
…that he saw “wider and make bigger marks” in the failure, seems to correspond to what you’re seeing under the scope… if I’m understanding it correctly.
1 user thanked author for this post.
-
AuthorPosts
- You must be logged in to reply to this topic.
