Advanced alignment guide
Recent › Forums › Main Forum › Product Announcements › Advanced alignment guide
- This topic has 189 replies, 22 voices, and was last updated 05/24/2016 at 3:13 am by
 M1rrorEdge.
-
AuthorPosts
-
02/12/2016 at 1:15 pm #31163
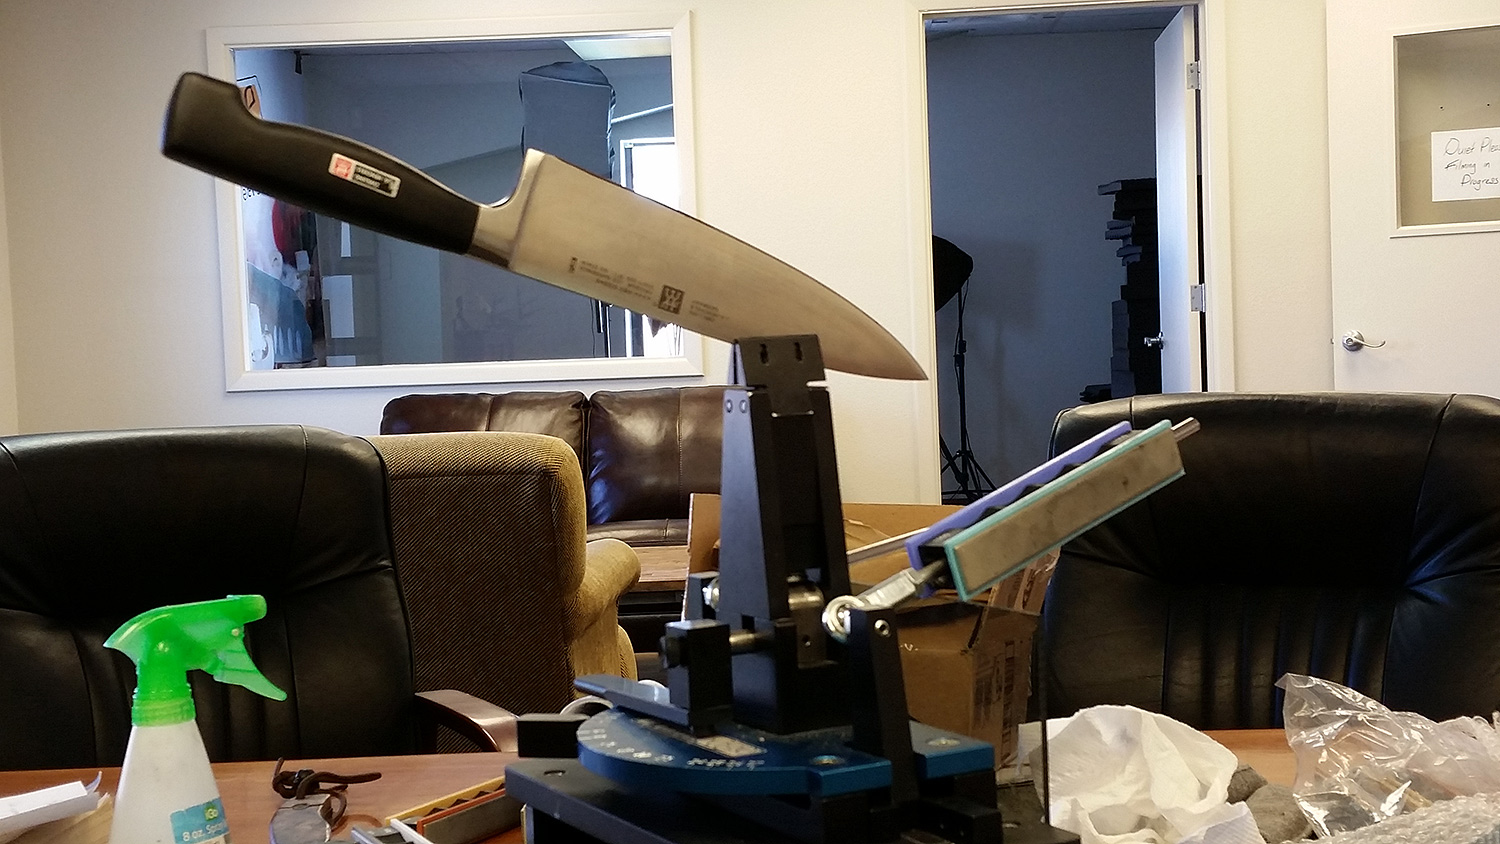
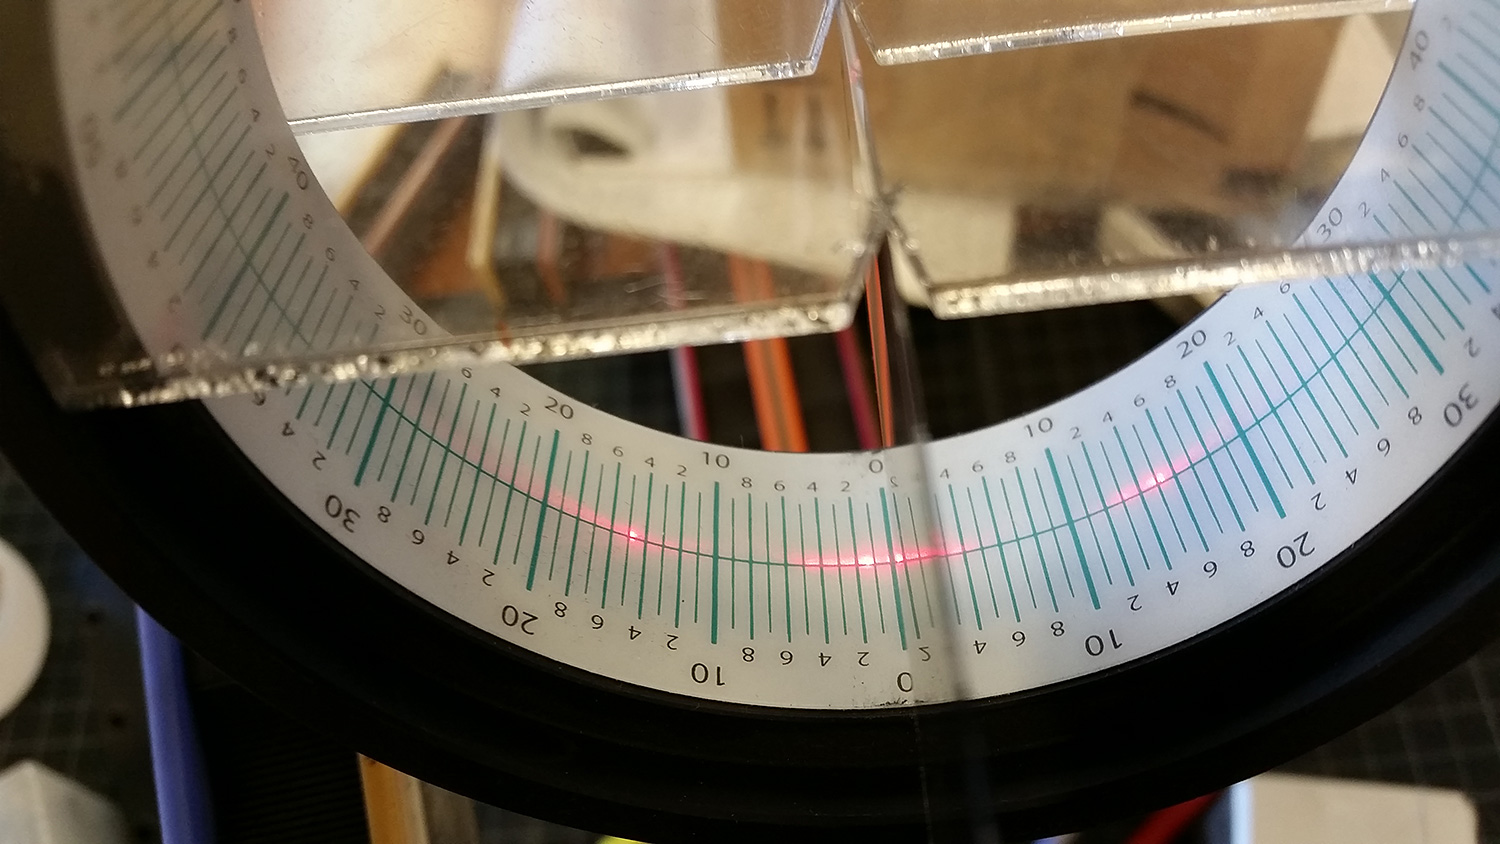
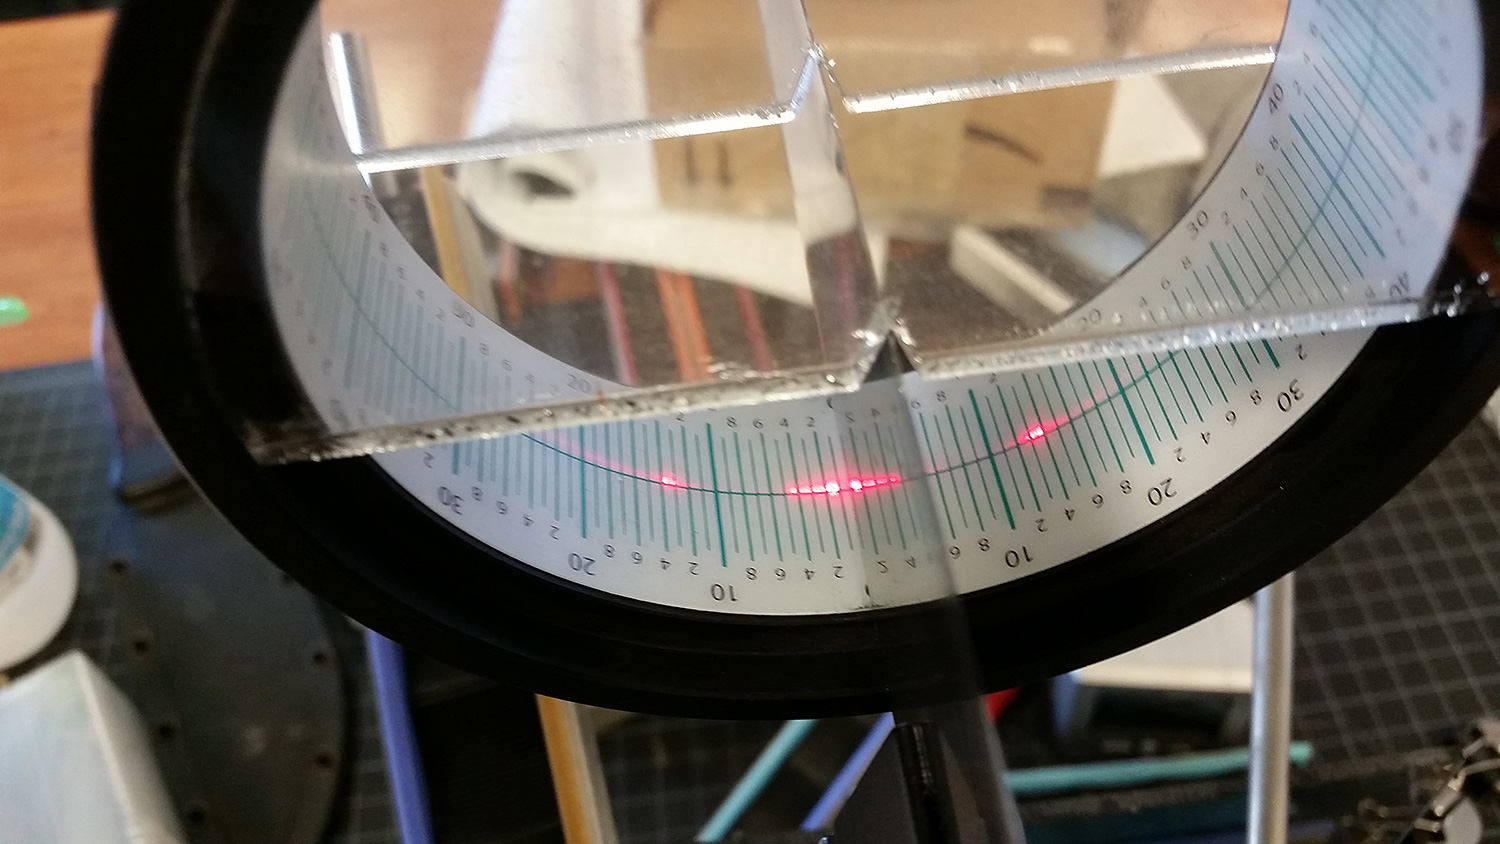
Here’s another position that seems to also work:
The stones removes the marker appropriately and the cube also shows similar angles to the previous positioning.
-Clay
Attachments:
You must be logged in to access attached files.
02/12/2016 at 1:18 pm #31166As we know, the o-ring (clip) will only will only be perfect along the whole knife if the knife edge is completely part of a circle (this is never the case).
I would tilt the knife until the o-ring (clip) passes as close as possible for as much length as possible. The rest of the knife will vary more (unless the rest of the knife is close to being a tangent from the arc.
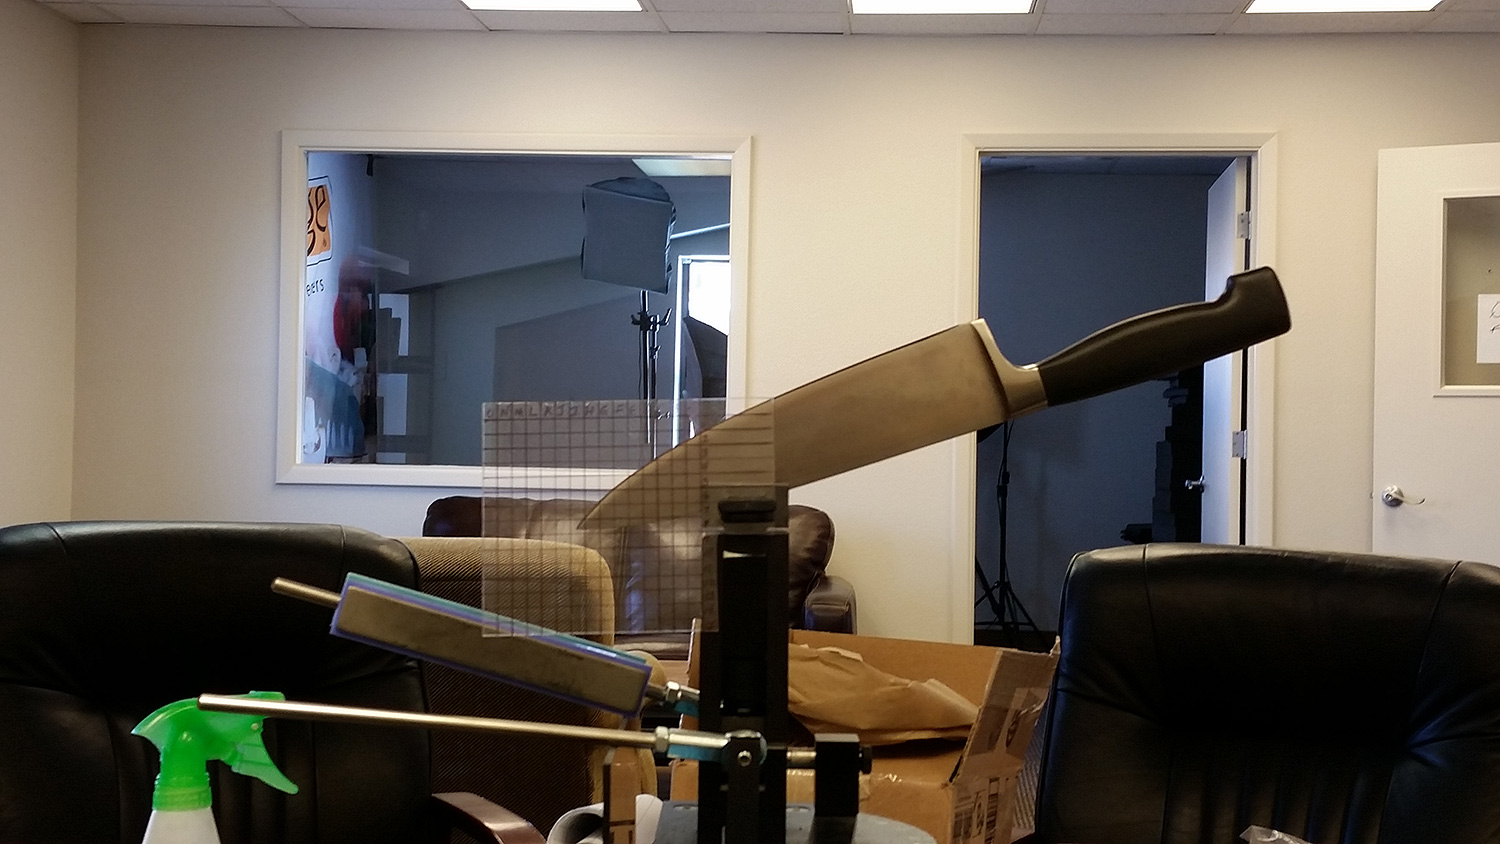
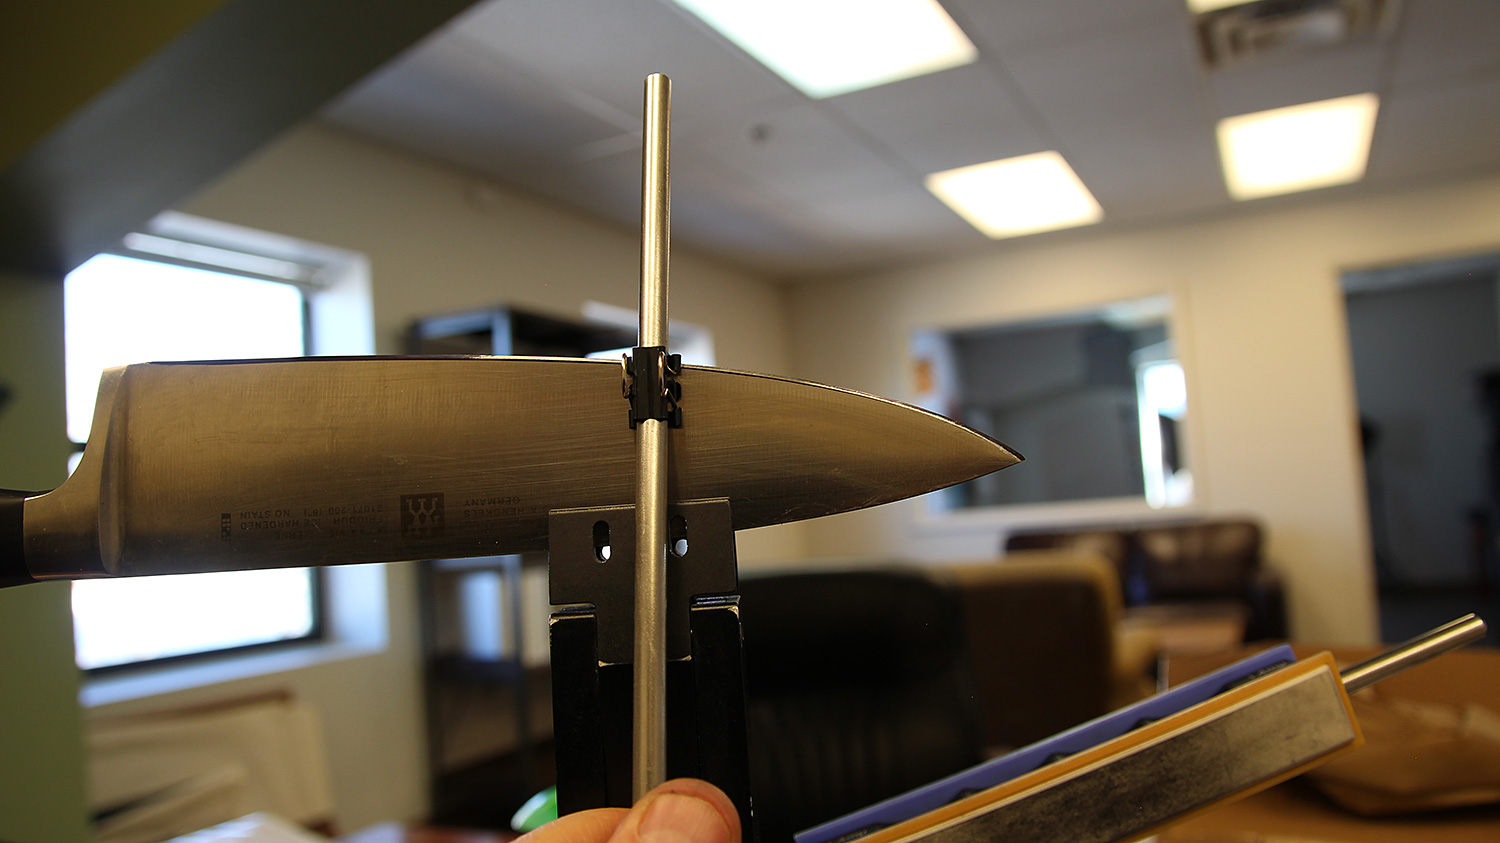
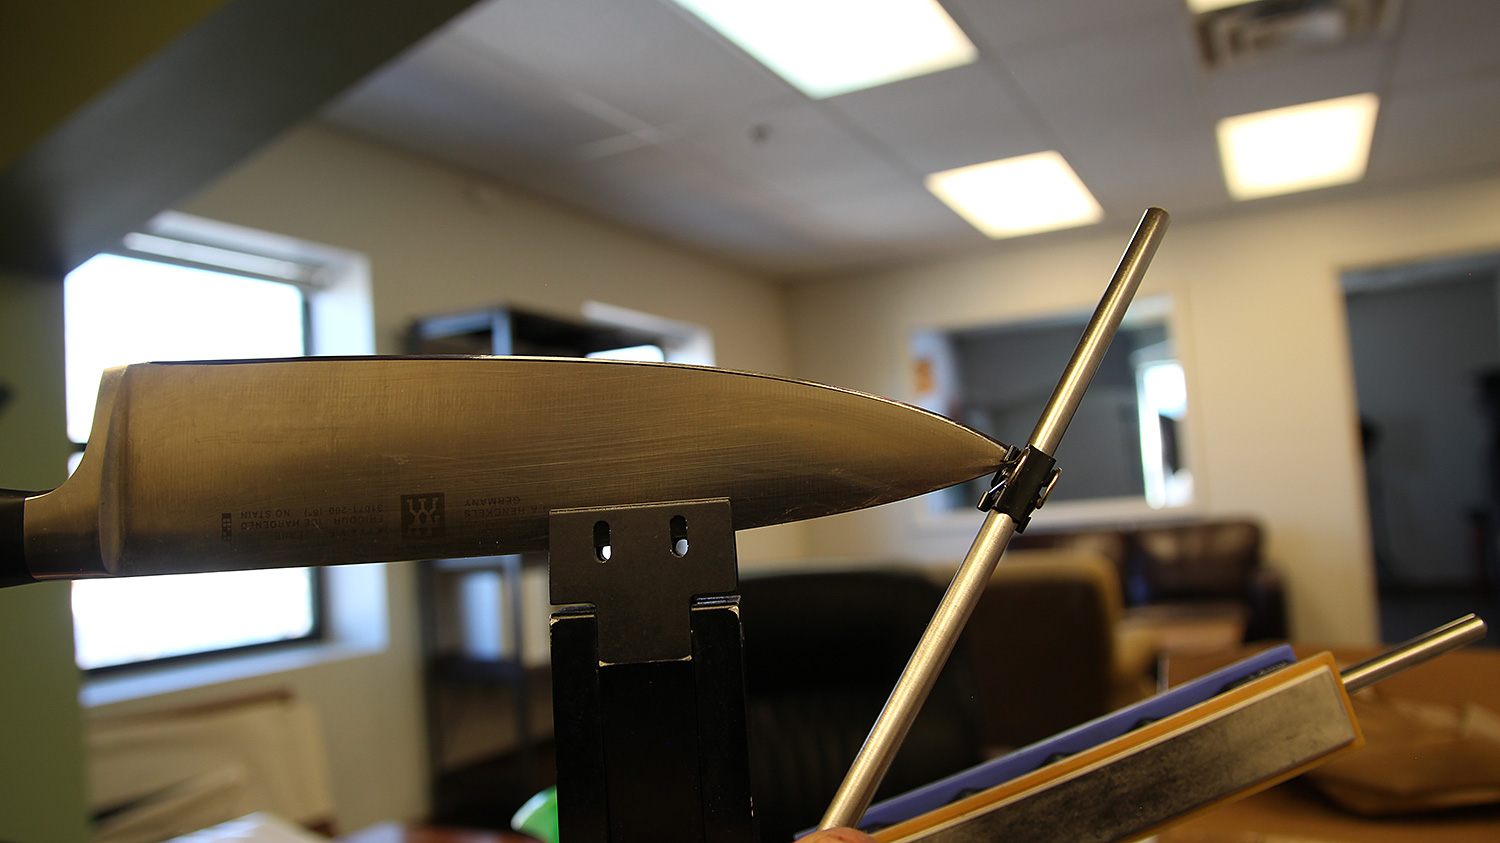
02/12/2016 at 1:25 pm #31167In this second positioning, the binder clip position is very different relative to the blade edge at the middle and at the tip:
So now I don’t know what to make of the o-ring technique. I’m hoping others will do some testing.
I studied the actual sharpened angle with the goniometer after these tests and found something strange. While the Angle Cube was consistently reading a higher angle in the middle of the blade, the goniometer reads a higher angle at the tip of the sharpened blade by nearly a full degree. It’s a pretty accurate device leading me to think that using a cube on the blade isn’t as straight forward as we’ve been believing.
-Clay
Attachments:
You must be logged in to access attached files.
02/12/2016 at 1:33 pm #31170It’s difficult to photograph the goniometer results because you need three hands to do it, or a tripod and the camera set to a timer. I was just using my phone camera, so I’ve got it slightly tilted in the photo showing the belly of the blade which is why it reads slightly differently from side to side. That is truly just my tilting the device while taking the photo. Here is the belly of the blade reading right around 15° per side:
And here is the straight portion of the blade reading just under 14° per side:
-Clay
Attachments:
You must be logged in to access attached files.
02/12/2016 at 1:39 pm #31173I find the cube to be hard to use for repeatability due to what you say. The goniometer seems more accurate. Based on your clip view at the tip I would have predicted a more obtuse angle at the tip (if I am thinking straight). Did the goniometer verify that ? Can you try it again with a better knife rotation angle vs. the clip ? I do not have a goniometer.
02/12/2016 at 1:46 pm #31174I find the cube to be hard to use for repeatability due to what you say. The goniometer seems more accurate. Based on your clip view at the tip I would have predicted a more obtuse angle at the tip (if I am thinking straight). Did the goniometer verify that ? Can you try it again with a better knife rotation angle vs. the clip ? I do not have a goniometer.
Yes, in both positions I tried, where the stone made a path through the marker that was equidistant from the edge (by eye) through the length of the blade, the tip was about 1° degree more obtuse than the straight portion of the blade. Are you asking that I use the clip method, sharpen the knife and then measure the sharpened angle?
-Clay
02/12/2016 at 1:53 pm #31175I’m not sure that you can mount the knife using one method, then check it with the ‘O’ ring, to see if it is accurate or not. Just because, they don’t line up, doesn’t mean the ‘O’ ring is not accurate… it may just be another (different) position for sharpening the blade.
So, yes (after seeing your other post), the only way to check if the ‘O’ ring method works, is to set the blade using that method, sharpen it and then measure the angle along the blade.
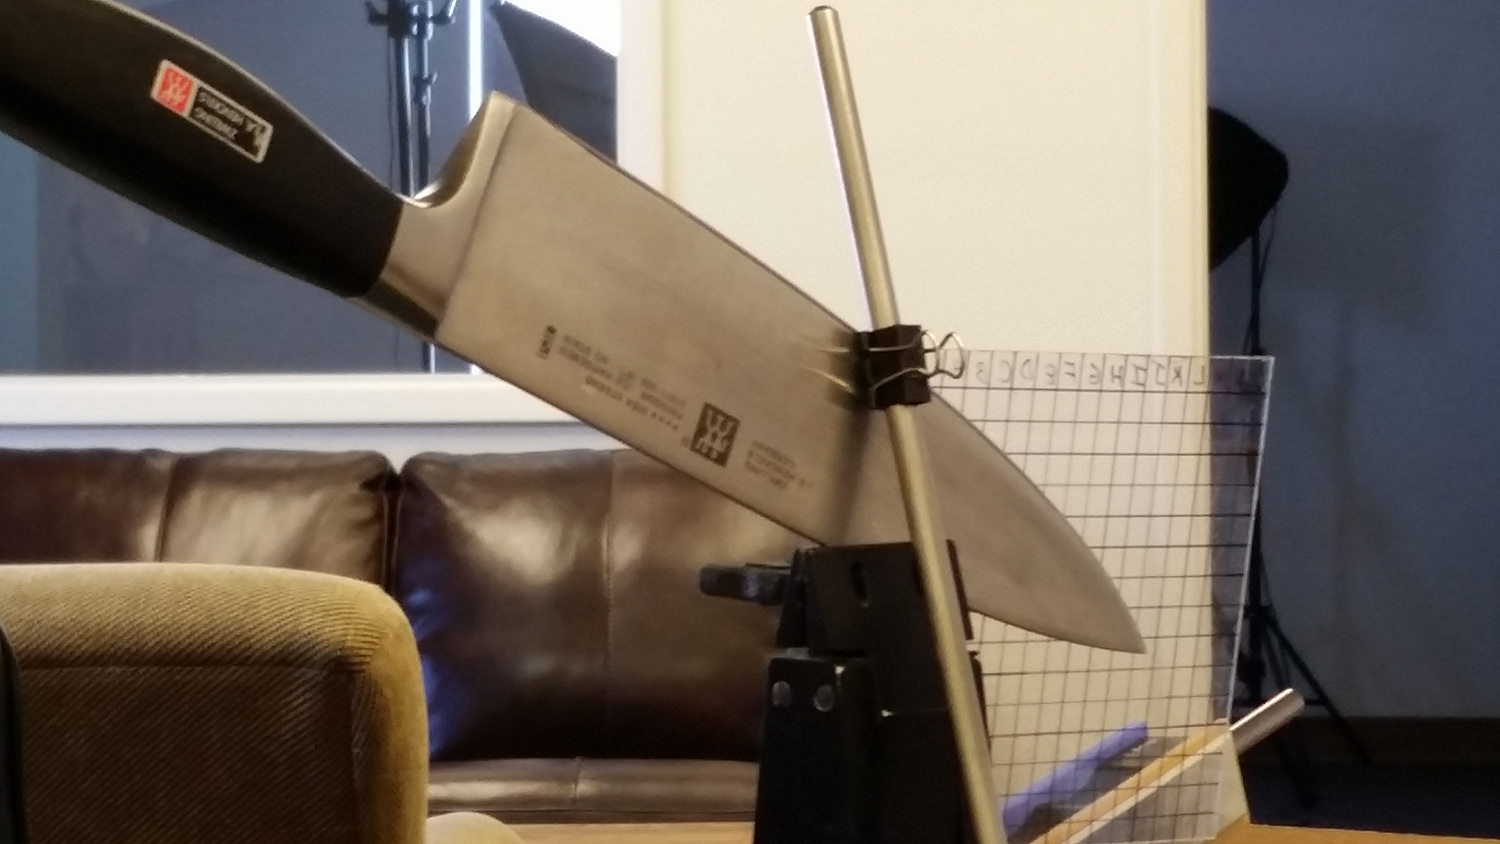
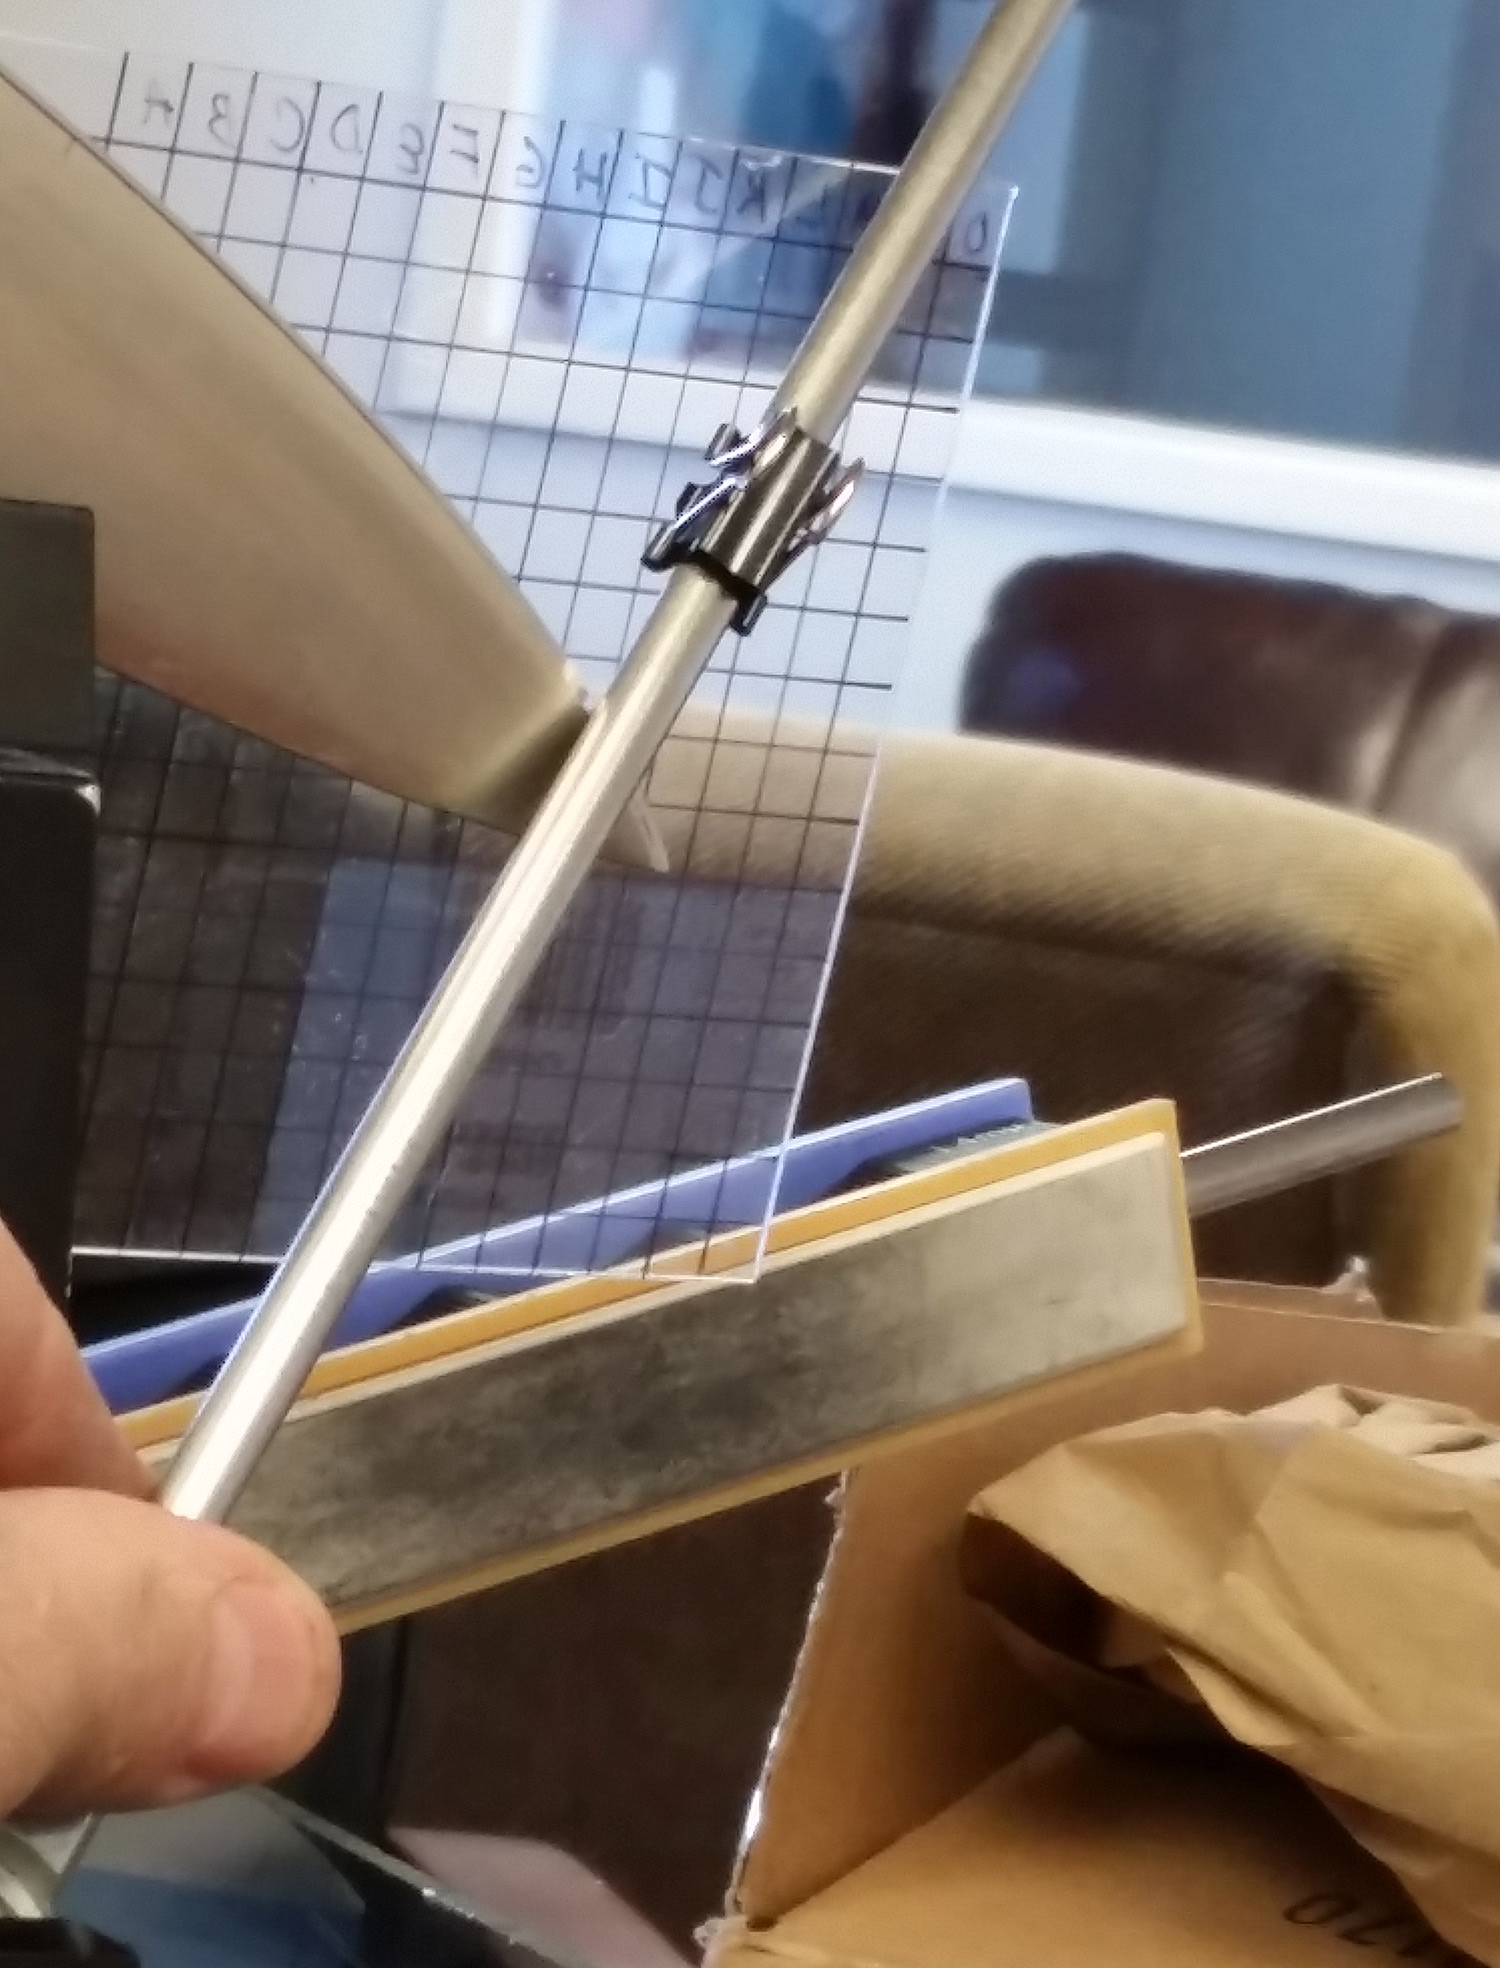
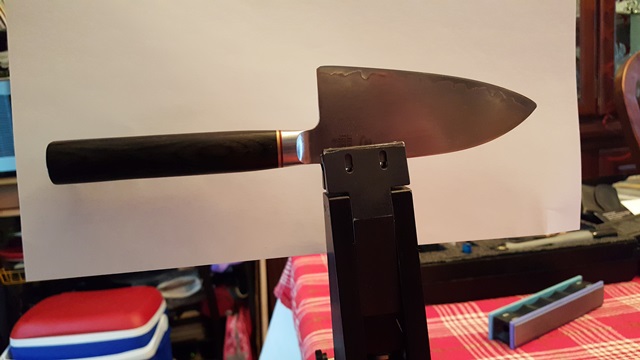
02/12/2016 at 1:56 pm #31176I just set the knife up per the 0-ring (binder clip) method and observed how the stone tracked through the marker:
You can see clearly in the last image that the stone tracks from full bevel to deep into the shoulder as it approaches the tip, which we know would result in a wide bevel and a lower angle.
-Clay
Attachments:
You must be logged in to access attached files.
02/12/2016 at 2:05 pm #31180That does not track to our theory – do you agree ?
02/12/2016 at 2:10 pm #3118202/12/2016 at 2:13 pm #31183I am setting up to try it now
Attachments:
You must be logged in to access attached files.
1 user thanked author for this post.
02/12/2016 at 2:18 pm #31186Yea, I did that (with the marker) and got the same thing. Oh well, fun while it lasted.
 (It still could be used as a reference to where the blade is positioned?)
What was interesting is how far down I had to tip the knife to get it to clear the marker evenly along the entire length. Angle cube shows it’s tilted at about 39 deg.
1 user thanked author for this post.
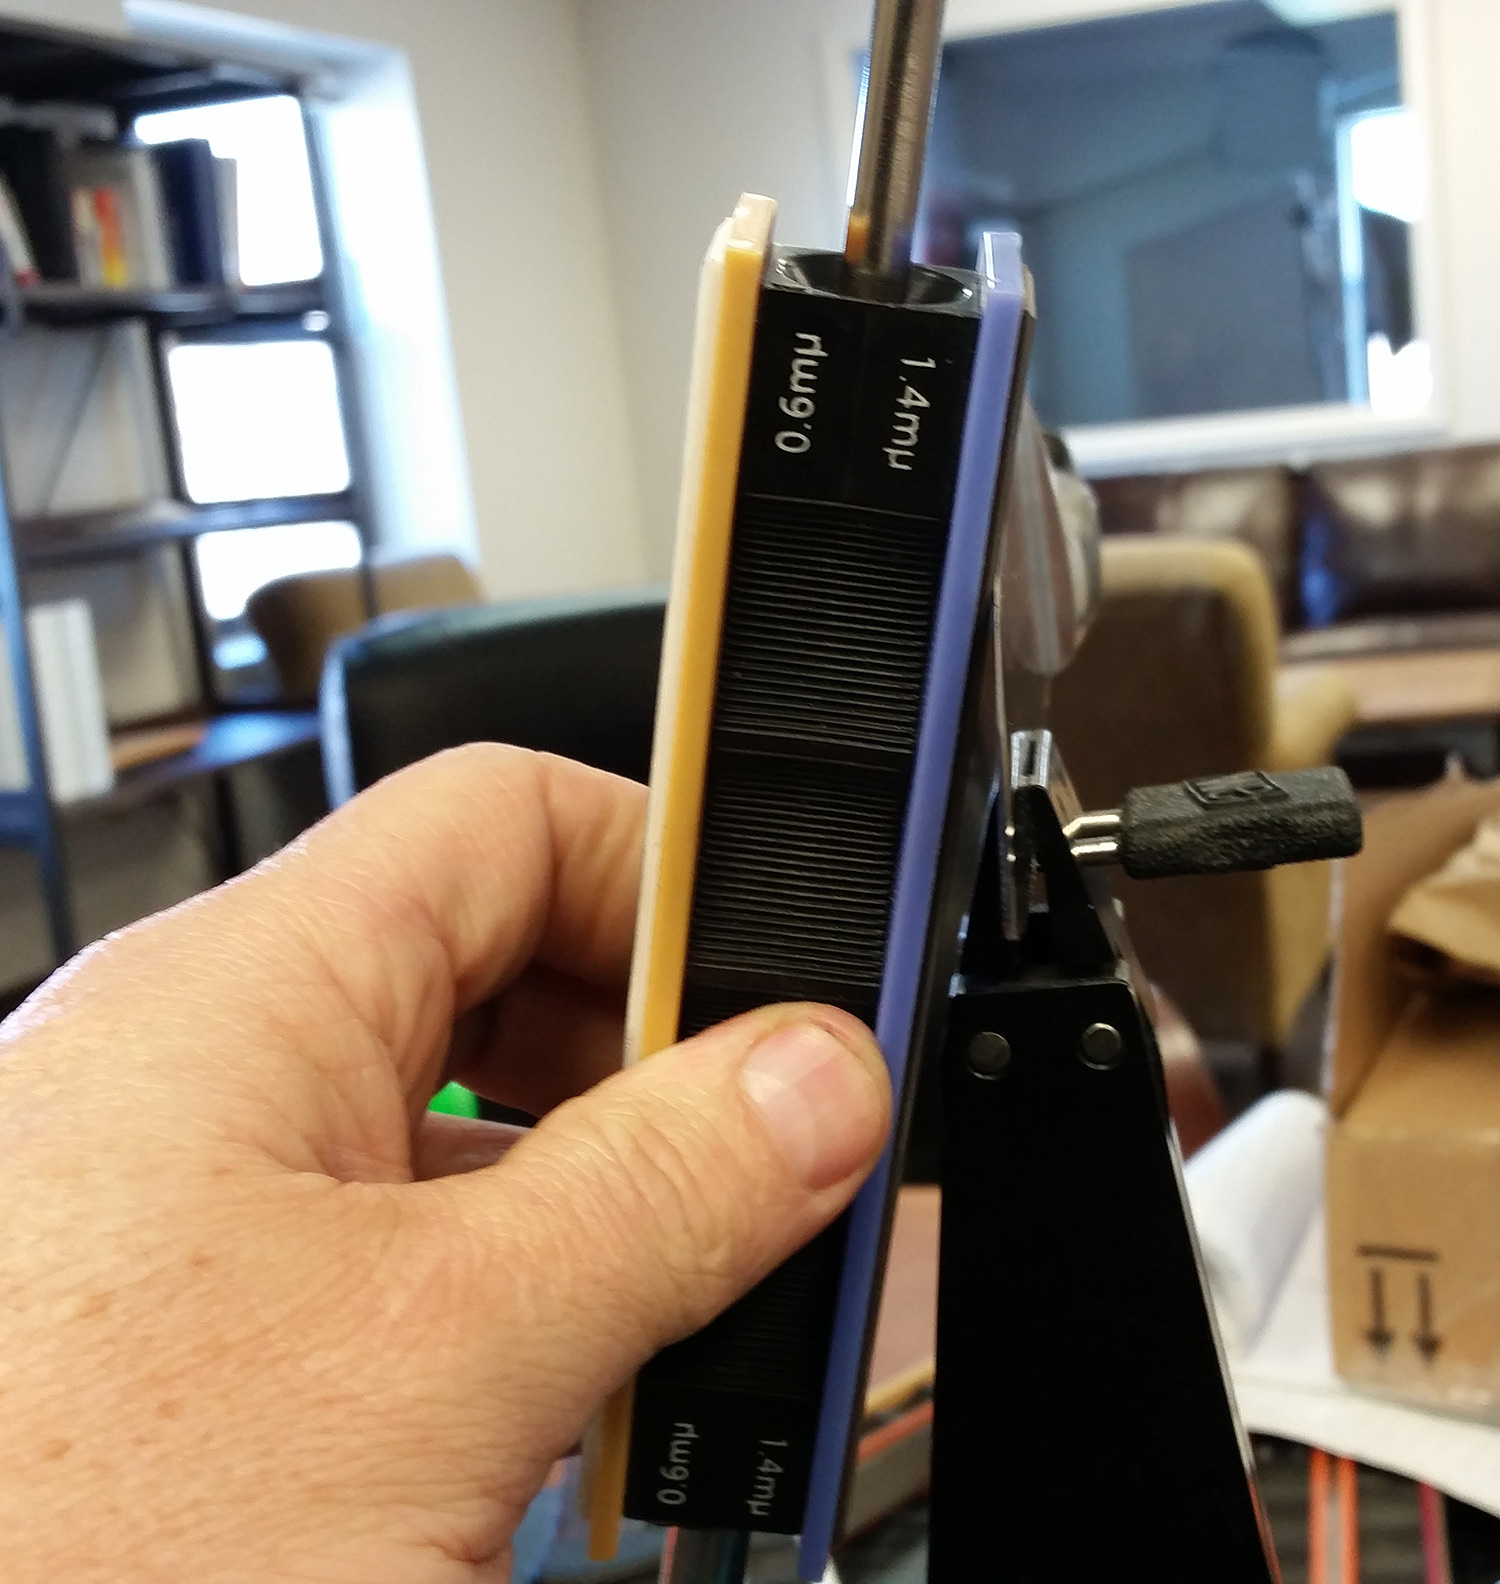
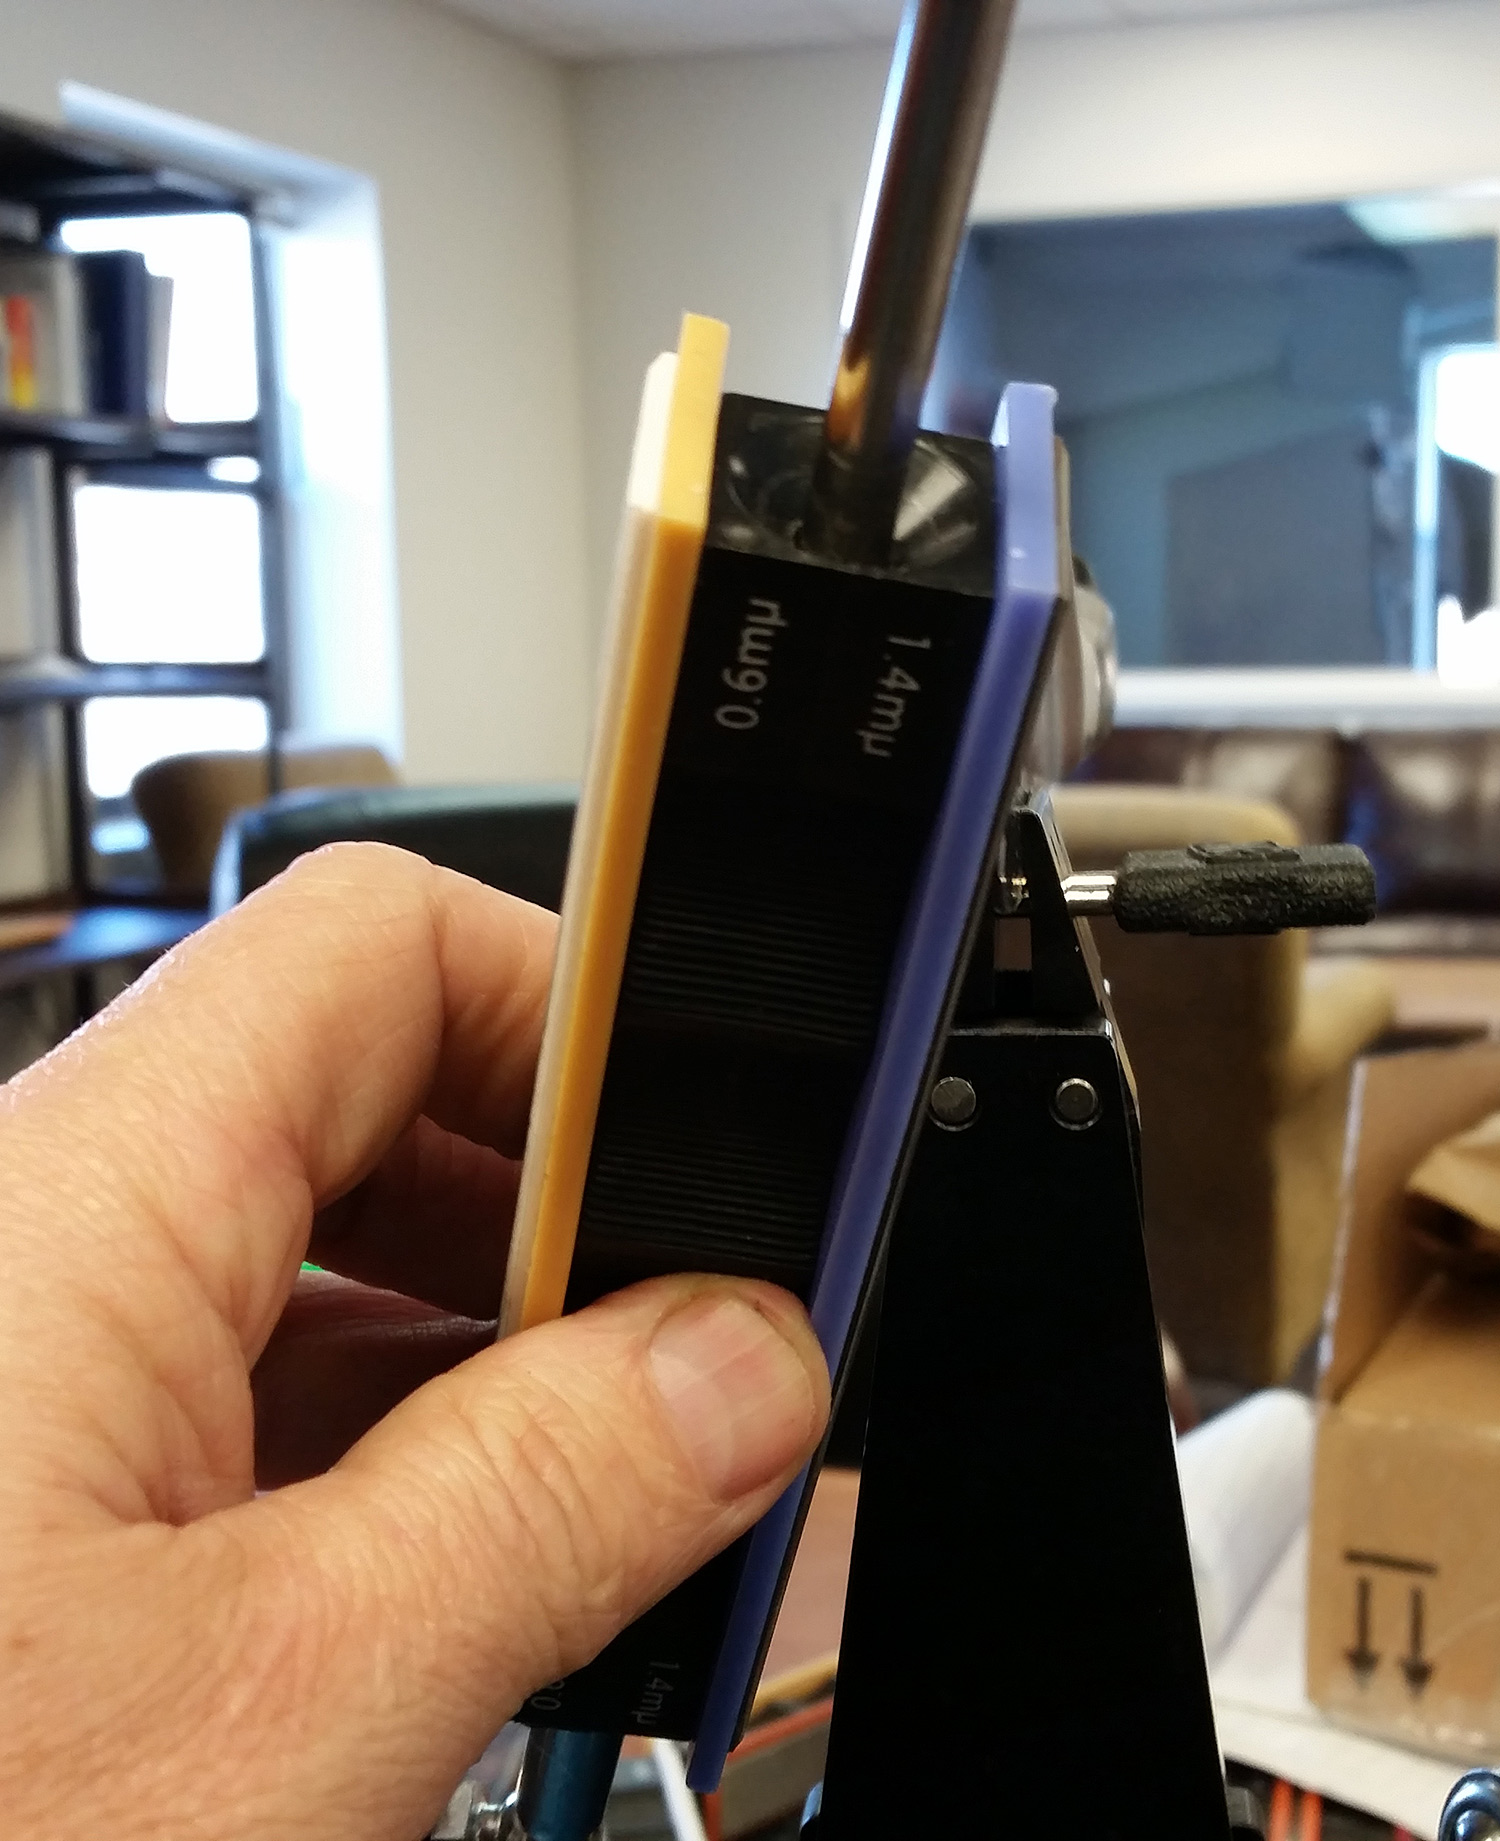
02/12/2016 at 2:20 pm #31187I just tried measuring the rotation of the stone on the rod as it travels down the length of the blade with the knife in the same position as the above photos. There is approximately 5° degrees of rotation from the middle of the blade to the belly. The images below aren’t very clear but give some idea as to how much the stones rotate:
-Clay
Attachments:
You must be logged in to access attached files.
02/12/2016 at 2:55 pm #31193Re axial stone rotation, it seems logical that rotating a flat stone against an edge would change the angle because the edges of the stone are farther away from the rod than the center of the stone. Rotating to either lead edge or trailing edge should decrease the bevel angle, as the rod is pushed away from the knife edge.
The curved stone should have less or no effect. I always strive to hold the stone flat against the edge by pressing both thumb and index finger toward the face of the blade. By grasping the block near the bottom, differences in pressure seem to let the stone naturally find flat-against-flat contact.
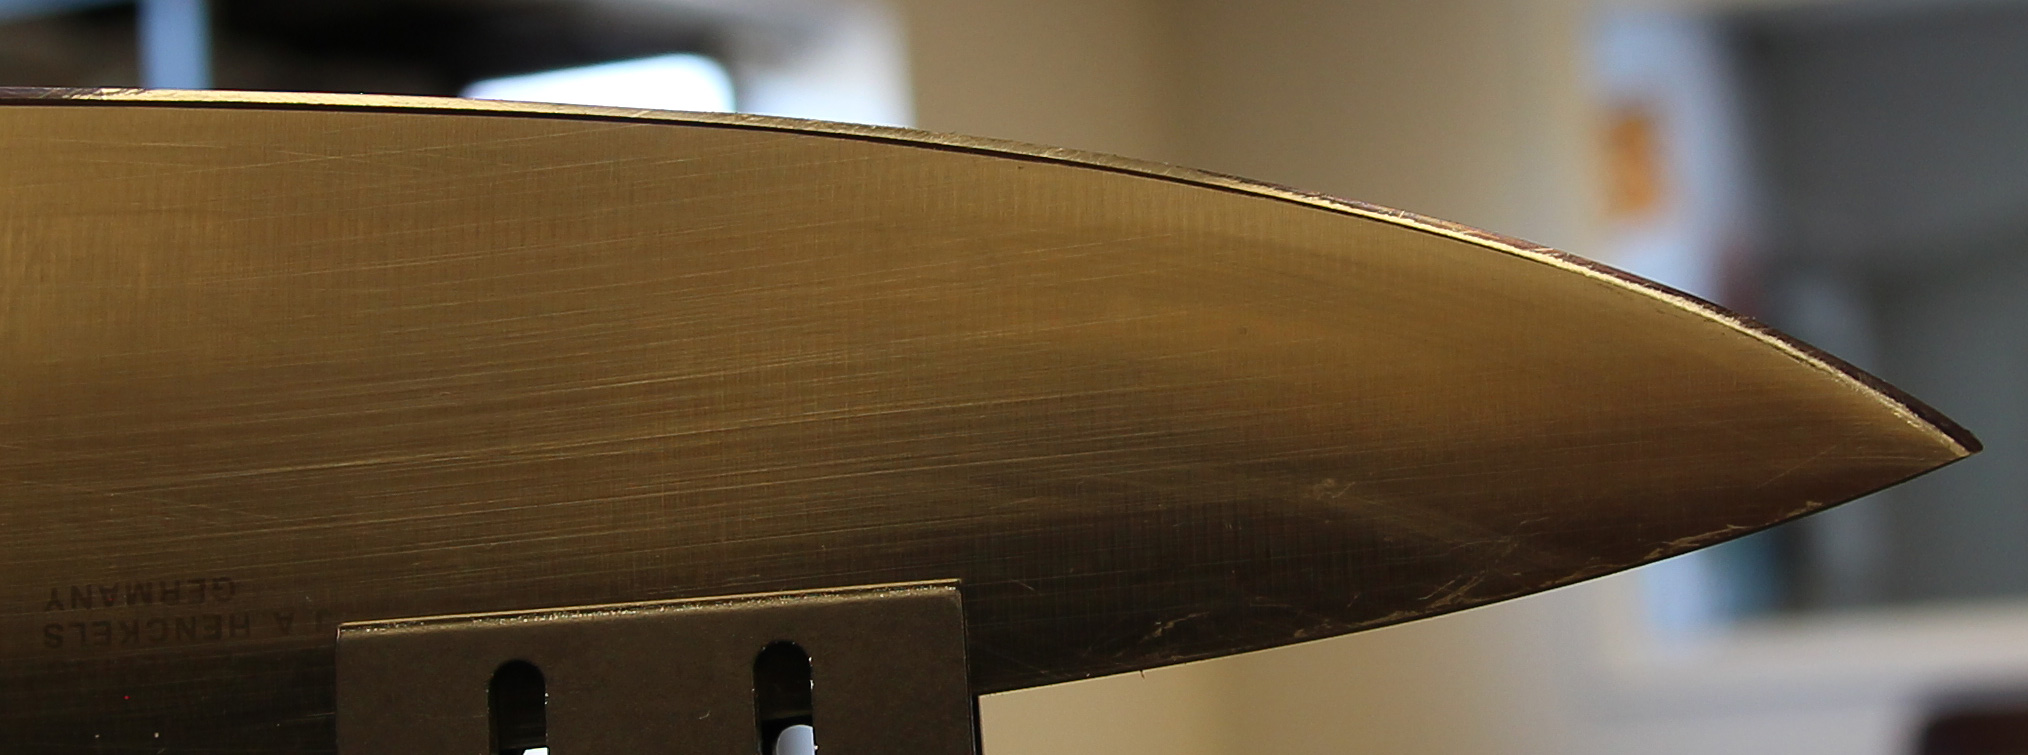
The difference in the width of the bevels in Clay’s loupe photo may be due to the change in thickness at the shoulder of the bevel. Unless the maker has really tried to uniformly taper the tip, it’s natural for the tip to be thicker than at points lower on the blade.
In my measurements, I too found large apparent differences in ‘Cube readings along the tilted blade. They didn’t jive with the measurements I took using the Sharpie method of matching the bevel angle, so I concluded that they weren’t valid.
I have tried the O-ring type method, but concluded that it simply won’t match the curve in most cases (disclosure: I never tried tilting a blade so radically). Generally, I try to imagine a line drawn from and perpendicular to the center of the belly and position the knife to align this with the axis of the rod rotation. Then I use the O-ring method to confirm that the tip will be at a reasonable angle. If not, I will adjust forward or back accordingly, knowing that the belly bevels will be off by a tiny amount.
My customers are friends and family who are getting the service for free, so they don’t dare complain about less than perfect bevels. If someone was paying me to sharpen their $499 chef’s knife, I’d probably rethink my methods.

1 user thanked author for this post.
02/12/2016 at 3:05 pm #31194That difference in bevel width is really small, only about .1 mm or 0.0039″. I’d been thinking the same thing about the shoulder thickness. It turns out that difference in thickness is pretty high: 0.008″ in the middle of the blade and 0.021″ at the tip. So the angle is 1° more obtuse at the tip yet the bevel is 0.004″ wider.
-Clay
-
AuthorPosts
- You must be logged in to reply to this topic.
