Why Wicked Edge?
Recent › Forums › Main Forum › Getting Started › Why Wicked Edge?
- This topic has 26 replies, 8 voices, and was last updated 12/23/2017 at 2:47 pm by
 Organic.
-
AuthorPosts
-
12/17/2017 at 5:39 pm #43162
Jacob,
We did a thread a few months ago titled “What’s the most important thing you’ve learned (about sharpening with the Wicked Edge)?” I would suggest you read it. There are some great nuggets of sharpening wisdom in that thread and it will absolutely help you refine your technique.
3 users thanked author for this post.
12/18/2017 at 7:55 am #43184Jacob, you may improve your results by drawing the burr also when using sequential stones. Just because you did with the first stone does not mean you necessarily are with the next stones. Without a visual aid and with limited experience without drawing the burr it’s hard to know for sure that you have apexed the edge. Until you gain that experience the only way to be sure is when you can physically feel the curl of the burr on the opposite side of the knife edge. Then when it flops to the other side you have reached the burr for that side.
Clay just illustrated the method on a recent series of YouTube videos he shot on the new WE GO, soon to be released. The basic method used to sharpen knives is the same across the board for all WEPS Devices.
Marc
(MarcH's Rack-Its)2 users thanked author for this post.
12/18/2017 at 11:34 am #43193Hello again, Jacob. It takes time and practice. There is a learning curve and the stones improve greatly once broken in. You’re experiencing exactly what I did with the same underwhelming feeling I had when I first got started. Take your time concentrated on consistency and repeatability in your hand position, pressure and strokes. Yes, more stroke count is better than less strokes. If you’re drawing a burr heel to tip along each side independently, then following up with alternating strokes, left-right-left -right to bring the burrs to a centered apex, it’ll come together for you. Time, patience and practice. Which setup did purchase?
I purchased the we120 and added the 800/1000 diamonds and the 5/3.5 strops.
This has been my method so far:
I’ve followed the factory bevels so far using the sharpie trick. I sharpen one side until I get a burr and then do the other side an equal amount of times and check for a burr on the opposite side. Once I have a burr on both sides I do alternating strokes for a little bit and then switch to the next stones. I’m guessing I only did about 20 alternating strokes per side.
I will try finding a burr at each additional stone. I’ll admit I haven’t done a perfect sharpening session yet. The first time the screws for the arms loosened and moved I think so I learned my lesson to always check them between stones and then the second time I stropped at the same angle as I sharpened. Both knives have been super cheap steel. I’ll continue to experiment before I move on to my carry knives!
1 user thanked author for this post.
12/18/2017 at 11:35 am #43194Jacob, We did a thread a few months ago titled “What’s the most important thing you’ve learned (about sharpening with the Wicked Edge)?” I would suggest you read it. There are some great nuggets of sharpening wisdom in that thread and it will absolutely help you refine your technique.
That was a great thread! Thanks!
Also I think I’m using too much pressure!
12/18/2017 at 11:38 am #43195Jacob, you may improve your results by drawing the burr also when using sequential stones. Just because you did with the first stone does not mean you necessarily are with the next stones. Without a visual aid and with limited experience without drawing the burr it’s hard to know for sure that you have apexed the edge. Until you gain that experience the only way to be sure is when you can physically feel the curl of the burr on the opposite side of the knife edge. Then when it flops to the other side you have reached the burr for that side. Clay just illustrated the method on a recent series of YouTube videos he shot on the new WE GO, soon to be released. The basic method used to sharpen knives is the same across the board for all WEPS Devices.
I will check those out thanks!
Once you find a burr on both sides, how many alternating strokes do you do? I realize the answer is “it depends” but I’m trying to get a general idea. I haven’t quite developed a feel for when the scratch pattern changes.
12/18/2017 at 12:42 pm #43198Once you find a burr on both sides, how many alternating strokes do you do? I realize the answer is “it depends” but I’m trying to get a general idea. I haven’t quite developed a feel for when the scratch pattern changes.
There is no rule. Like you said it all depends on the situation. The less you’re profiling, that is making changes from the original bevel, the quicker it is and less strokes will be necessary. I like to listen to the sound and feel the feed back. When you’re getting a constant consistent sound and the feel is smooth and even across the whole length of the bevel then do another 10-20 strokes for good measure. You can’t do to many and more is better than less. Keep your pressure light and even. Let the stones do the work.
Marc
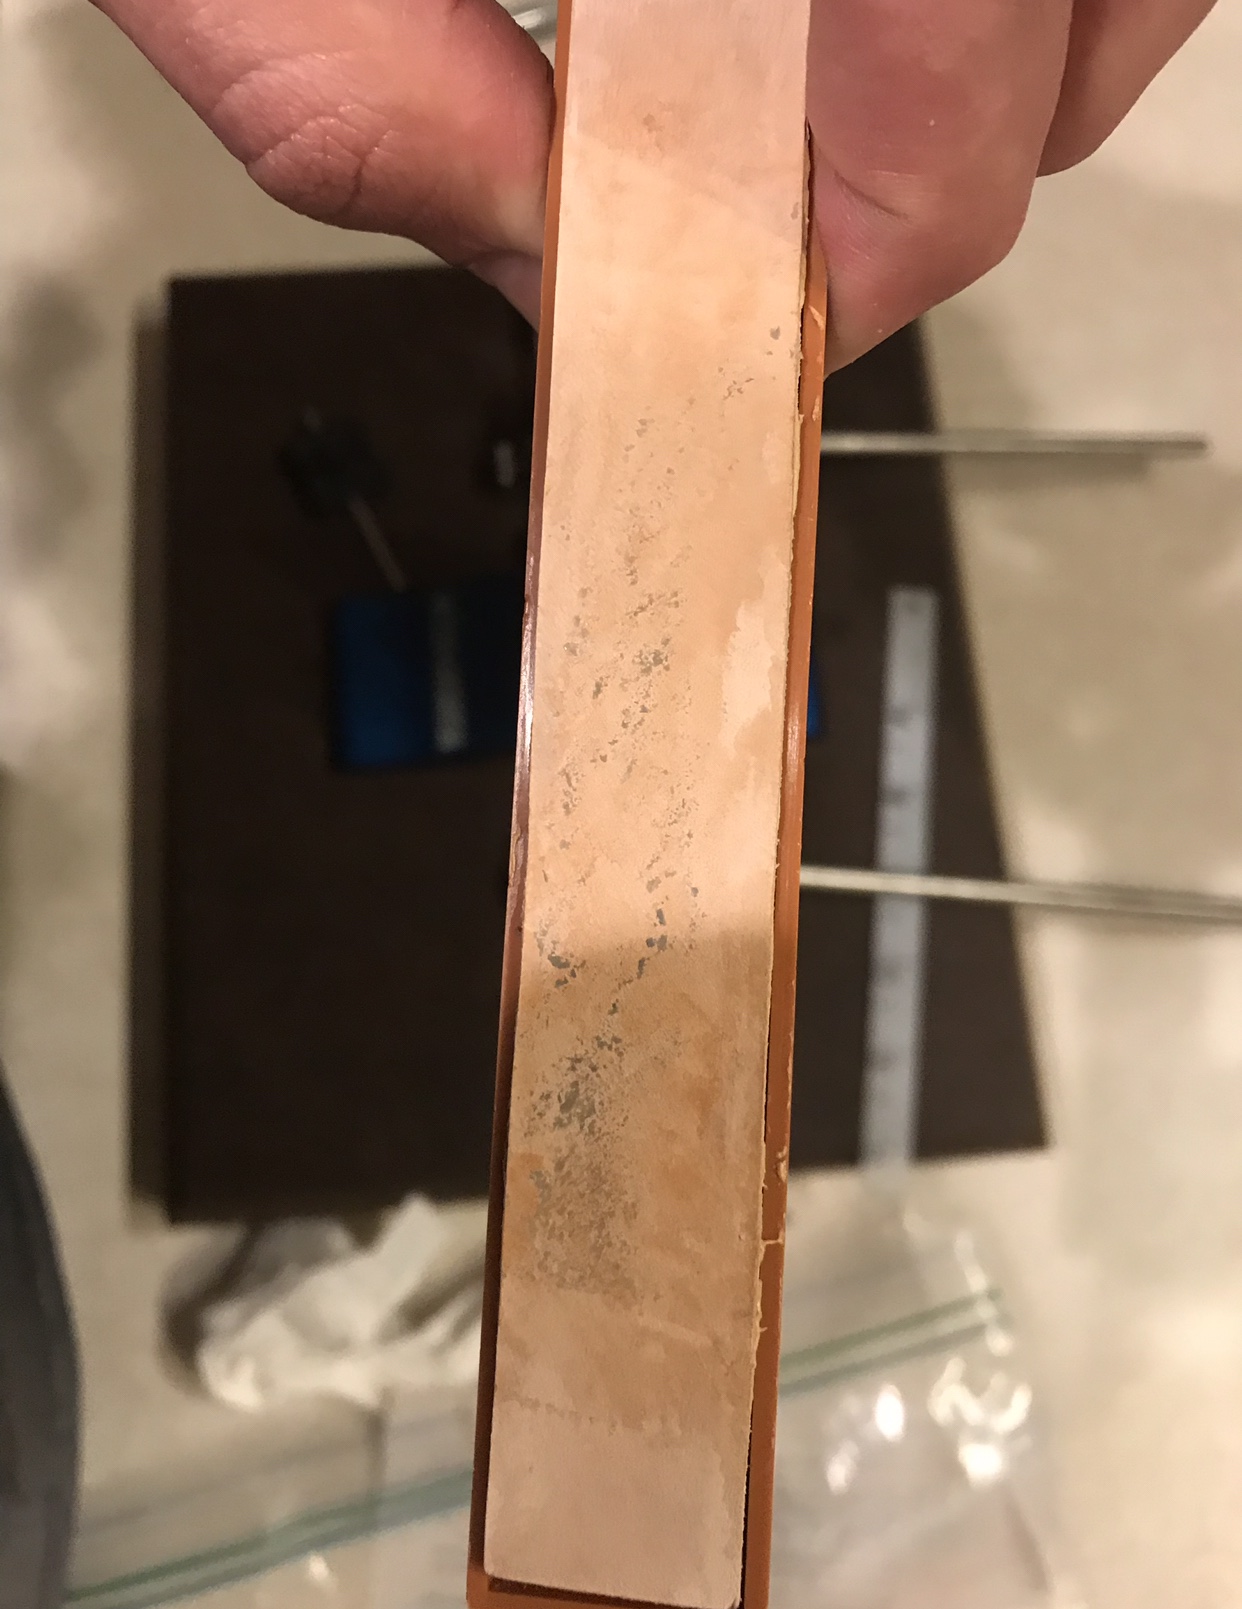
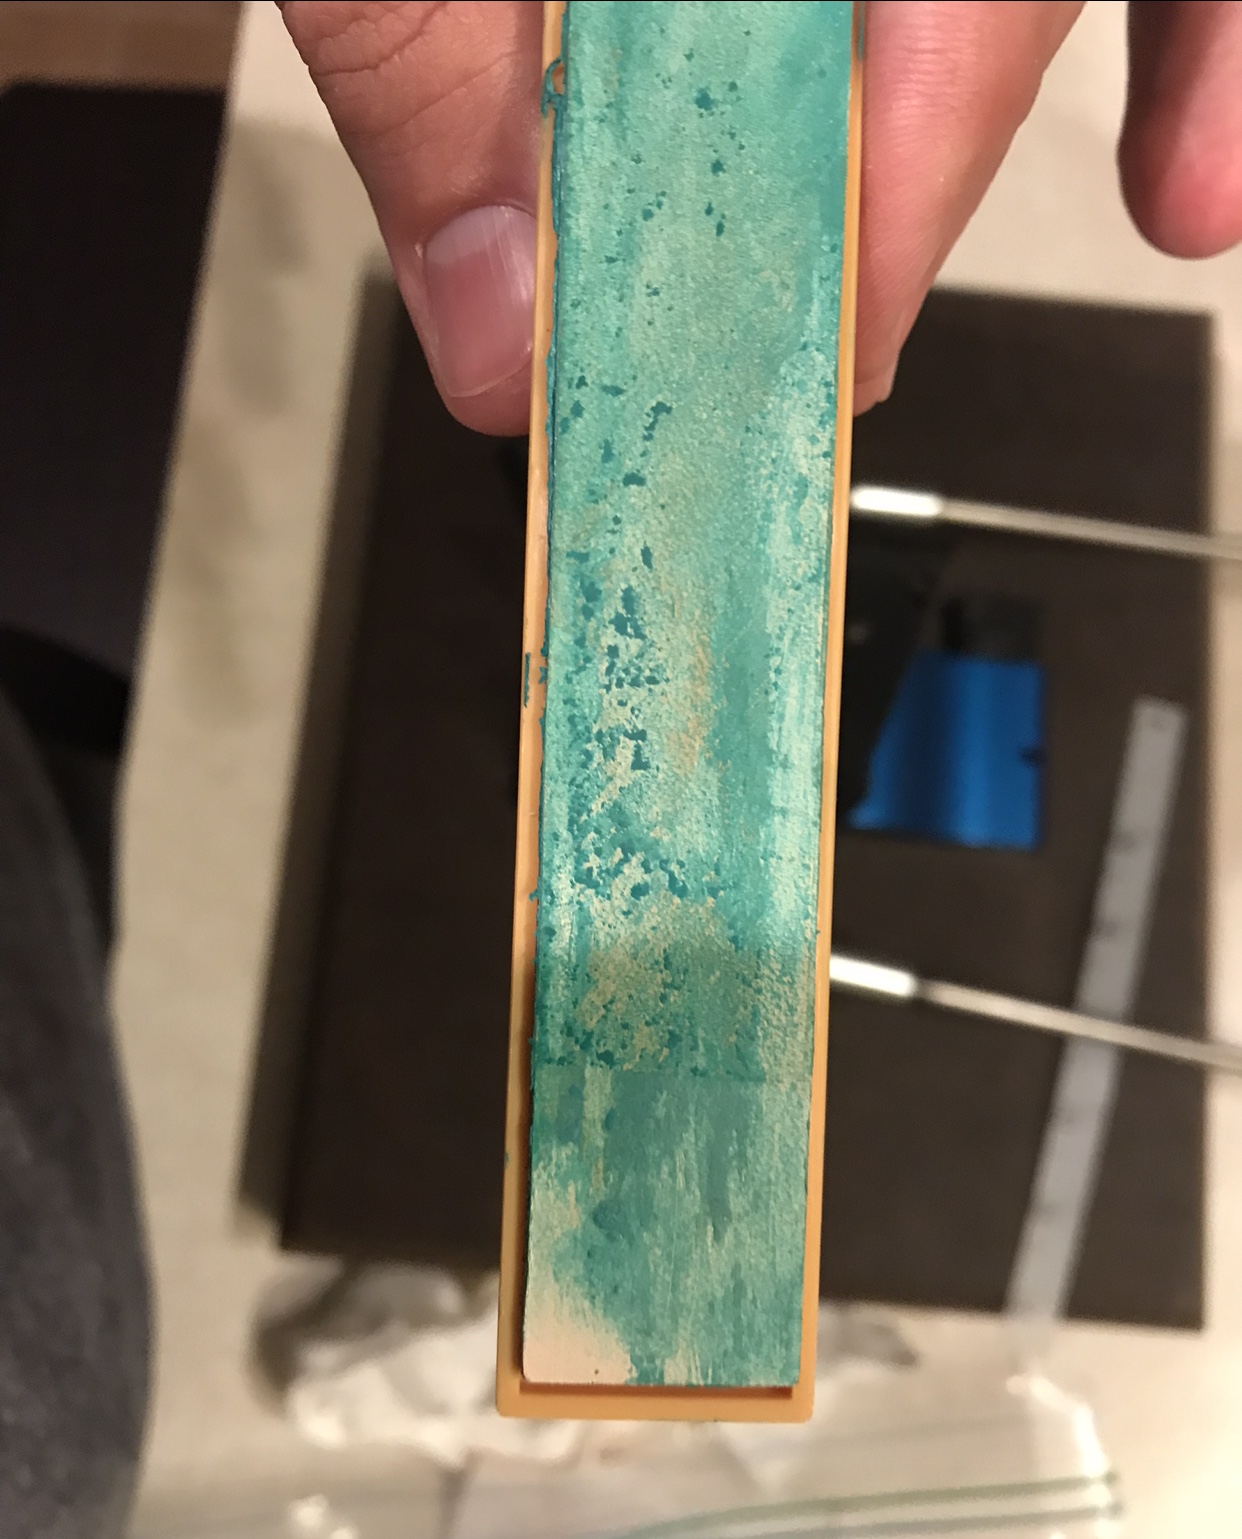
(MarcH's Rack-Its)12/18/2017 at 2:47 pm #4319912/19/2017 at 9:55 am #43226Knife #3 is in the books. Again it was a $3 Walmart folder. Initially, I felt like this was my best one to date. I took my time and used light pressure. I felt like I could feel a difference and could tell when the stones were becoming smoother. Prior to stropping it felt extremely sharp. After sharpening it would sort of shave hair. I noticed while stropping that it wasn’t super smooth so I looked at the strops. It appears they have chunks of the compound built up. I’ve attached a picture. Could this be affecting my edge?
Also so it seemed that the edge didn’t hold its sharpness for very long at all. I think I need to try a little more expensive nice with a halfway decent heat treat lol
Attachments:
You must be logged in to access attached files.
12/19/2017 at 10:21 am #43229Stropping is almost a technique on it’s own. First, when using strops you will need to lower the guide rod set angle, (the bevel angle you sharpened knife to) by 1º to 2º to prevent rolling the knife edge. I make sure to clean any sharpening debris from the knife steel before stropping with a towel or rag impregnated with rubbing alcohol. That will help prevent you from scratching the steel and keep the strop clean and uncontaminated. Due to the softer nature of the leather medium it sort of conforms under pressure to the steel and tends to wrap around the edge as you move the strop paddle up and off the edge. I have learned that I need to apply more finger pressure stropping then what I use for sharpening, for stropping to work well for me. I also spritz the leather with rubbing alcohol to help smooth the polishing compound that was applied to the leather and it may also help the leather to grab the metal and enhance it’s ability to polish it. The abrasive particles on leather tend to move and roll across the leather as you do your strop strokes as compared to other abrasive mediums, like diamond stones, where the abrasives are fixed in place. You might try to spritz the leather and rub like grit sides leather together to spread and smooth the abrasive rouge or paste.
After stropping the edge may now feel quite as sharp, since you may have removed the narrow wire edge, but in reality it does cut much better.
Marc
(MarcH's Rack-Its)3 users thanked author for this post.
12/19/2017 at 11:25 am #43230Actually, I think the strops in the photos look really good. I’ve used strops with some serious slices in them and they worked just fine. As Marc says, you can clean off the blotchy stuff with a squirt of alcohol, or even just scrape them off with a straight-edge – but the “chunks” shouldn’t be a problem – just an indication that you maybe applied too much compound. Make sure to clean the knife of any excess compound which has been wiped off of the strop before going to the next finer grit – avoid cross-contamination.
4 users thanked author for this post.
12/23/2017 at 11:22 am #44115I achieved my first “wicked edge” last night on a 7” santoku kitchen knife. I’m up to 6 knives sharpened on the system and I am getting more confident. I think I have not been getting a true burr formed. This last knife I kept sharpening on the initial stones until I felt a big burr.
Im starting to think that what I think is a burr is not actually a burr.
But Wow! This knife is sharp. I was slicing grapes paper thin.
12/23/2017 at 2:47 pm #44120It sounds like you’re making some good progress. A good way to check if you’ve actually apexed the knife (which is what happens right as you start forming a burr) is to mark the edge with sharpie, do just a few passes, and then inspect the edge under magnification. If ALL of the sharpie mark has been removed from both bevels along the whole length of the cutting edge, the apex has been reached. I usually do 10-20 additional passes with very light pressure after that point before I move on to the next grit. If I’m being methodical, I like to check the bevels with sharpie as I just described at every grit change up until the strops.
3 users thanked author for this post.
-
AuthorPosts
- You must be logged in to reply to this topic.