Most Effective way to sharpen out small chips?
Recent › Forums › Main Forum › Techniques and Sharpening Strategies › Basic Techniques and Sharpening Strategies › Most Effective way to sharpen out small chips?
- This topic has 11 replies, 6 voices, and was last updated 08/16/2015 at 3:26 am by
Skyler J Baker.
-
AuthorPosts
-
08/12/2015 at 9:42 pm #26223
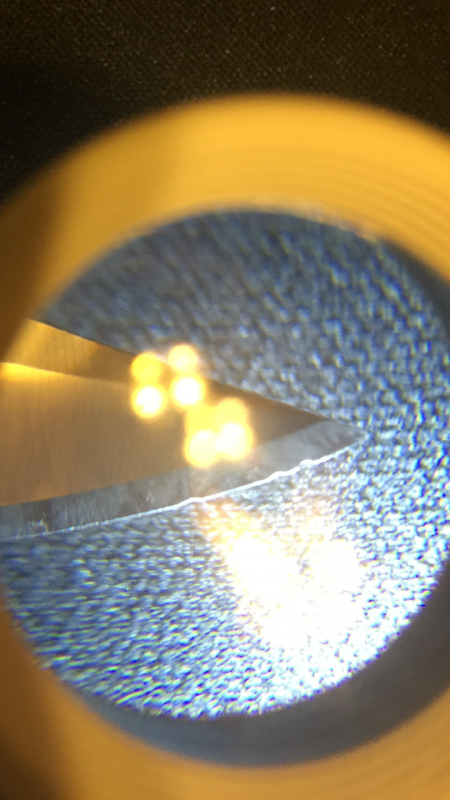
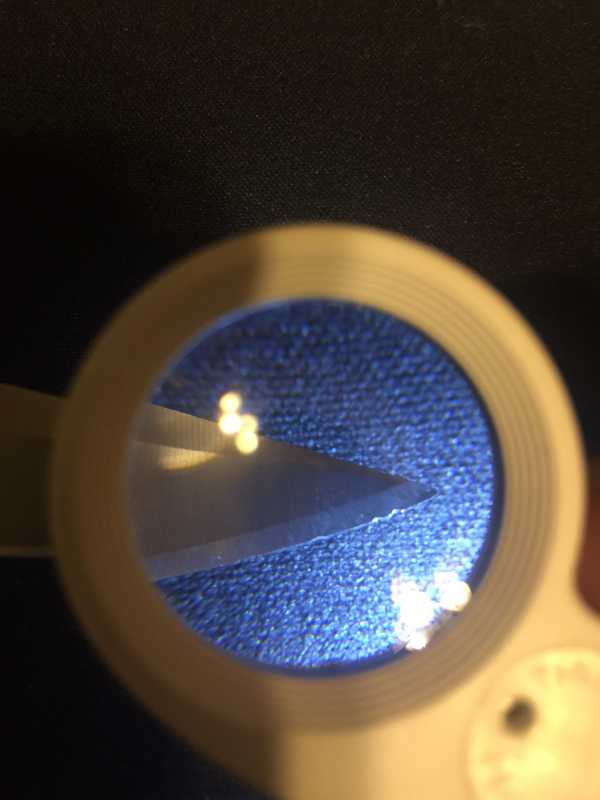
Hey guys! Newbie almost first post here! I was just looking for a little insight on how you guys find is the best way to sharpen out small chips out of the blades edge. I have a benchmade 943 made of s30v steel that my girlfriends sister used for about 5 seconds and handed it back to me with small chips all in the edge. I come to find out she used the knife to take a safety off of a lighter which is probably the stupidest thing I’ve ever heard and almost made me burst into flames :angry: lol. So as of right now the bevel is 18 degrees. Should I keep working at 18 degrees until the chips are gone or widen the arms out to maybe 20 degrees and make a secondary bevel to get ride of the chips and then maybe thin out the primary bevel to like 16 degrees? What’s your guy’s insight on this topic? Thank you
-Kyle
Attachments:08/13/2015 at 12:48 am #26225Hey and welcome to the forum! I take my 400 grit stones and grind it perpendicular into the edge until the chips are gone, then sharpen at the desired angle!
08/13/2015 at 1:02 am #26226Hey and welcome to the forum! I take my 400 grit stones and grind it perpendicular into the edge until the chips are gone, then sharpen at the desired angle!
Thanks for the reply! Didn’t think of that! Seems to be way faster than grinding away waiting for the chips to disappear at a low angle.
08/13/2015 at 4:39 am #26229It looks like the damage is just at the tip area? If so after removing the chips as Josh explained above, then Id personally try to match the existing bevel angle allowing you to focus just on the damaged area to minimize work time and conserve steel. B)
Welcome to the forum and hope to see pics of your results!!!
08/13/2015 at 5:52 am #26230It looks like the damage is just at the tip area? If so after removing the chips as Josh explained above, then Id personally try to match the existing bevel angle allowing you to focus just on the damaged area to minimize work time and conserve steel. B)
Welcome to the forum and hope to see pics of your results!!!
Ok cool! Yea it’s just 3 small chips at the tip area. Going to work on it tonight and post pics of my finished results thanks guys!
08/13/2015 at 6:02 am #26231To speed things up, since it is only at the tip, you can do what Josh said just at the tip and blend the shoulder back into the rest of the blade. Dont just flatten out the whole edge..but blend the flattening out at the tip, then resharpen at desired angle working the tip. That way you do not waste more of the blade than you need to. Make sense?
Also, keep an eye on your edge. If that run of steel got heat treated a little too much into the brittle range you may have to do the micro bevel eventually. So if you see it chipping more..go with a wider micro bevel. That is what I have to do on my zdp 189 blades. I cut lots of stuff and will hit a staple or 2 eventually. When I sharpened at 17dps the blade would chip. I kept the 17dps and moved each arm out 5 deg more and threw on a micro bevel at 22 dps. No more chips! just a nice even dulling effect which is what I would expect.
08/13/2015 at 9:53 pm #26240Thanks for posting this..It got me to go sharpen my Cali! It needed a little TLC. Lucky now that is has been sharpened by me on the WE, it does not take long at all to have it back to uber sharp..Love doing the touch ups. This time I did the microbevel at 800 grit and then hit that same wider angle with the 1600 ceramics a little longer than I have. It kept its hard “grab out at your skin” feel and slices paper easy..better than it did with the same process using the 400 grit stones. Now to see if it holds up as long.
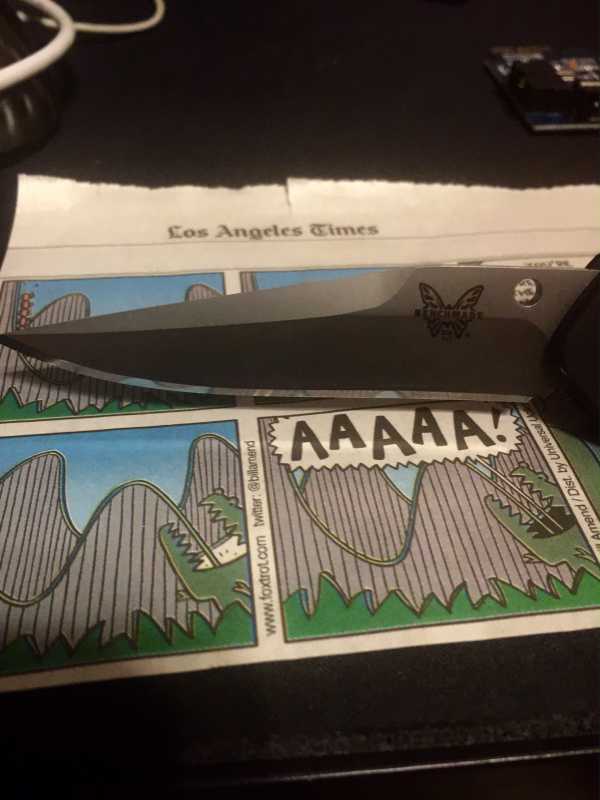
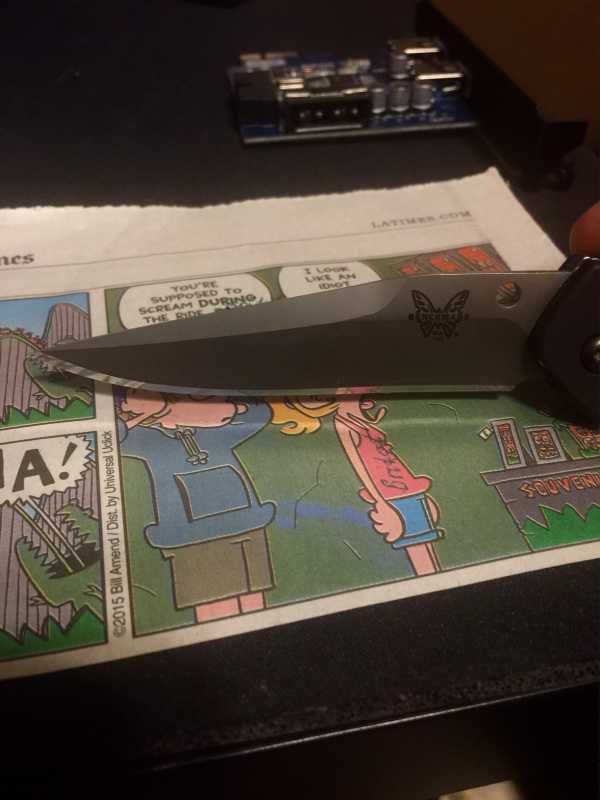
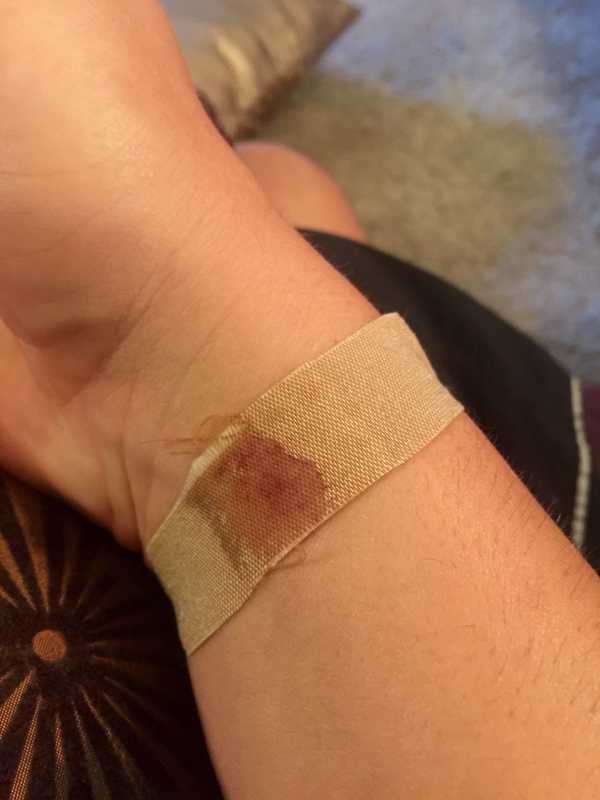
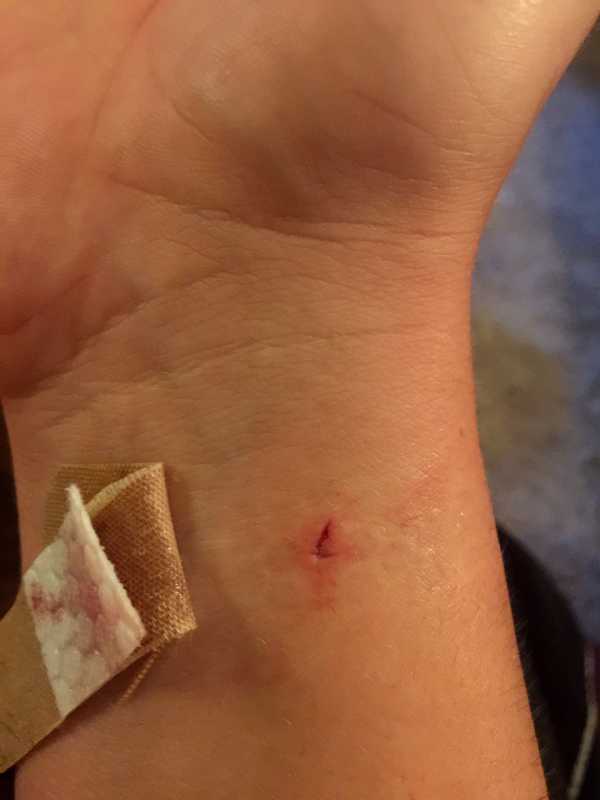
08/14/2015 at 9:05 pm #26246Ok guys the knife is finished. I got out all the the small chips and the edge is beautiful :kiss: . My progression was the diamonds 100-1000 > micro fine coarse> 2500 grit sandpaper> microfine fine> 14/10 leather strops> 5/3.5 leather strops. Attached some pics of the finished product as well as my injury while cleaning up and trying to rush off to the gym after I finished the knife. The knife was still mounted and I was cleaning the area in front of the WE and BAM swung my wrist into the blade. The worst part is when I hit the knife tip I flinched and that cause the knife to twist while in my skin. Needless to say I was bleeding for a good while haha. This is my 3rd knife sharpened with the WE and the first to be sharpened with the leather stops. Right now they are “ice skating” over the bevel instead of “sticking” and trying to pick up the base like clay has mentioned in the strop forum. I think I might have too much paste on them so I will try to clean them off and go from there. Thanks for the replies guys have a good one!
08/14/2015 at 9:10 pm #26247Looks real good. You do not need hardly any paste. Find a little spray bottle and fill it with alcohol. Spray down the strop and rub the paste into the leather. Sometimes if the strops are new it is good to rough them up a little with some sandpaper so the diamonds can roost nice and comfy in the leather.
08/14/2015 at 9:15 pm #26248Looks real good. You do not need hardly any paste. Find a little spray bottle and fill it with alcohol. Spray down the strop and rub the paste into the leather. Sometimes if the strops are new it is good to rough them up a little with some sandpaper so the diamonds can roost nice and comfy in the leather.
Ok perfect going to give that a try right now. I just got some 400 grit sandpaper the other day so I think I’ll just lightly rub the top of the stops to fluff them up a bit.
08/15/2015 at 12:04 am #26251Nice edge! What a difference… And indeed, you only need very little paste.
Molecule Polishing: my blog about sharpening with the Wicked Edge
08/16/2015 at 3:26 am #26260What did she do to that knife :sick:
I like to spend a few seconds on one side, then switch to the other and back and forth. I find this removes steel faster than spending a lot of time on one side then the other.
Also, the more acute the back bevel the faster it’ll grind out at a more obtuse angle.
-
AuthorPosts
- You must be logged in to reply to this topic.