Advanced alignment guide
Recent › Forums › Main Forum › Product Announcements › Advanced alignment guide
- This topic has 189 replies, 22 voices, and was last updated 05/24/2016 at 3:13 am by
 M1rrorEdge.
-
AuthorPosts
-
01/16/2016 at 1:39 pm #30661
Concerning recording of your knife setup.
I have an iPhone and am using Tap Forms as my knife sharpening database. You can take a picture and save with each knife, and record all kinds of info. The database is completely customizable. Another user posted on the forum awhile back about this database, don’t know if its available in android. Its pretty sweet for keeping info on each knife setup. This AAG would really work good for this
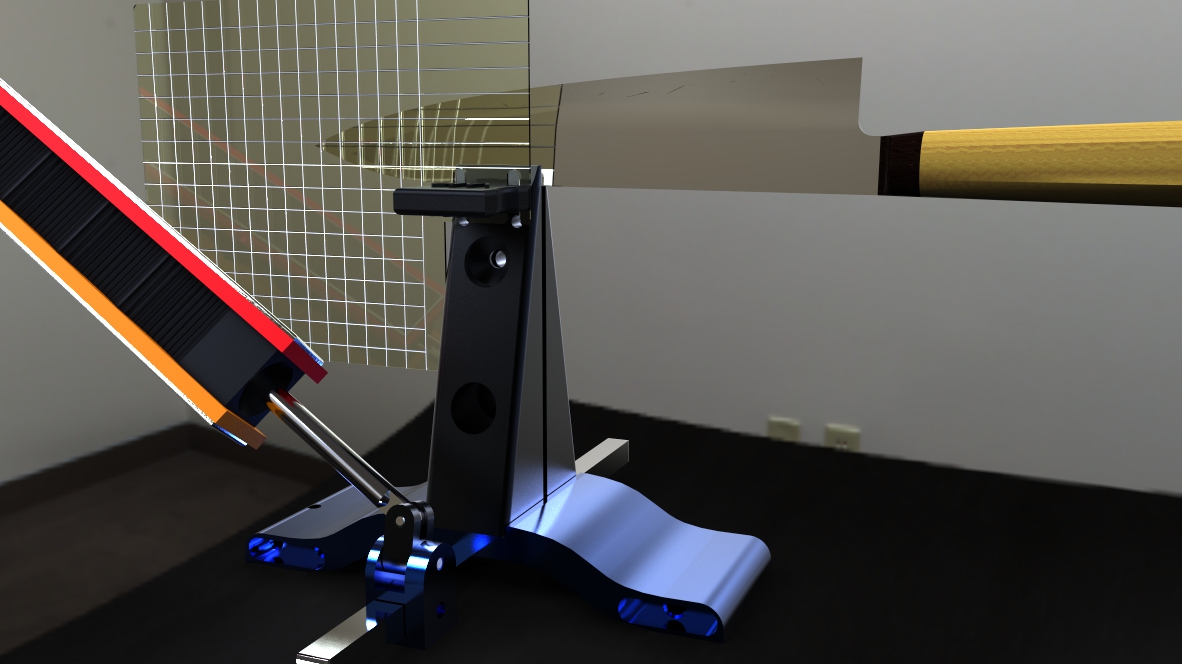
02/03/2016 at 2:26 pm #30905We’re making a little more progress on the new alignment guide. Today I made a few prototypes and tested them out. I quickly figured out that the slot I’d originally contemplated for sliding down on the Depth Key won’t work because it allows the guide to rotate forward and requires the user to hold it in place to get an accurate reading. So I replaced the slots with two holes that do the job very nicely.
Here’s the latest rendering of the design, with pics to follow:
-Clay
Attachments:
You must be logged in to access attached files.
1 user thanked author for this post.
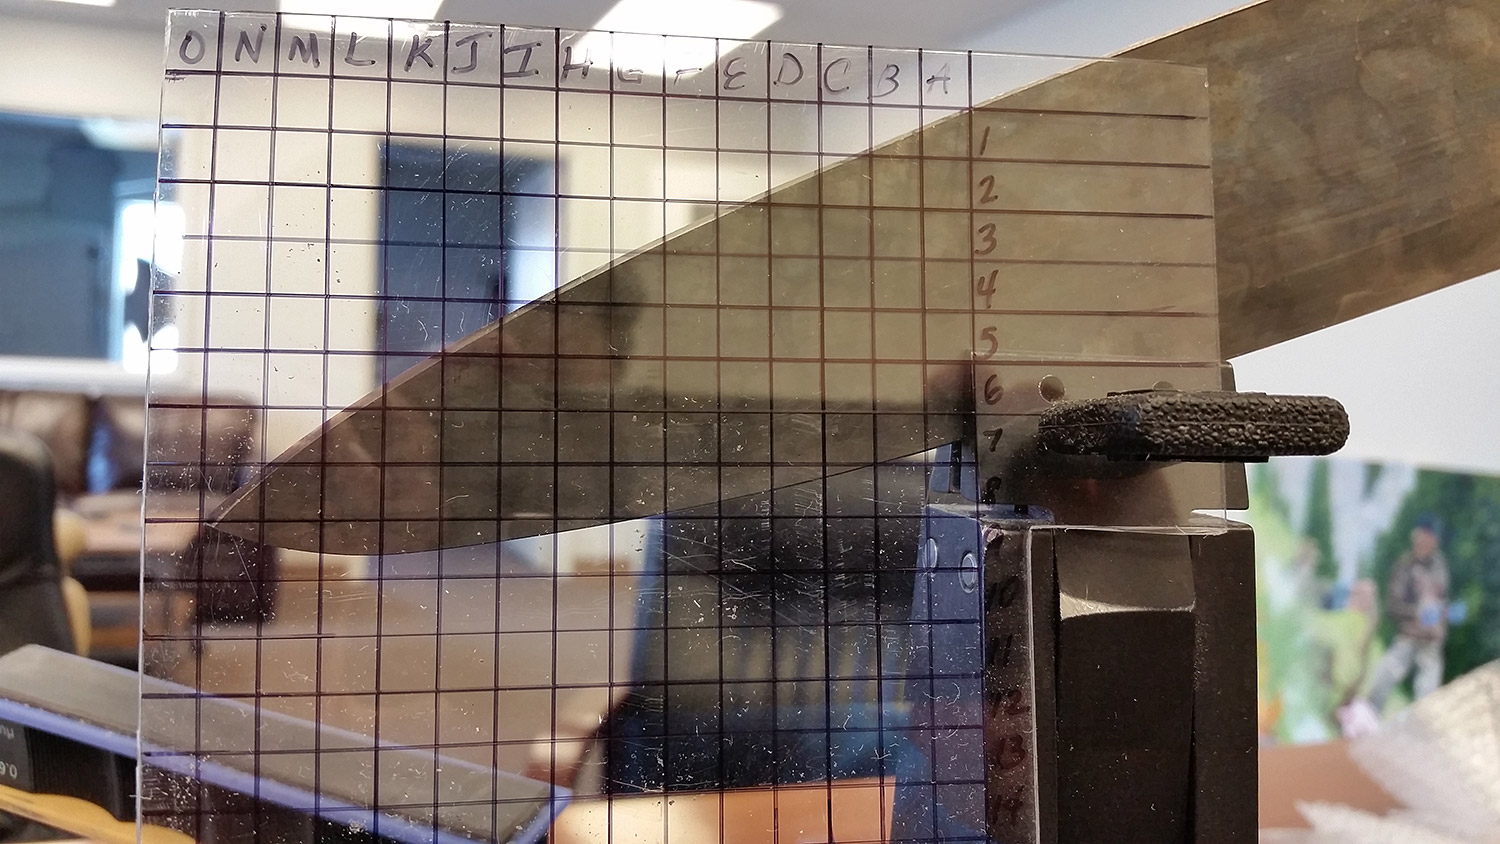
02/03/2016 at 2:42 pm #30907Here’s the crude prototype/proof of concept:
In this setup, the knife tip is at 0-8 and I’ve played with pulling it out, replacing it using the guide and rechecking the alignment with a marker. It’s working great.
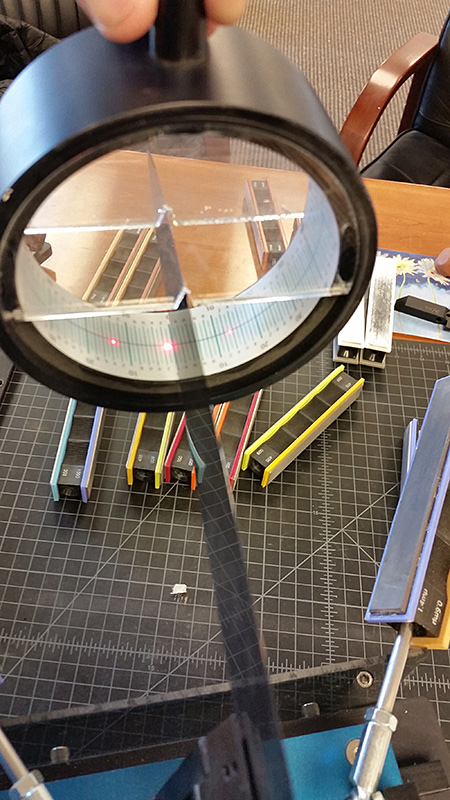
The knife set up looks strange so I used the clamp to hold the knife after sharpening and took measurements w/ the laser goniometer. It’s registering a solid 13° along the whole blade. Weird, but true.
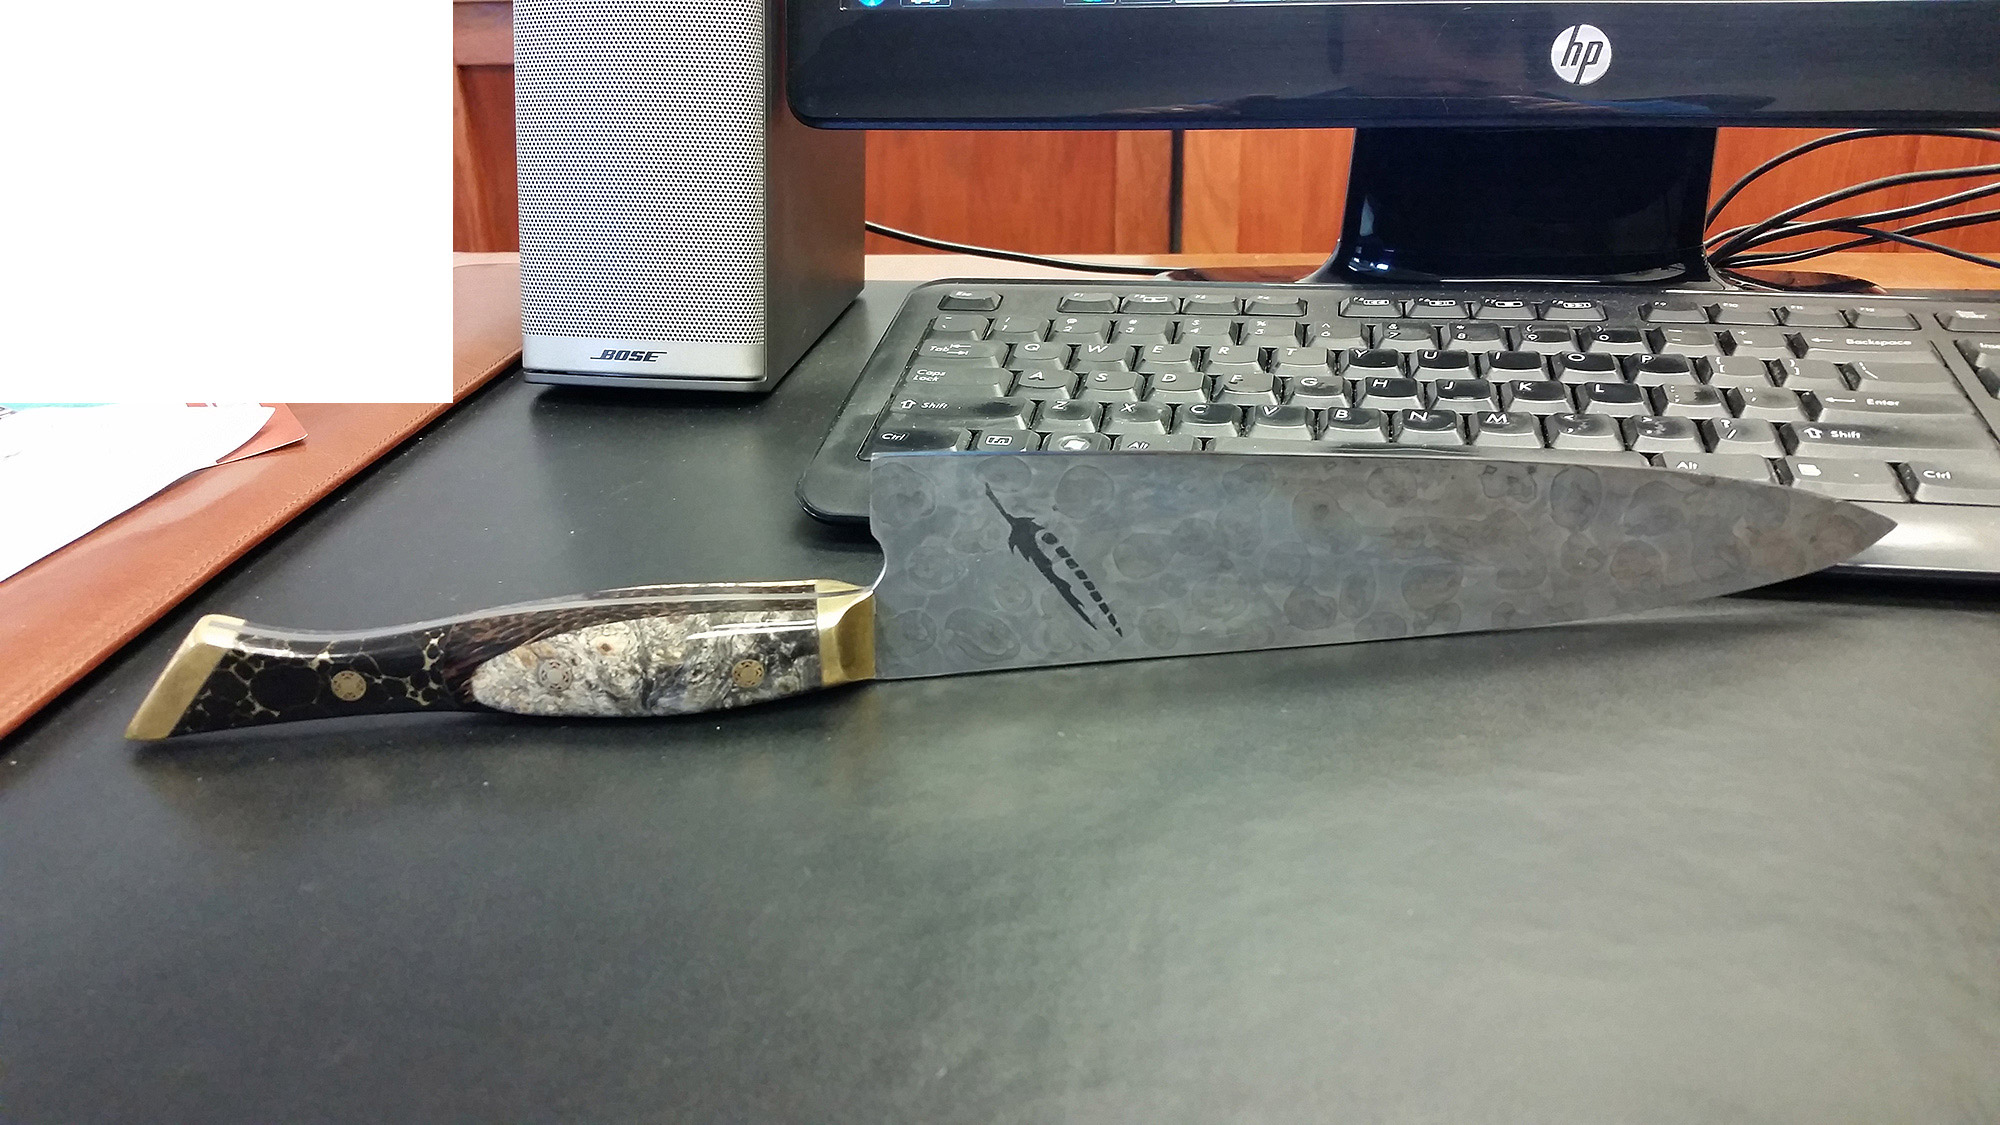
The knife is made by Aura Knifeworks. The photo isn’t good but the knife is a beauty. 52100 steel with California Buckeye burl and onyx handle. Here’s a link to the knife: http://www.aurachef.com/shop/one-blue-with-onyx
-Clay
Attachments:
You must be logged in to access attached files.
02/03/2016 at 2:49 pm #3091102/04/2016 at 2:03 am #30925Clay: That’s the best and most workable version I’ve seen so far. I keep a small digital camera on my sharpening table and try to record each blade and how it’s mounted. I measure the distance in millimeters from the far face of the vise to the tip, but the grid seems even more practical.
One concern I have is with my Gen 3 vise: when the key is placed in the upper position, it seems very unstable. There seems to be too much clearance in the holes and there’s no support from the opposite side, where the mating holes are slotted (a drawback to the Gen 3). The key can move quite a bit. In that situation, I think it would be better to mount the grid flat against the blade using the front and top edges of the vise as the reference planes. Maybe notch the grid plate to fit against the vise and use some sort of clip to attach the back edge of the grid to the blade while you photograph or record the tip location?
Ooh! Ooh! I’ve got a piece of 1/8″ Uvex laying around here somewhere.
02/04/2016 at 2:51 pm #30949This is a re-posting of a post I made at 2:03am this morning:
Clay: That’s the best and most workable version I’ve seen so far. I keep a small digital camera on my sharpening table and try to record each blade and how it’s mounted. I measure the distance in millimeters from the far face of the vise to the tip, but the grid seems even more practical.
One concern I have is with my Gen 3 vise: when the key is placed in the upper position, it seems very unstable. There seems to be too much clearance in the holes and there’s no support from the opposite side, where the mating holes are slotted (a drawback to the Gen 3). The key can move quite a bit. I suppose you could move the key to the lower position to hold the guide.
I think it would be better to mount the grid flat against the blade using the front and top edges of the vise as the reference planes. Maybe notch the grid plate to fit against the vise (cut out the plastic below the 5 line and to the right of the A column) and use some sort of clip to attach the back edge of the grid to the blade while you photograph or record the tip location?
Ooh! Ooh! I’ve got a piece of 1/8″ Uvex laying around here somewhere.
2 users thanked author for this post.
02/08/2016 at 9:13 am #31025I love the idea but how would this work with the low angle adapter? I would think that instead of so low, it would need to go higher.
Frans
1 user thanked author for this post.
02/08/2016 at 12:16 pm #31032If the LAA is the same width as the main vise, I don’t see why it wouldn’t work. In any case, you want the grid to be in the same position, relative to the knife. Certainly, you’d have to record the fact that it used the LAA or another adapter.
02/08/2016 at 12:30 pm #31033If the LAA is the same width as the main vise, I don’t see why it wouldn’t work. In any case, you want the grid to be in the same position, relative to the knife. Certainly, you’d have to record the fact that it used the LAA or another adapter.
I think it wouldn’t work because the knife is positioned high above the main vise and the LAA has no holes for the depth key so the alignment guide would use the depth key as placed in the main vise.
Attachments:
You must be logged in to access attached files.
02/08/2016 at 2:52 pm #31035Good thought about the LAA. I’ll have to think about how we can make it work.
-Clay
2 users thanked author for this post.
02/09/2016 at 12:02 am #31036Clay, some time ago I made the remark that it would be handier to first clamp the knife and then put the ruler/alignment guide into place. So first insert the depth key, position the knife, tighten the clamp and then put the ruler into place. I’m not sure exactly anymore why you thought that wasn’t possible, but my vise has holes at both sides of the vise. (Well, two pairs of holes at one side and two larger holes at the other side.) I think that if the depth key has slightly larger pins my idea would work. Or are there vises that don’t have holes at the other side?
Molecule Polishing: my blog about sharpening with the Wicked Edge
02/09/2016 at 12:05 am #31037Frans, it’s off-topic (so if we continue, we’d better make a new topic), but maybe you could show the LAA you posted on Bladeforums on this forum as well. There’s a creative bunch of people here, so maybe they’d come up with ideas.
Molecule Polishing: my blog about sharpening with the Wicked Edge
02/09/2016 at 9:13 am #31040Clay, some time ago I made the remark that it would be handier to first clamp the knife and then put the ruler/alignment guide into place. So first insert the depth key, position the knife, tighten the clamp and then put the ruler into place. I’m not sure exactly anymore why you thought that wasn’t possible, but my vise has holes at both sides of the vise. (Well, two pairs of holes at one side and two larger holes at the other side.) I think that if the depth key has slightly larger pins my idea would work. Or are there vises that don’t have holes at the other side?
I found that when I made the guide with slots, instead of holes, it wanted to rotate on the pins because all its mass is toward the front, not centered over the pins. So I made another version with holes instead of slots and that works well. The procedure would be to do as you say; insert the Depth Key, place the knife, use the marker to find the best positioning, then put the guide onto the Depth Key and re-insert it to obtain the coordinates for the knife tip.
-Clay
02/09/2016 at 10:56 am #31042 Sounds like a very good idea! The only thing is that you might have to make the depth key pins a little larger. (Or do I visualize your idea wrongly?)
Molecule Polishing: my blog about sharpening with the Wicked Edge
02/09/2016 at 12:23 pm #31049Looking at the last mock up it seems starting at the number 9, the numbers sort of fade in with the vise. I really like where this is going, and have several knives that get brought in to me that this would be a big help. This has more than likely been hit on already, but making the pins for the guide key a little longer. Using the pro pack 2, some of the knives I sharpen just barely fit the vise. Will the current guide key still work with the new Advanced alignment guide? I am making the assumption that the new guide will be a little thicker than the current ruler. Thanks.
-
AuthorPosts
- You must be logged in to reply to this topic.


