Cimo
Forum Replies Created
-
AuthorPosts
-
01/23/2017 at 3:09 am #36821
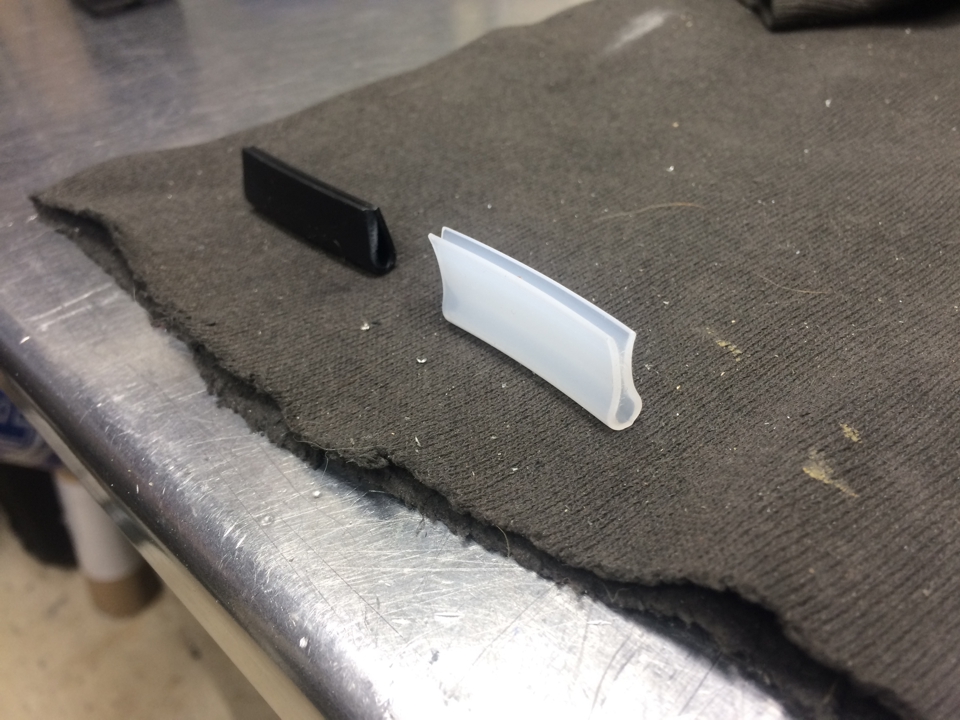
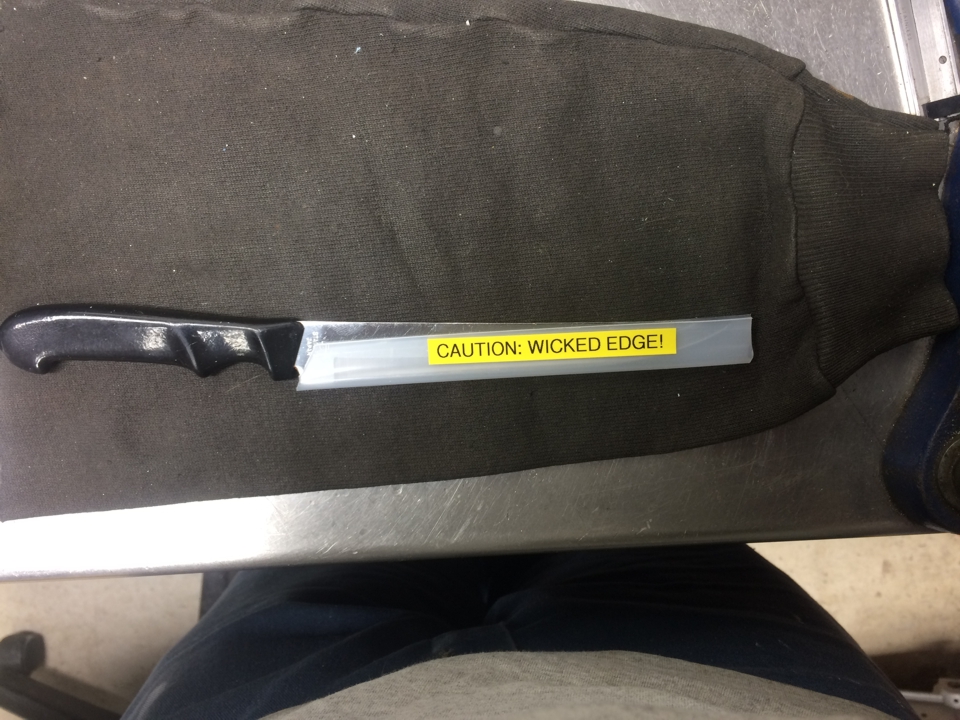
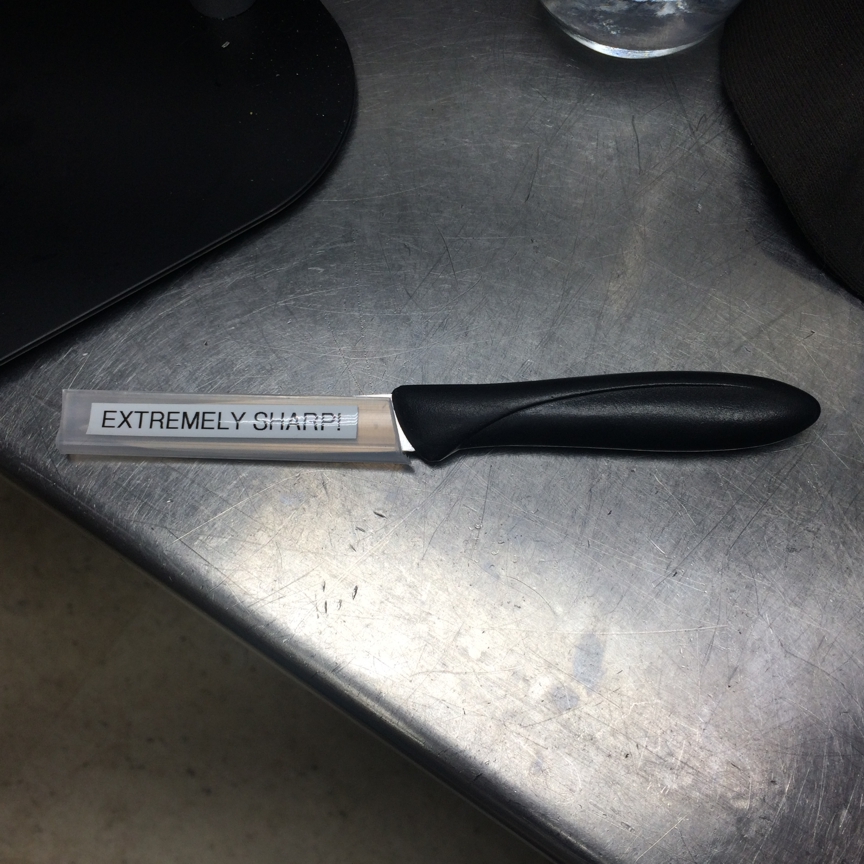
I had the same issues and found a product made by CapPlugs that works great for me. It’s call Edge Guard and used mainly for protecting the edges of sheet metal (from people getting cut). The part number I used was EGL22-4. I bought it through McMaster Carr, their part number is 86875K46. The cost is $ .70 per ft. under 100 ft 0r $ .54 per ft. over 100 ft. Myself, I bought 100 foot and put it on every knife I sharpen for piece of mind for both blade and people protection. I have no association with McMaster Carr other than a happy customer. They are not the cheapest outfit in town, but they do have hard to find items (like the edge guard).
Note there are two different types of edge guard in one photo. The white one is the edge guard I mentioned above. The black also works, but is harder to get on the blade therefore I do not recommend that style.
Here are a couple of photos of the edge guard:
Attachments:
You must be logged in to access attached files.
1 user thanked author for this post.
01/09/2017 at 6:15 pm #36587Thanks for all the compliments and kind words guys.
I found some 3M Super 88 electrical tape that comes in 1-1/2″ wide rolls to finish off the top of my covers. I used two strips of standard 3/4″ electrical tape to make the top “seal” in the photos – all I had at the time.
It works out that is the exact width of the sides of the Gen 3 vise, meaning you could tape the side openings with one piece on each side, and being semi-gloss black, would blend in inconspicuously instead on going the way I did with the steel (or like the masking tape I used at first). A piece on the front (with a hole punched in it for the shaft) and piece on the back. That should seal it up pretty good and still look good as well.
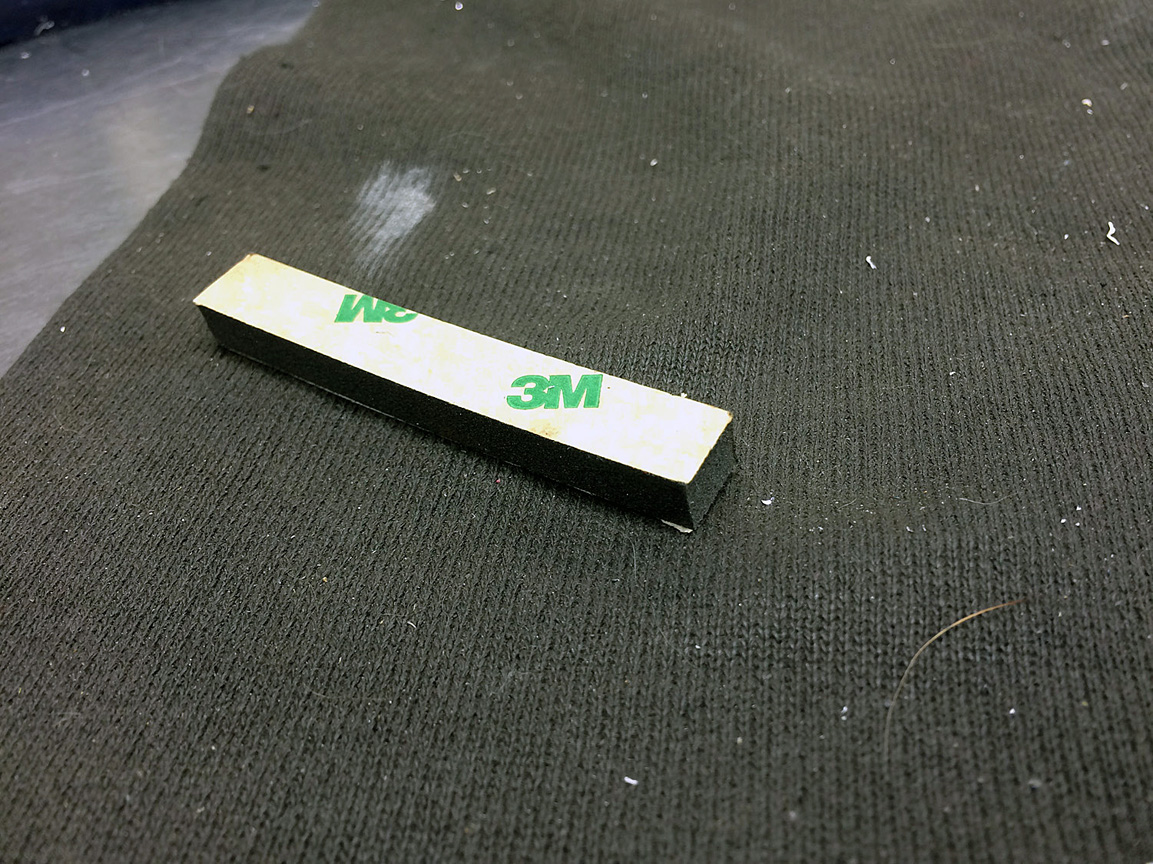
Another place the grit was getting in is between the vise jaws: it falls between the jaws and the blade, right on top of the ram (for lack of better words). I found some 1/4″ thick x 3/8″ wide dense foam rubber mounting strips with double-sided tape on both sides that I had laying around from an old job that fit the job perfectly. Just punched a hole for the spring to fit through and it seals both sides and bottom most effectively. Finished product can be seen in the first photo, in progress below:
Attachments:
You must be logged in to access attached files.
1 user thanked author for this post.
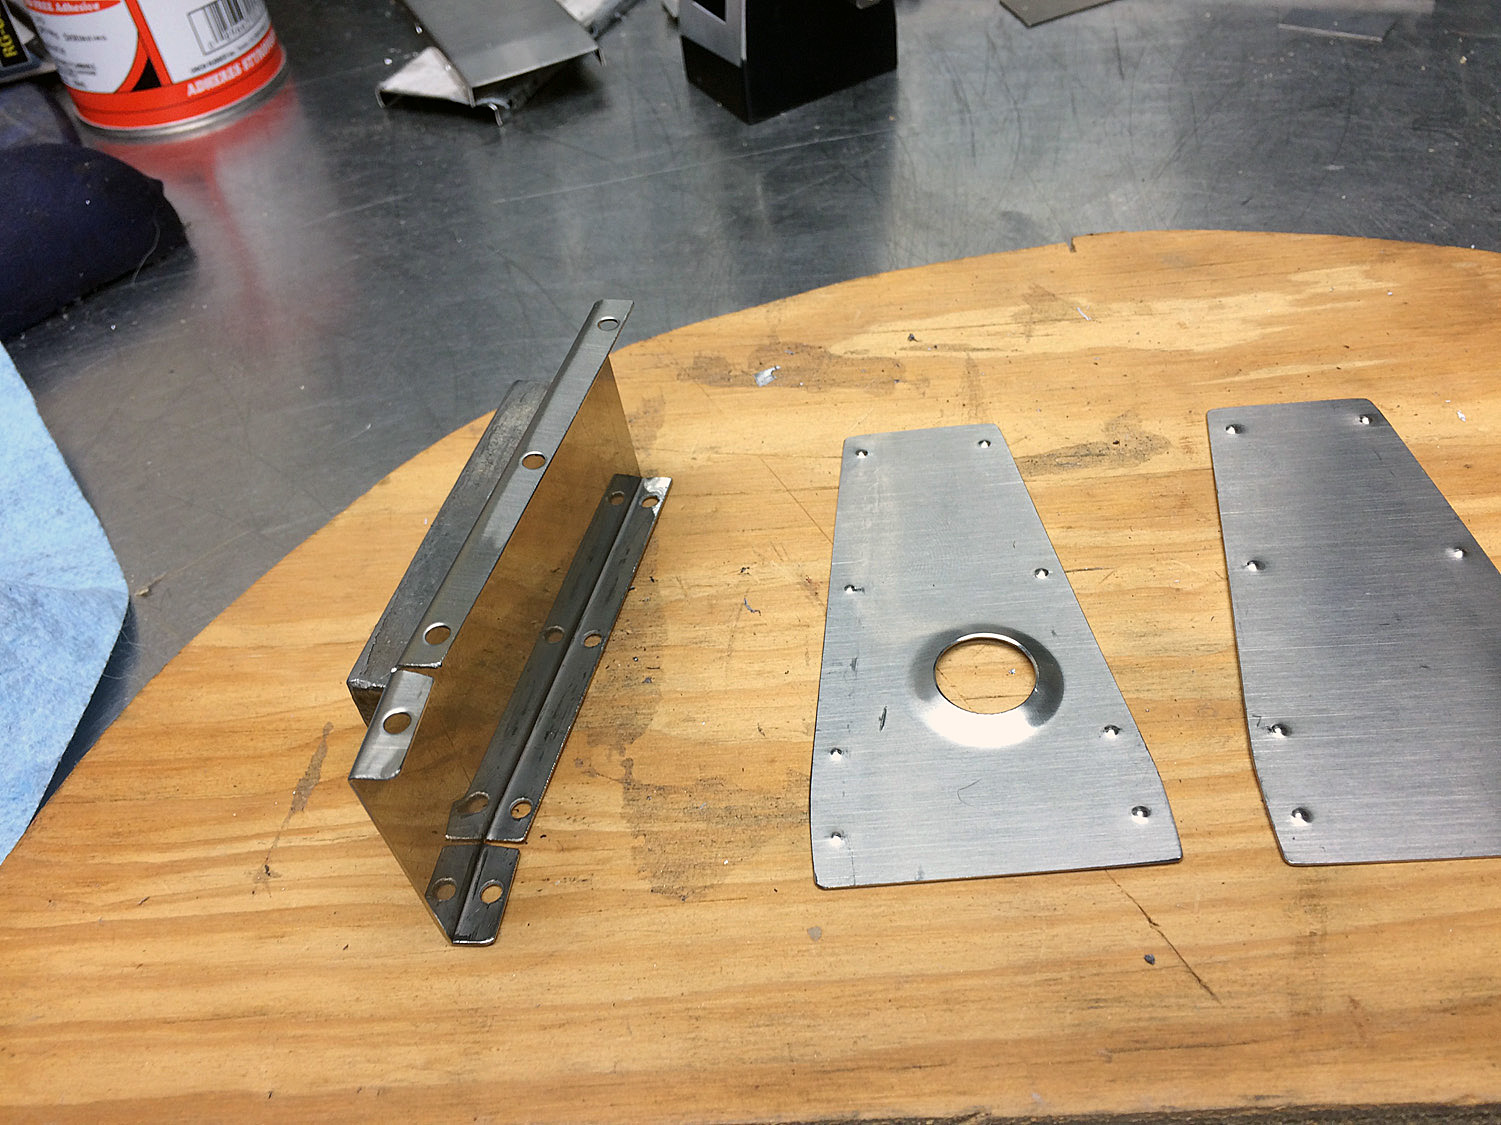
01/07/2017 at 5:45 am #36549Thank you for the compliment. Firstly the sheet metal had a protective plastic layer on it which prevents surface scratches. Then it was clamped with C-clamps between two pieces of square edged steel stock on the bend line in a vise (in the background of first photo). Note that the the one you are bending over must have a good clean square edge, the other is not that critical, just flat. Then with a third piece of scrap steel (I used a piece of 2″ x 3/4″ square stock) placed on the sheet metal (as a dolly to protect the sheet metal from hammer marks), hammer the bend over. Finish with a body hammer (directly on the sheet metal) to square off the corner. You’d be surprised just how clean and accurate you can work with sheet metal this way.
Below are some photos of the covers in progress. In the first photo you can see the square stock I used (on the left side holding the side cover up) as a dolly to fold the edges over.
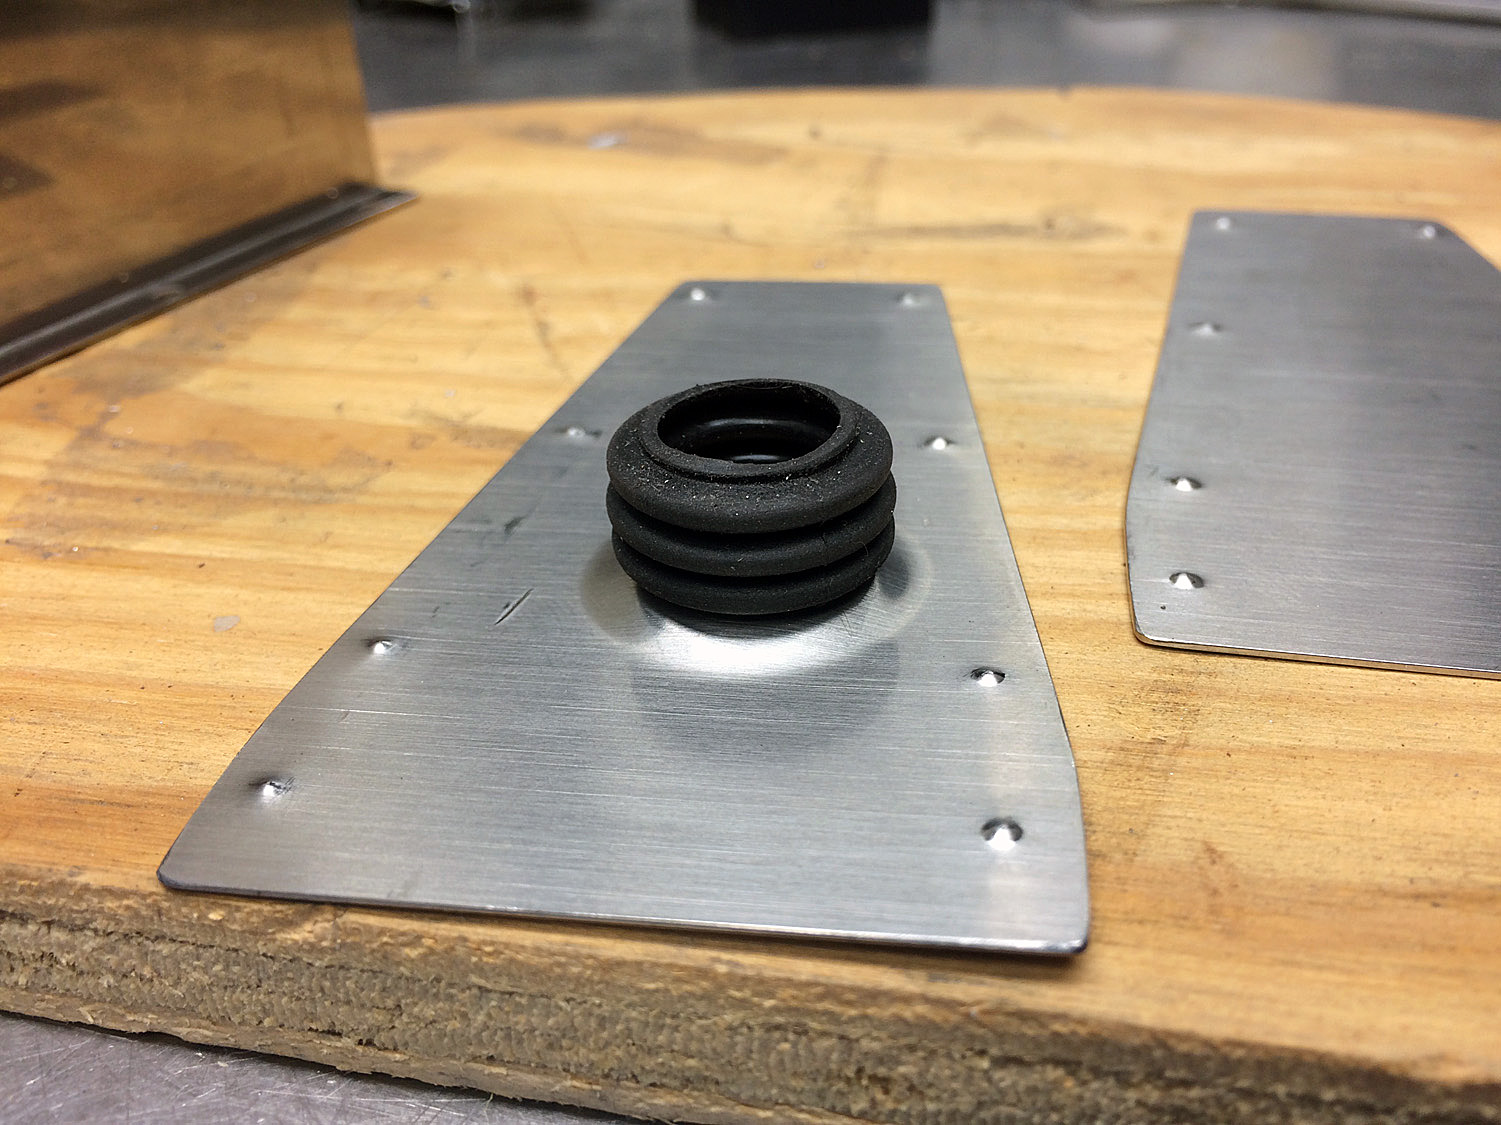
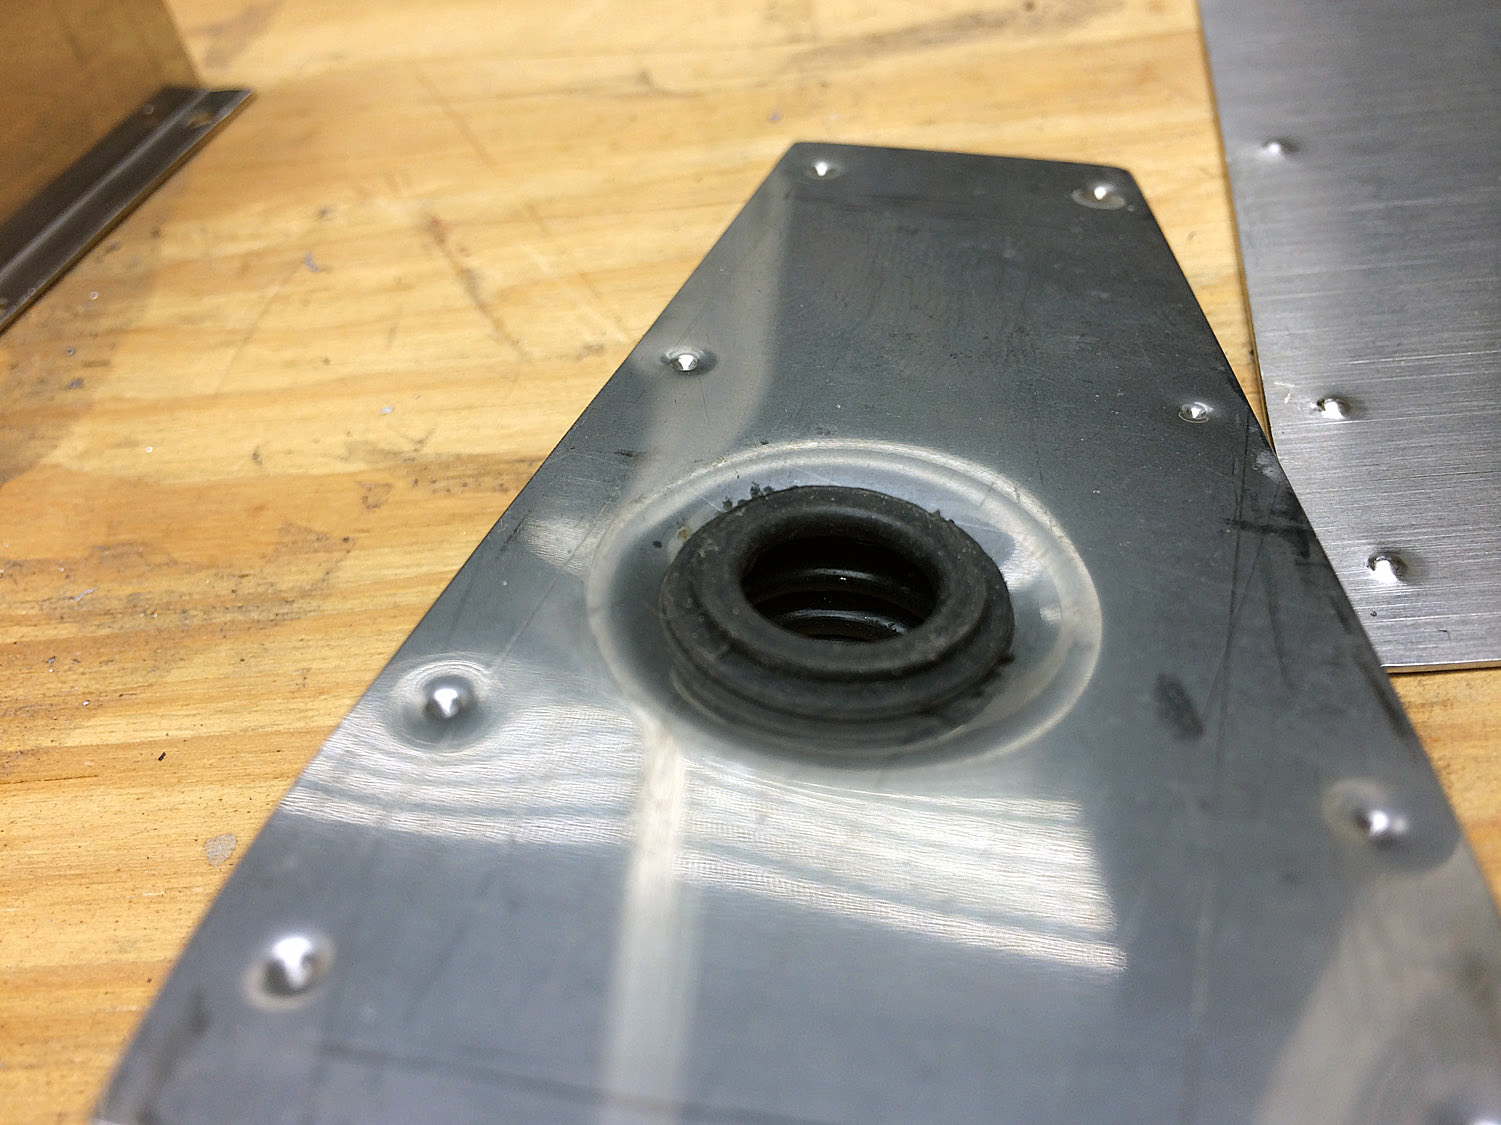
I also included photos of the front & back covers to show how I formed the opening of the shaft hole (with two sockets and a vise) to better fit the shaft seal. You can see from the back view the seal is held in place by one of the bellows (sheet metal ends up between the first two bellows of the shaft seal), and the end of the bellows is slightly higher than the sheet metal surface making for a tight seal against the sharpener surface when in place.
I’m located out by Ronkonkoma (middle Suffolk), but work by the Queens / Brooklyn border so we’re not really that far apart.
Attachments:
You must be logged in to access attached files.
1 user thanked author for this post.
-
AuthorPosts
