As promised in my Welcome Mat post, here are some photos of the case I made for my WEPS Pro-Pack I.
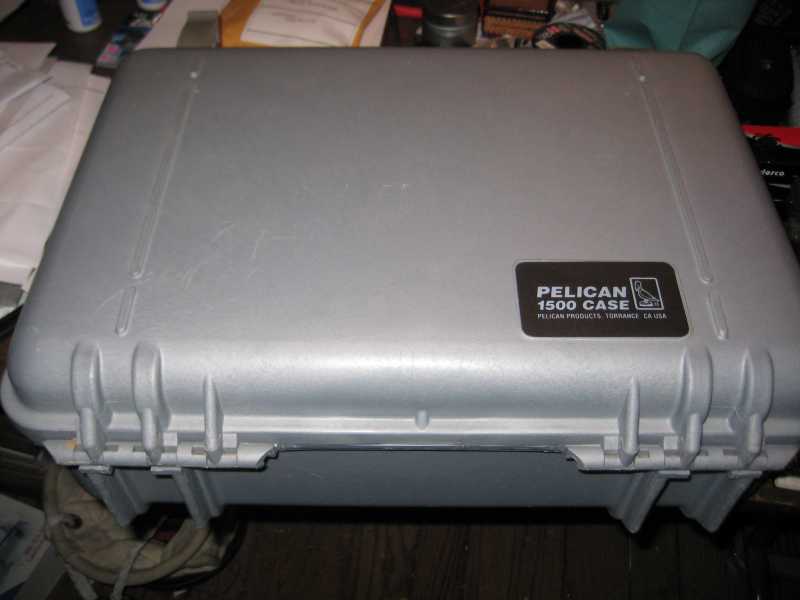
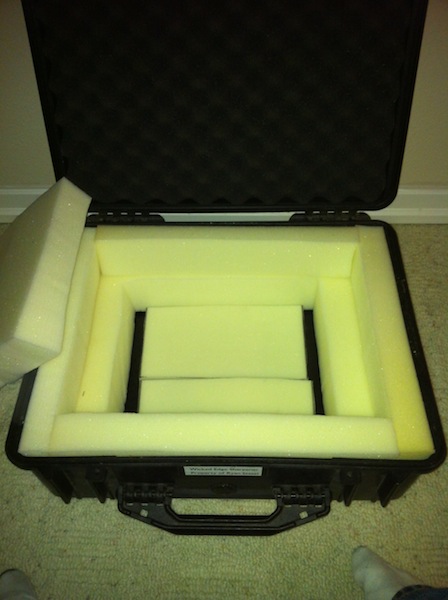
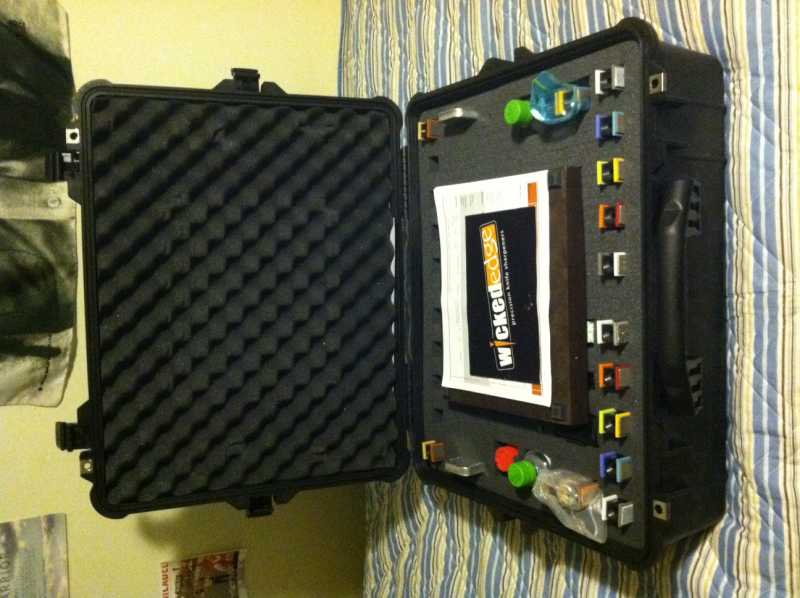
I started with this Pelican 1500 case that was sitting unused in my basement:
The Pelican case was a no-brainer for storing my WEPS because it didn’t represent an additional cost. This is a $100 case, so I don’t expect folks to run out and spend that kind of money to do what I did, unless you travel with your WEPS a lot (the Pelican 1500 is major rugged.) But perhaps my approach will suggest some techniques for building your own case based on a cheaper alternative.
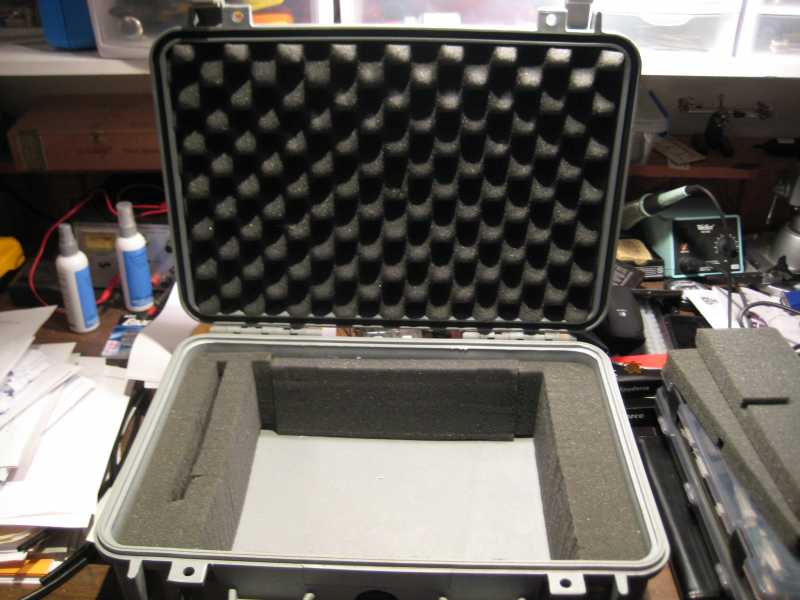
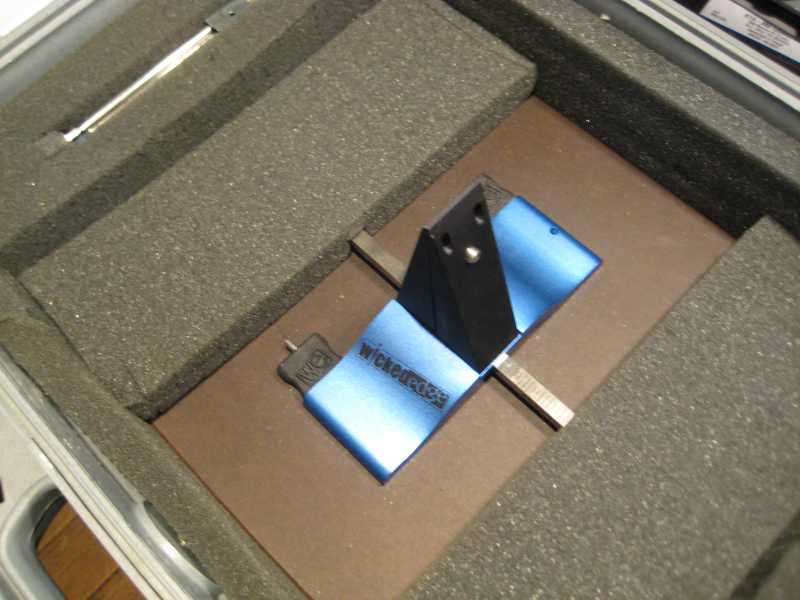
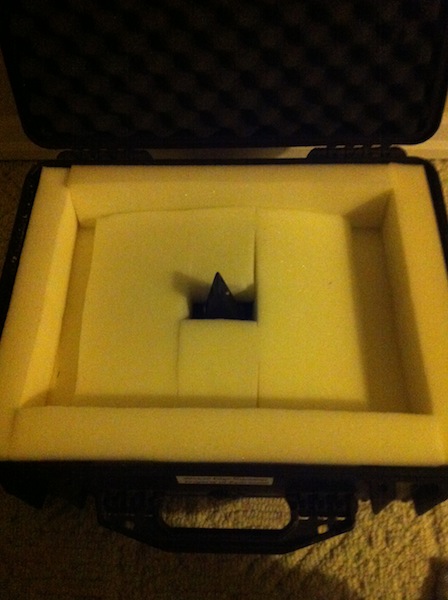
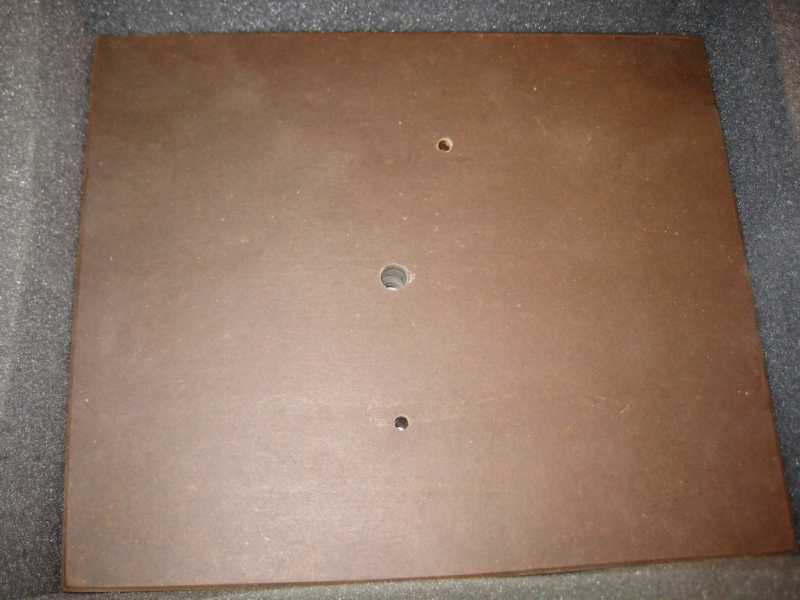
I previously used this case to transport a ham radio transceiver, but later obtained a much lighter custom cloth shoulder bag for that. The photo below shows the cutout in the foam that I had made for the radio:
I had removed the strips of foam along the front and back to fit the radio. The photo shows the rear strip glued back in. I glued the front strip back in too. (Of course I saved them! Doesn’t everybody? :silly: )
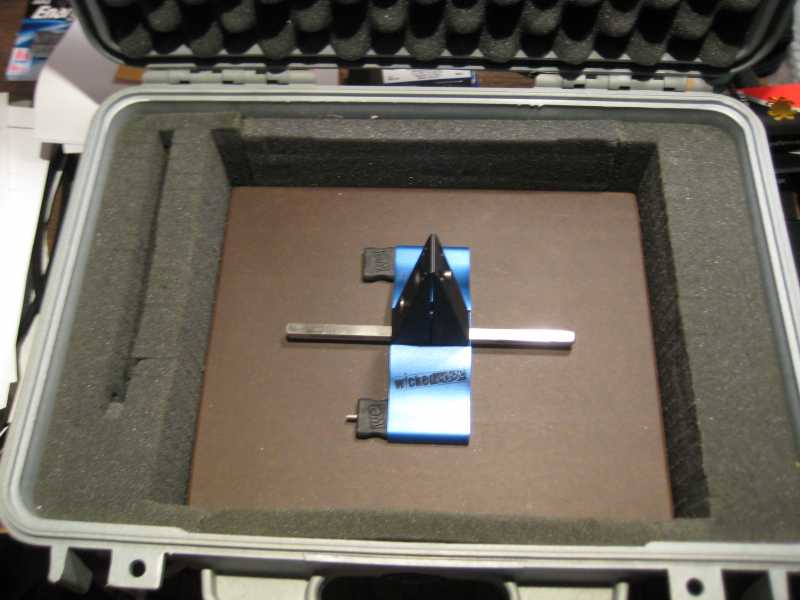
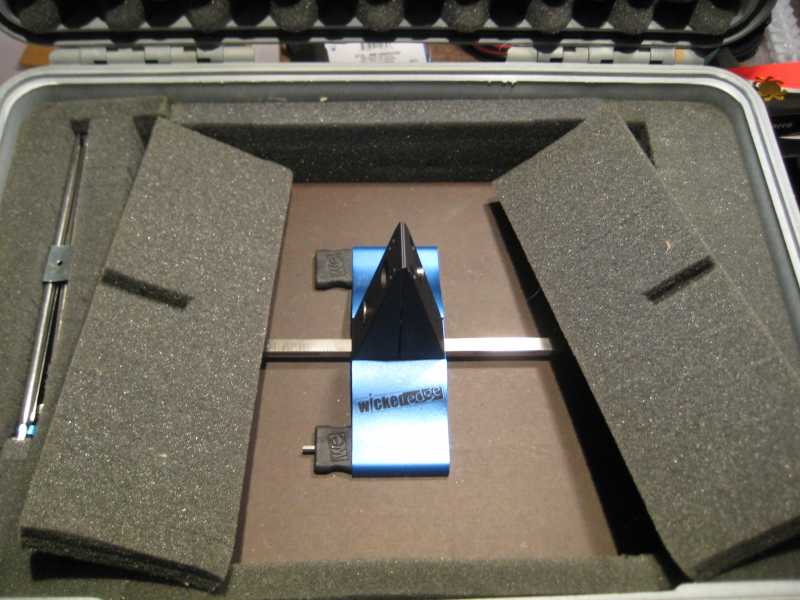
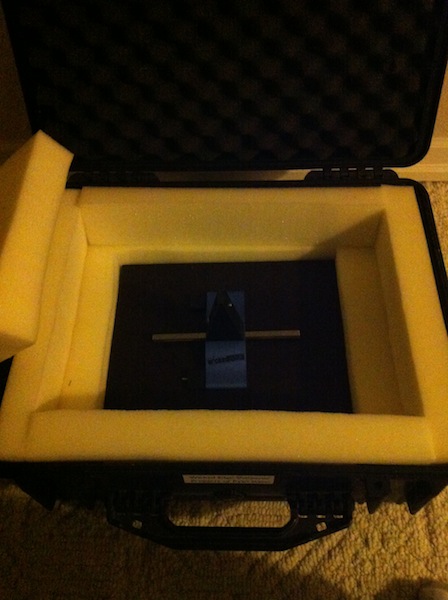
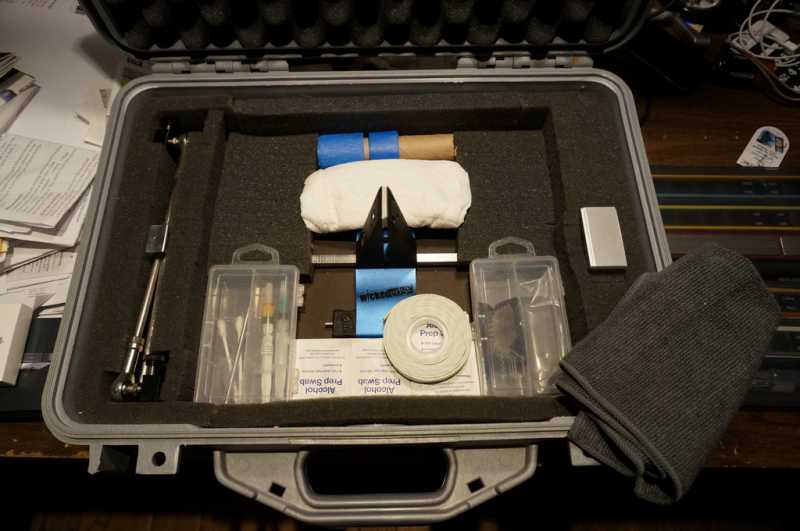
As luck would have it, with the strips glued back in, the WEPS base fit the cutout perfectly:
Actually, I didn’t have to glue the strips back in because the cutouts didn’t extend the full length of the base, but they do provide more padding and secure other items that go in the case, as you will see.
The inside of the case is 6 1/8" deep without the top and bottom foam. The WEPS vice, mounted on the Wicked Edge base with the stock rubber feet is 6" high. So there’s 1/8" clearance between the top of the vice and the lid of the case. With the 1"-2" top foam pad inserted, the cover stops about 1/2" short of closing. It closes with gentle pressure, causing the vice to compress the top pad to 1/8". The WEPS is held firmly in place without undue pressure on the top of the vice.
In the photo of the inside of the empty case, a couple of photos back, you can see that the foam in the bottom of the case has been removed. This was necessary to fit the WEPS. With the foam in place, I felt there was too much pressure required to close the case, and hence too much pressure on the top of the vice. It’s no big deal because the rubber feet on the bottom of the base provide all the padding needed on that side.
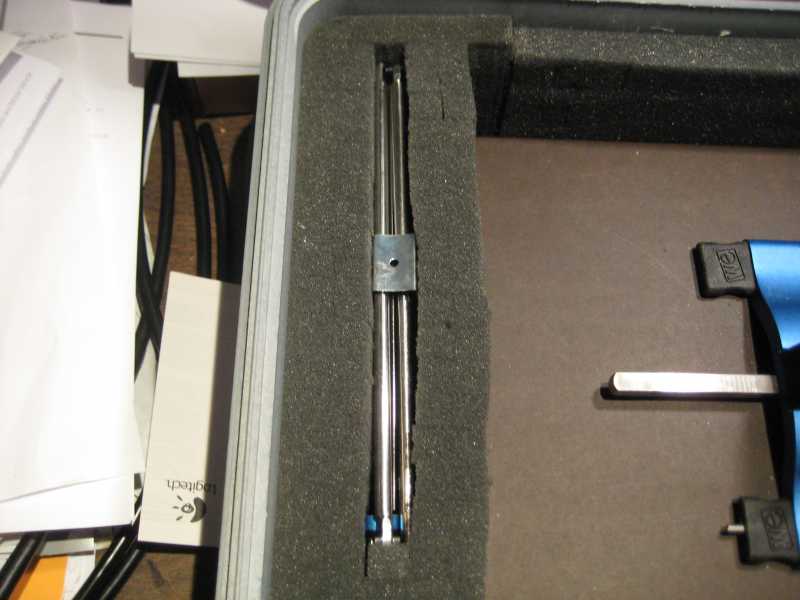
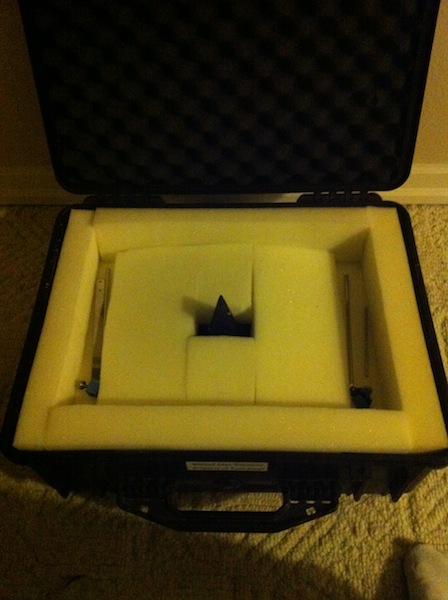
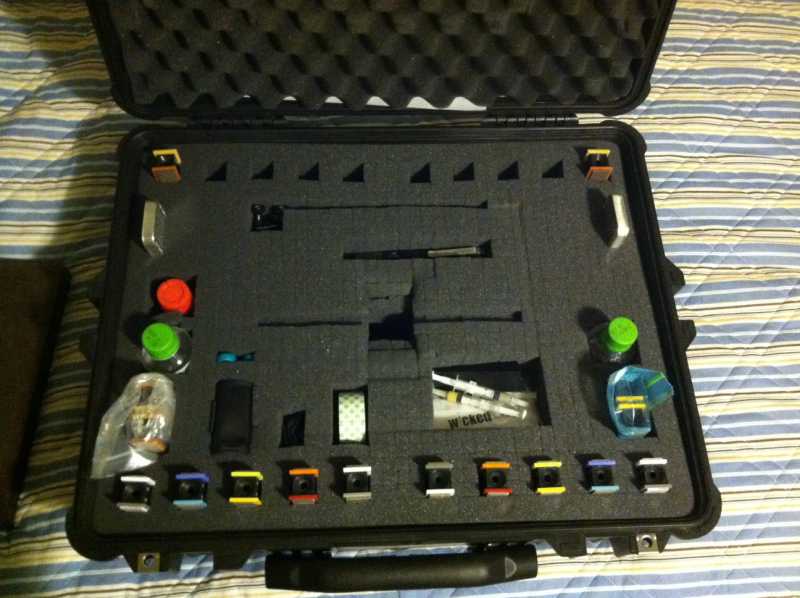
I made a slot in the foam for the WEPS Guide Rods and Alignment Guide:
The case foam is constructed of 1/2" x 1/2" x 3 1/2" pieces that can easily be ripped apart to make shapes like this. I filled the bottom of the slot with foam pieces to keep the rods and guide from slipping to the bottom of the case. The rods and guide could have gone in the boxes that hold the stones (to be revealed below), but I wanted to leave maximum room for stones and small accessories in those boxes.
Even with the foam in the top of the case pressing on them, the rods had a tendency to come out of the slot when the case was held upside down and shaken hard. So I used a cheap 9V battery clip from Radio Shack to hold them in:
The clip leaves are curved outward at the bottom, so they grip the foam and stay put.
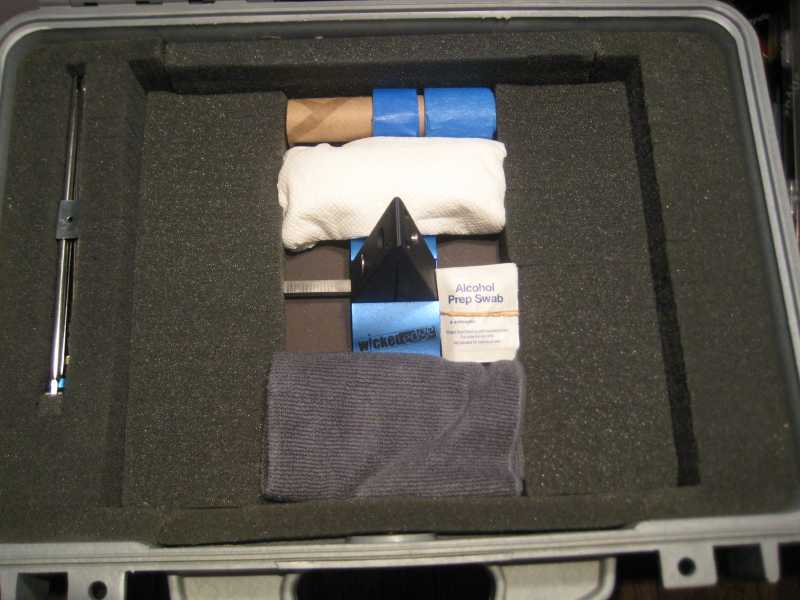
Next, I made two pads to go over the Base Rod ends and cushion/support the boxes that hold the stones:
Here are the pads in position:
The case has plenty of room between the pads and vice for soft accessories. Here I’ve put in a couple of widths of painter’s tape to protect blades from vice marks, some paper towels, a microfiber cloth and some alcohol prep pads:
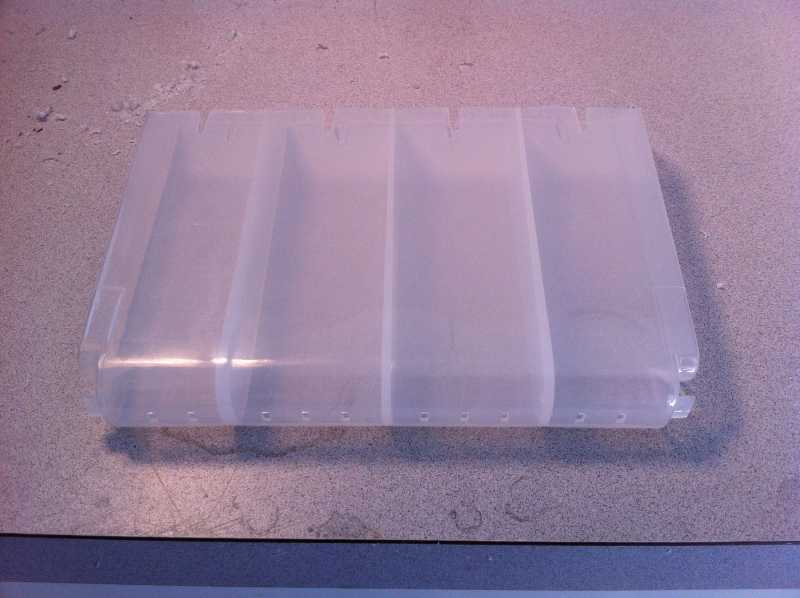
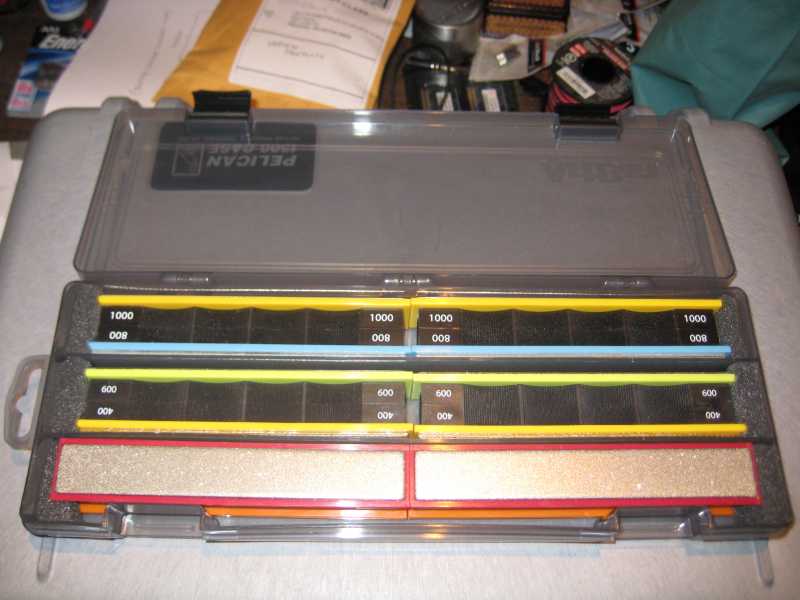
ArtBin pencil boxNow for the best part. I found an that holds the stones perfectly:
this modelThe pencil box (model 6900AB) costs $6.29. I’m using two of them. You can get them from the above website or from Amazon. I got one of mine at a local hobby store and the other from the Artbin website, along with (3900AB), which costs $5.59. The 3900AB works, but the spacer slots, which are used to make smaller compartments, make it a tight squeeze for the stones. This model box might be suitable for, say, a pair of stones set on edge and some accessories. I ended up not using it.
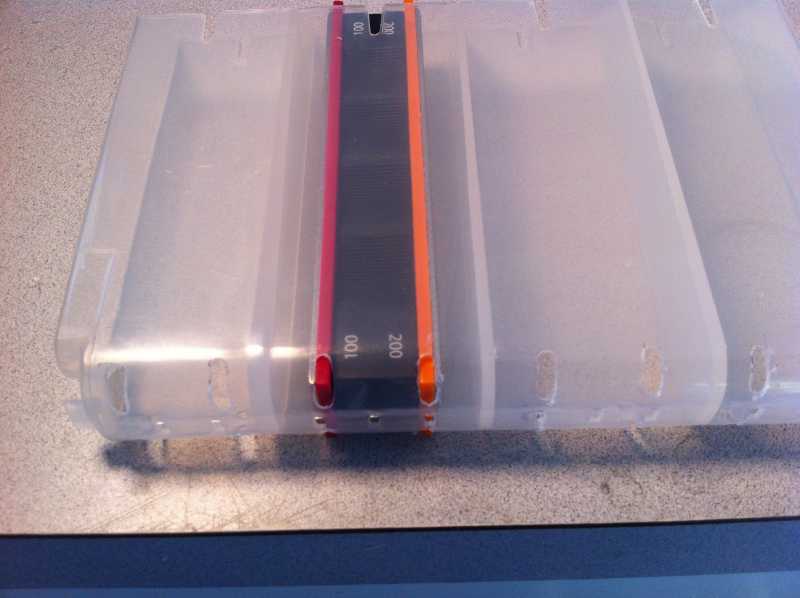
As you can see, the indentations for the cover clasps make the front trough too narrow to lay the stones on edge. But they do fit (snugly) if rotated 90-degrees. The case is soft polycarbonate, so I’m sure it’s not harming the surface of the stones to have them sitting on the plastic bottom of the box. The box comes with soft rubber protective pads on the left, but I added some pieces cut from the Pelican case foam at both ends to cushion the stones and keep the from sliding around.
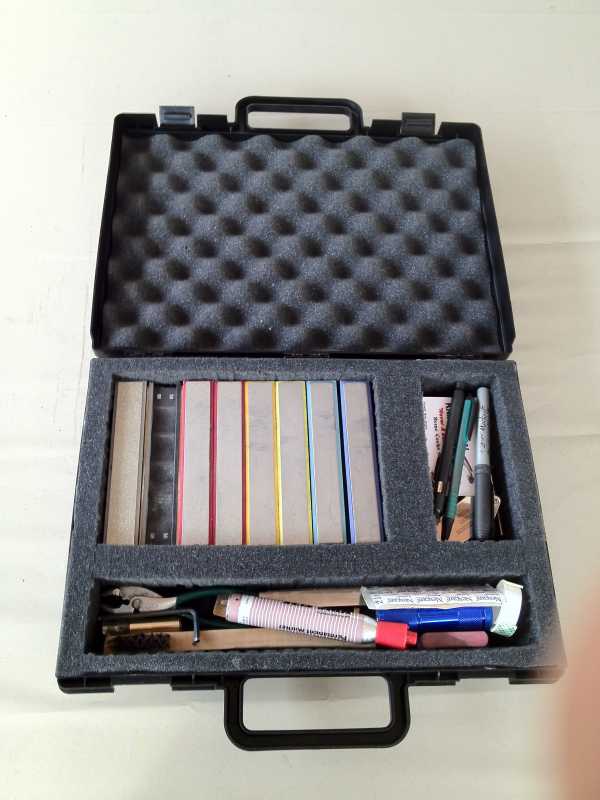
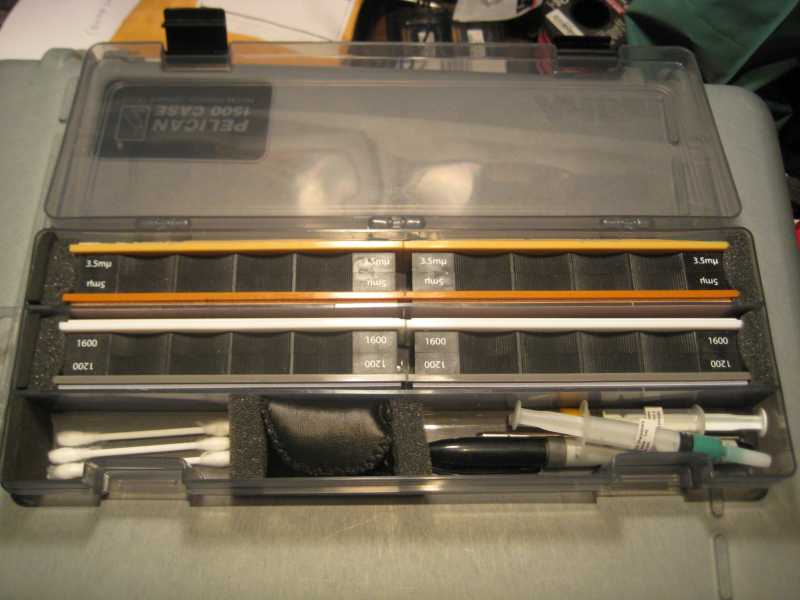
The box shown above has my Coarse-through-Fine stones. The second box has my Super-Fine stones, strops and stropping compounds:
Again, I used some small pieces of foam to better secure the stones, and some additional pieces to make smaller compartments for the stropping compounds, a Sharpies, Q-tips for feeling fine burrs, the knife brace, and the cool magnifying loupe that (unexpectedly) came with my Pro-Pack I.
The one thing I must remember to do is always insert the strops facing the same way so that the strops don’t get contaminated with paste from the other side that has wiped off on the plastic trough walls. To help do this, I’ve adopted the convention that the stones ascend in grit rating from front to back of the case (coarsest in front, finest in back.)
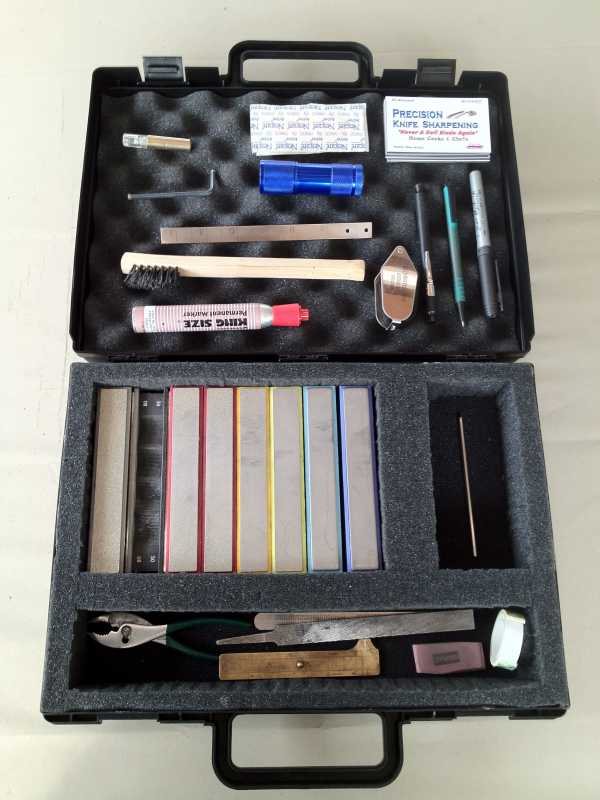
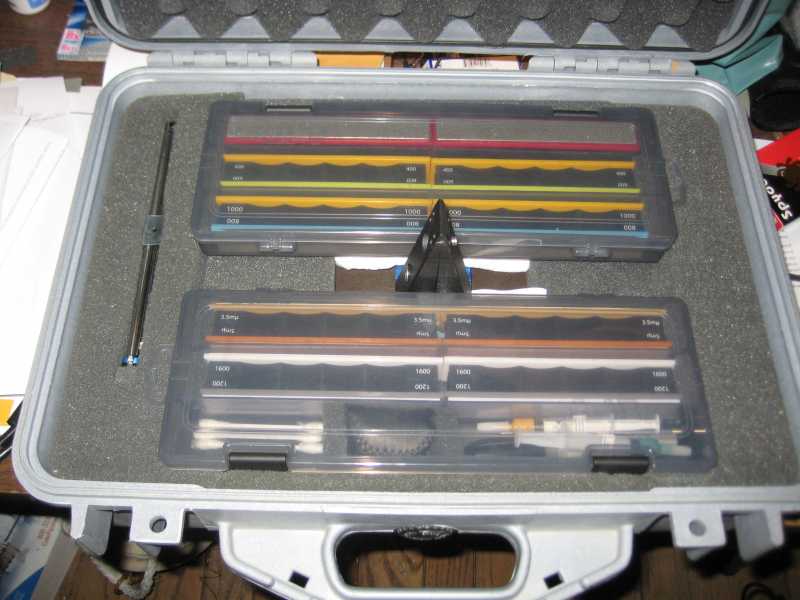
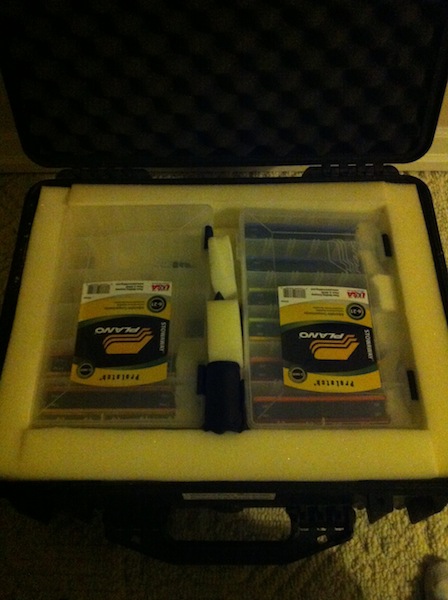
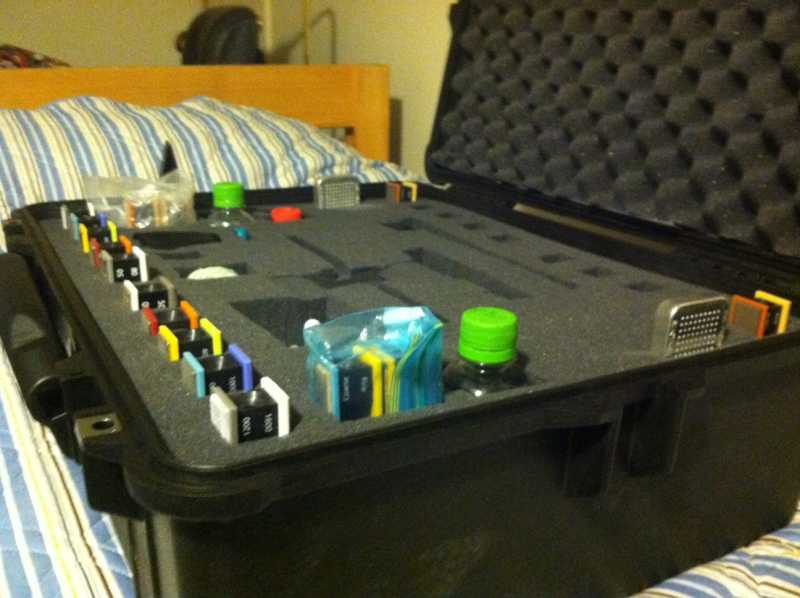
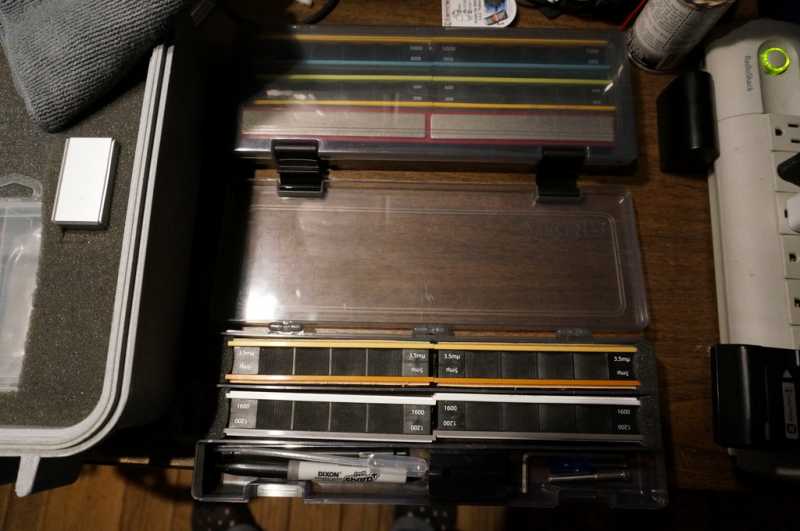
Here’s the case with the two boxes in position:
The boxes are elevated just enough by the two pads so that the foam in the top of the case keeps them in place. Also, the cover hinges of the boxes butt up against the vice, further securing the boxes. It does not appear that this stresses the vice at all. The case with the super-fine stones and strops is very light, much lighter than the case with the coarser stones, so I put the former in front so that there would be less weight on the vice when the case is held vertically. I don’t think the vice is in danger of damage from the plastic boxes.
As for expansion, I could fit one more pair of stones or strops in the second box by putting the small accessories on either side of the vice, perhaps held in place with small plastic boxes. Or, I could put them in cutouts on the right side of the case. There’s just enough room for a pair of stones in a cutout on the right side of the case, but I don’t like the idea of the stones touching the foam.
For even more expansion, it turns out that by removing the two pads on either side of the vice, there’s enough room to stack two cases in front of and behind the vice. They tilt to the front and back, respectively, because of the rise in the base of the vice, but they still fit and are held securely in place by the top cover.
I’m using the case mainly for storage and to keep the WEPS safe from inadvertent damage. I doubt I’ll travel with it. I could sharpen with the vice in the case, but I wouldn’t want to get metal filings all over the foam. So I’ll be removing the vice when I need to use it. In that sense, Cory’s beautiful tray is a more practical solution for storing/using the WEPS at home, if you have the room for it. My case does have the advantage of taking up less space.
So that’s it! Hope this gives you ideas on making your own case. Any suggestions for improvements to mine are welcome.