Using 50/80 stones
Recent › Forums › Main Forum › Techniques and Sharpening Strategies › Using 50/80 stones
- This topic has 36 replies, 17 voices, and was last updated 10/16/2019 at 6:29 pm by
Pat.
-
AuthorPosts
-
08/07/2019 at 3:35 am #51428
Sorry guys, but the pic of the chipped edge was not the right one, just had a very similar filename. The actual chipping I was referring to was this one:

Keep in mind that at the time, I was sharpening my Delica and was up to 600 grit with an apexed edge and no chips. After doing the routine number of strokes with 800 grit, I was shocked to see the chips you see in this photo. If you look at the right side of the bevel shown, you’ll see some deep scratches that are simply not supposed to be there with 800 grit scratch patterns. These are the nasty buggers caused by clusters or really big chunks which haven’t yet been knocked off.
Another note worth sharing is that other knives I had been sharpening with the same 800 grit stones had turned out just fine. It was the brittle factor which came with the ZDP189 at Rc64 that contributed to the chips. It also demonstrates why I am dubious when it comes to very low bevel angles.

Here’s a crash I experienced early on with my first set of 200’s. It frightened me away from that grit for at least five years. Imagine finding a defect this deep in your edge. Continuing with the 200 would only create more defects. Switching to 400’s would take forever to remove the damage left by the 200’s. After the 800 lesson hard-learnt, (Jan 2015) I went back and scrubbed the trash from the 200-grit stones on a glass plate and am quite happy with them today. For a number of years there, I started every knife with my 400’s and wore several out as a result.
-
This reply was modified 4 years, 8 months ago by
 tcmeyer.
08/07/2019 at 8:22 am #51430Thanks for the safe breaking process, will have to look over my higher grit stones with the microscope, as I think I may have a bugger hiding on one..
Was the glass tempered or just 1/4 plate like you would see on a table top or shelf?
“I buggy-ed in the kitchen, I buggy-ed in the hall, I buggy-ed on my finger, so I wiped it on the wall!”
Sorry, old quote just popped into my head, had to share:-)
08/08/2019 at 2:42 am #51442Brewbear: LOL!! Thanks for the encouragement!
Hope you weren’t doing 4 PaD for too long. I did 2 PaD for 18 years and was scared for years that I’d pay for it. Then my BF croaked in 2011, watching TV at home on a Saturday night. I had bitched at him for two years to seek medical help for his balance difficulties. He didn’t because he wanted to quit his 2 PaD habit before a doc would bitch at him, but he never did. He also had an alcohol thing and I think the two gave him arterial sclerosis. We hunted, fished and did a lot of shooting together over 35 years. Really miss him. So dump the cigs and anything to do with them. They’ll steal your life.
1 user thanked author for this post.
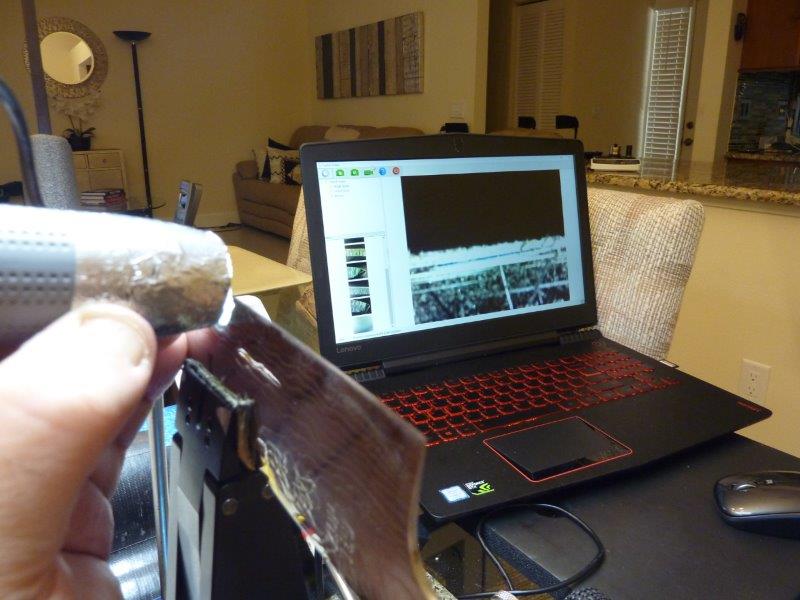
08/09/2019 at 1:13 am #51461TC, you’ve probably mentioned this elswhere, but what digital microscope do you use to examine your knife edge? Your photos have great detail.
Thanks
Dave
08/09/2019 at 2:49 am #51462Interesting that you bring this up. The photo above was taken a while back with my Celestron 5MP, called their HandheldDigital Microscope Pro in the instructions manual. This past year I had been using the Carson eFlex because I thought it had a little bit better depth of field, but I switched back to the Celestron earlier this week. It seems kind of dumb, but the Celestron has a very tight zoom adjustment wheel. This was annoying at first, bit it makes it much more pleasant to use, as it seldom, if ever, drifts out of focus. The Carson, and others like it that I’ve tried have all had adjustment wheels which are free-turning and therefor difficult to set and once set, they are easy to knock out of focus. If you try to lock in on a focal point, just lifting your finger from the wheel will move it out of focus. Aaargh!!
4 users thanked author for this post.
08/09/2019 at 11:30 am #5147008/09/2019 at 12:07 pm #51473I have adjusted the focus rings on my scopes to fine focus on the high power range with the scope positioned against the knife’s edge, on the bevel side, where I use it when viewing the bevel. Then I wrapped the focus ring with silver aluminum tape to hold the ring in position. Any fine focus adjustments from that point I can make simply by slightly lifting one edge of the scope’s shroud off and away from contact with the knife’s surface. It only takes a ,tiny, tiny shift or lifting of the shroud. I still have the shroud contacting the steel I just rock it away so there’s a minute gap on one side of the shroud. This slight slant of contact increases the focal length and focuses the image. The tape holds the ring positioned and allows me to hold the scope around the taped ring without effecting the focus setting. It does take a little care and may be tedious to get the focal ring taped into position, the first time. Since I have taped it I have used the scope taped just like this for years now without having to adjust the focus. I do have the focus locked in on high power by choice.
Marc
(MarcH's Rack-Its)Attachments:
You must be logged in to access attached files.
4 users thanked author for this post.
08/09/2019 at 1:23 pm #51477I might have to do that to mine.
08/11/2019 at 9:06 pm #51512TC… thank you!! & Marc…brilliant!! I am going to try that with mine. I have the same problem and that will speed up the process. You guys are all a wealth of knowledge.
Thanks,
Dave
08/13/2019 at 8:29 am #51518tcmeyer, you just made an excellent point about the need for a definitive break in process. Makes me think of switching to stones.
08/13/2019 at 8:41 am #51519tcmeyer, you just made an excellent point about the need for a definitive break in process. Makes me think of switching to stones.
Whetstones like Choseras and Shaptions don’t need a “break-in” period. They do however need to be maintained for trueness and flatness by lapping on a plate. They are also consumable and they can break if dropped. Whetstones are more expensive. They do need to be used with water; thus the namesake. Everything has a positive and a negative aspect. Pick your poison.
Both diamond sharpening stones and Whetstone sharpening stones have their place where they excel. I wouldn’t want just one or the other. If I was forced to choose one type I would go with the whetstone. They have proven to me, to be more effective sharpening the super hard stainless steels.
Marc
(MarcH's Rack-Its)3 users thanked author for this post.
08/14/2019 at 10:38 am #5152708/18/2019 at 9:23 am #51537Sorry guys, but the pic of the chipped edge was not the right one, just had a very similar filename. The actual chipping I was referring to was this one:
Keep in mind that at the time, I was sharpening my Delica and was up to 600 grit with an apexed edge and no chips. After doing the routine number of strokes with 800 grit, I was shocked to see the chips you see in this photo. If you look at the right side of the bevel shown, you’ll see some deep scratches that are simply not supposed to be there with 800 grit scratch patterns. These are the nasty buggers caused by clusters or really big chunks which haven’t yet been knocked off. Another note worth sharing is that other knives I had been sharpening with the same 800 grit stones had turned out just fine. It was the brittle factor which came with the ZDP189 at Rc64 that contributed to the chips. It also demonstrates why I am dubious when it comes to very low bevel angles. Here’s a crash I experienced early on with my first set of 200’s. It frightened me away from that grit for at least five years. Imagine finding a defect this deep in your edge. Continuing with the 200 would only create more defects. Switching to 400’s would take forever to remove the damage left by the 200’s. After the 800 lesson hard-learnt, (Jan 2015) I went back and scrubbed the trash from the 200-grit stones on a glass plate and am quite happy with them today. For a number of years there, I started every knife with my 400’s and wore several out as a result.Beautiful clarity with this scoped edge pic . . . The TC
08/18/2019 at 9:37 am #51538Someone may have already suggested this. I “sharpened” a piece of mild steel flat bar to break in my new stones.
08/19/2019 at 1:26 am #51540Sorry guys, on re-reading my post at the top of this page (8/07/2019 at 3:35AM) I see that I failed to insert a photo which is referred to in the post. I’ve edited that post and it now contains that photo.
1 user thanked author for this post.
-
This reply was modified 4 years, 8 months ago by
-
AuthorPosts
- You must be logged in to reply to this topic.