Potential problems with my new Wicked Edge Pro (WE320)?
Recent › Forums › Main Forum › Getting Started › Potential problems with my new Wicked Edge Pro (WE320)?
- This topic has 6 replies, 5 voices, and was last updated 03/08/2020 at 1:32 pm by
 Richard.
-
AuthorPosts
-
03/05/2020 at 4:01 am #53637
Yesterday i got my Wicked Edge Gen 3 PRO (WE320).
I’ve noticed a few things that make me wounder if everything is in order or not.
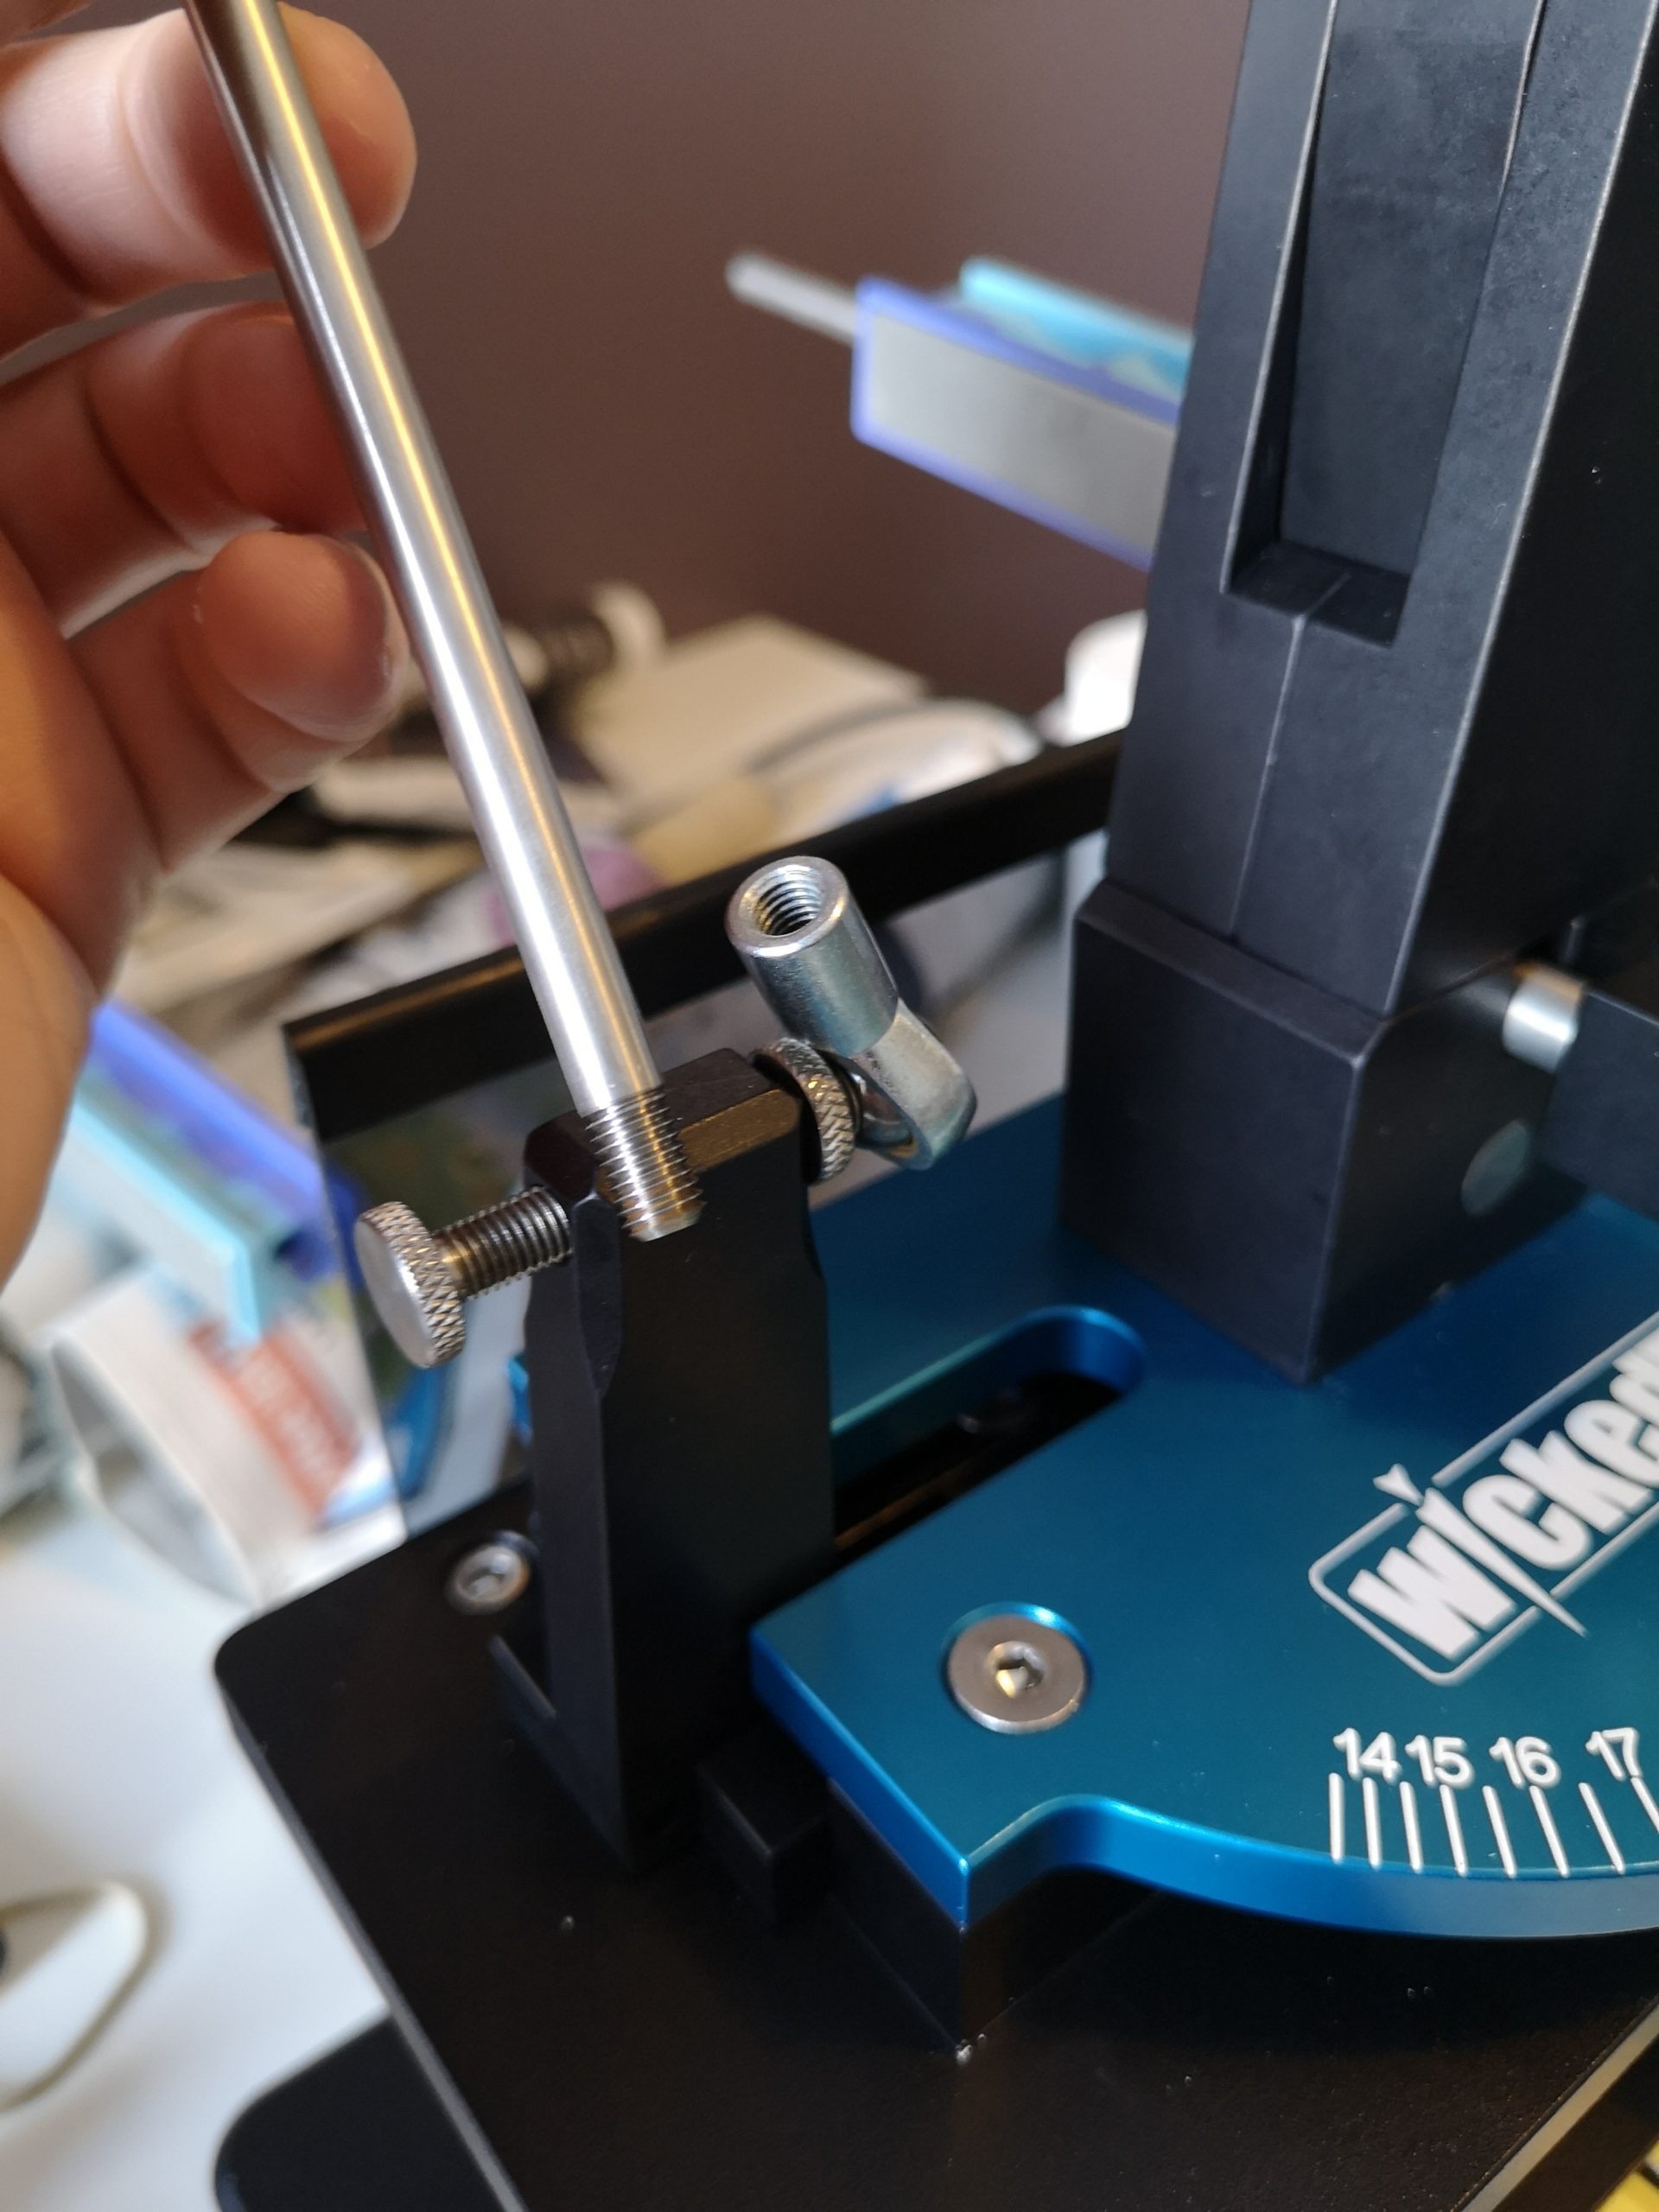
- The first thing i noticed was that the guiding rods and ball points does not look the same as in the instruction manual or like i’ve seen in pictures/videos on the web.
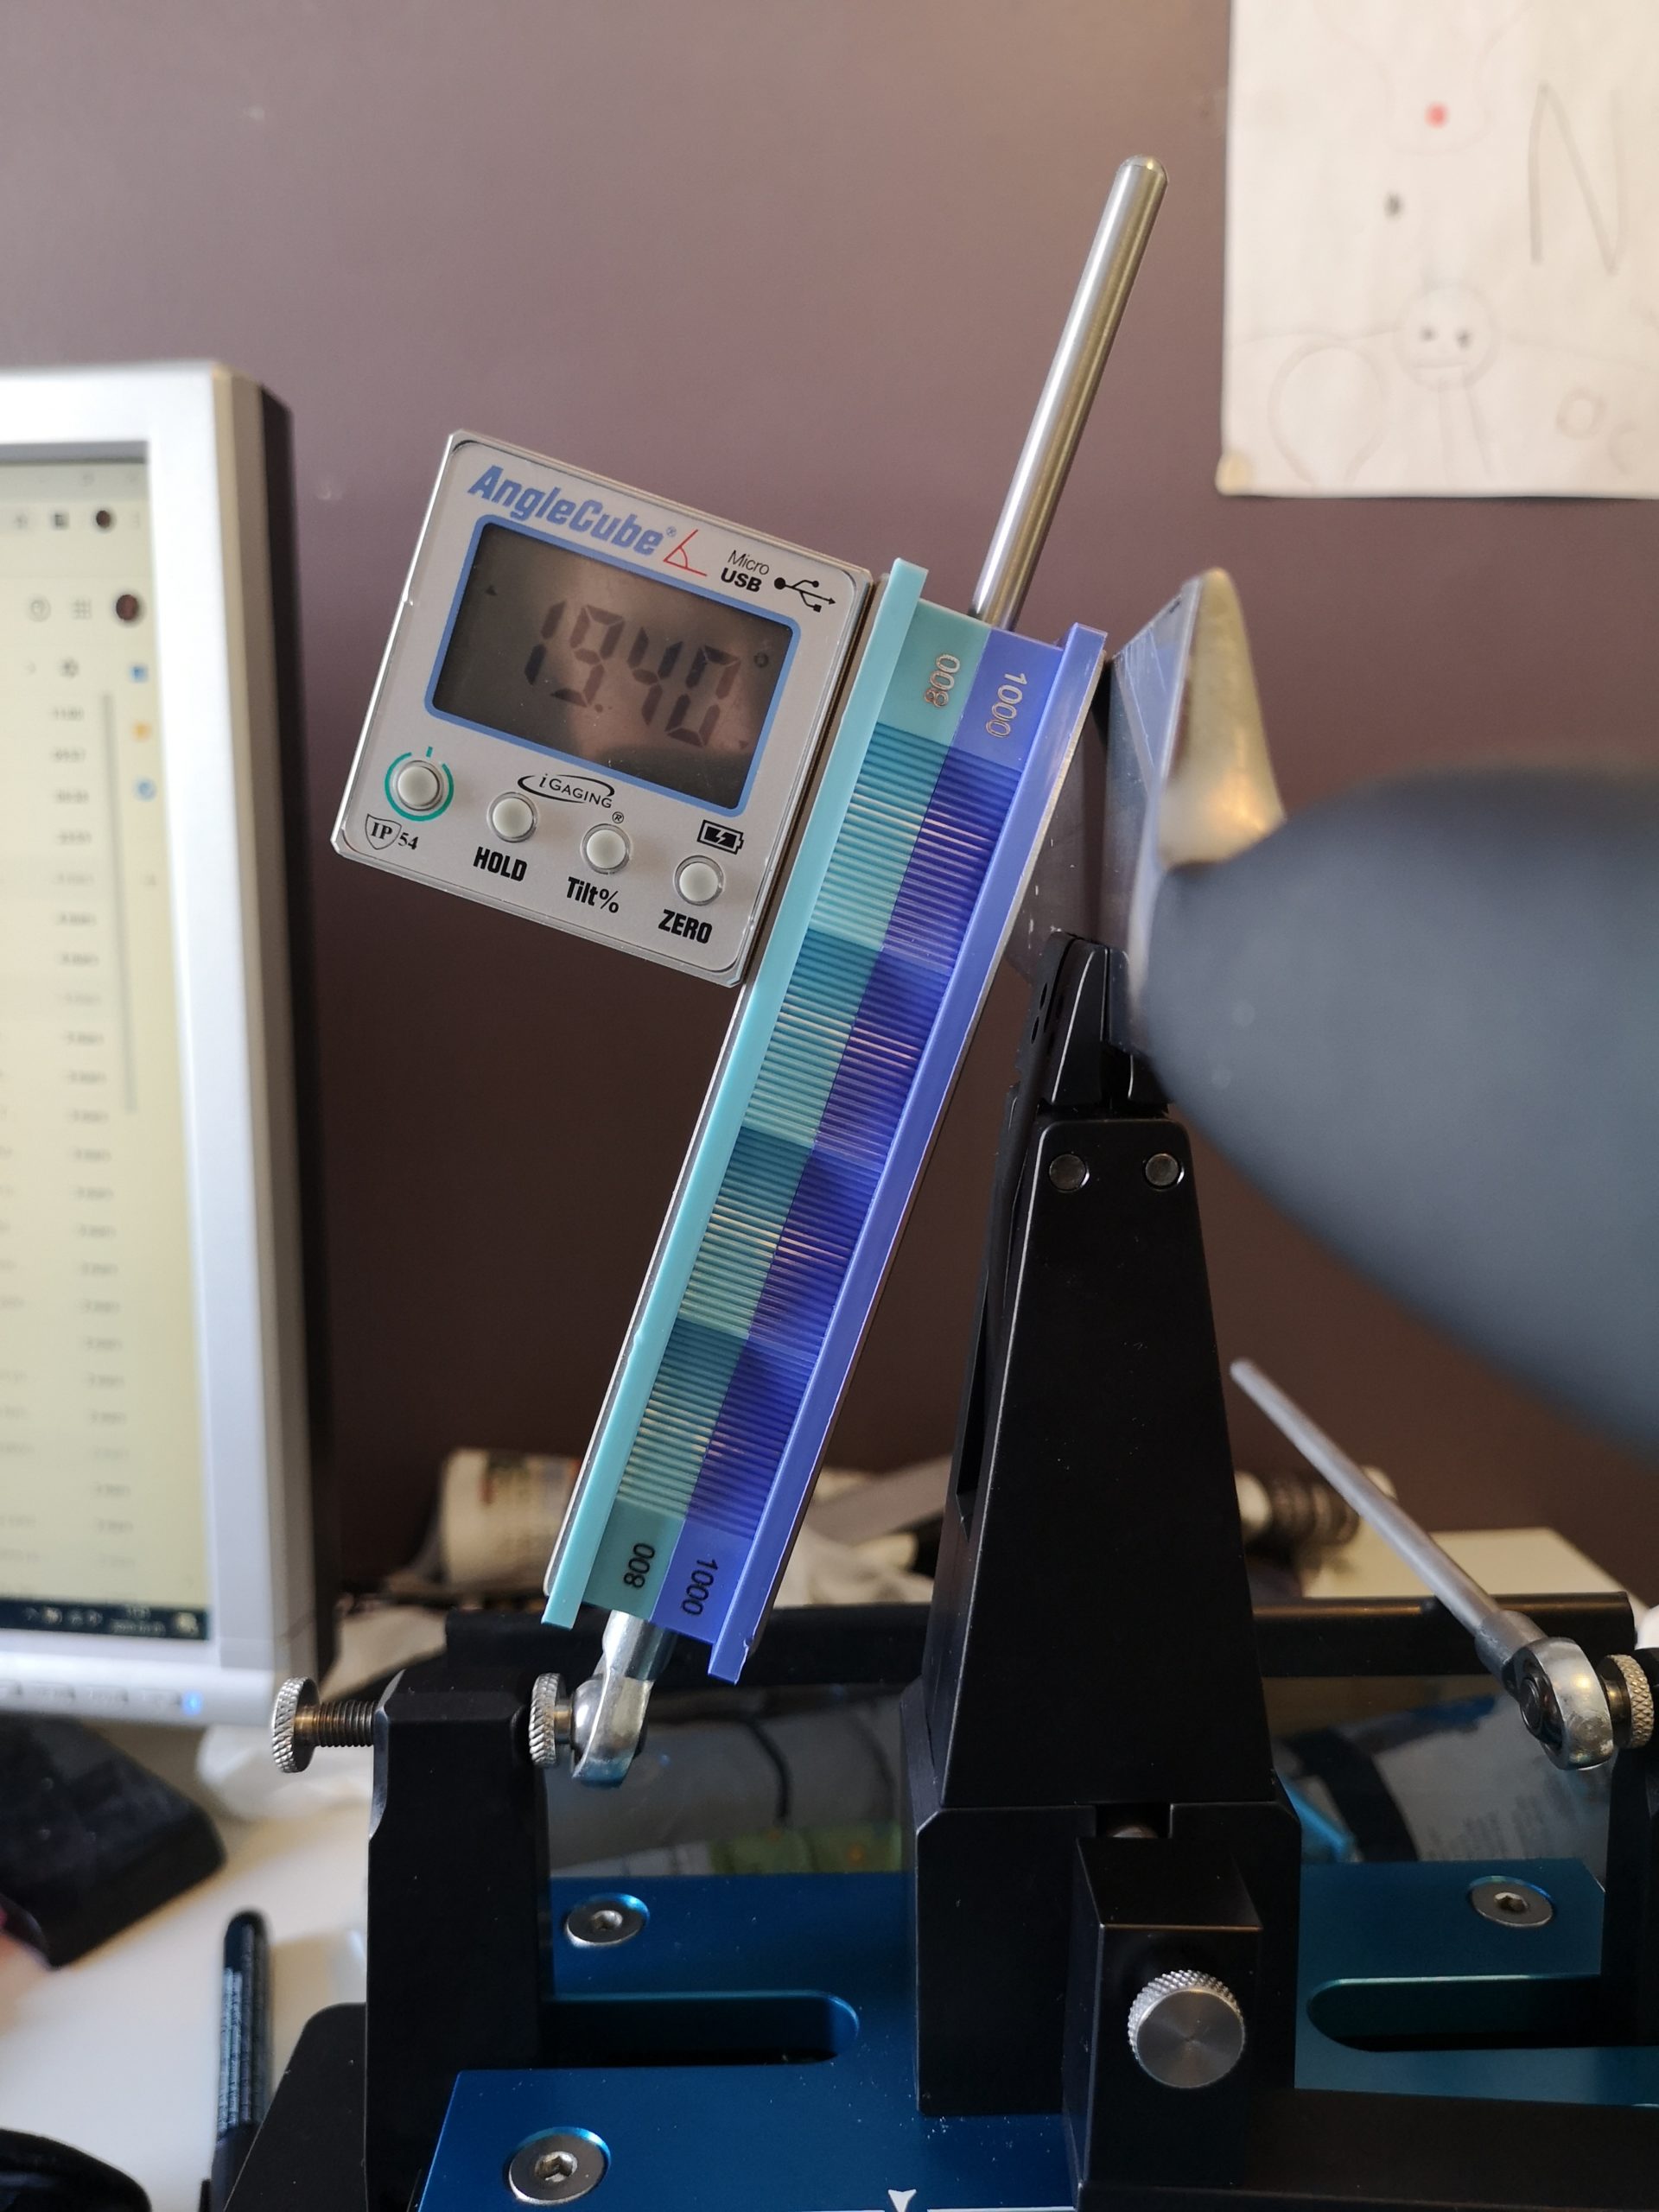
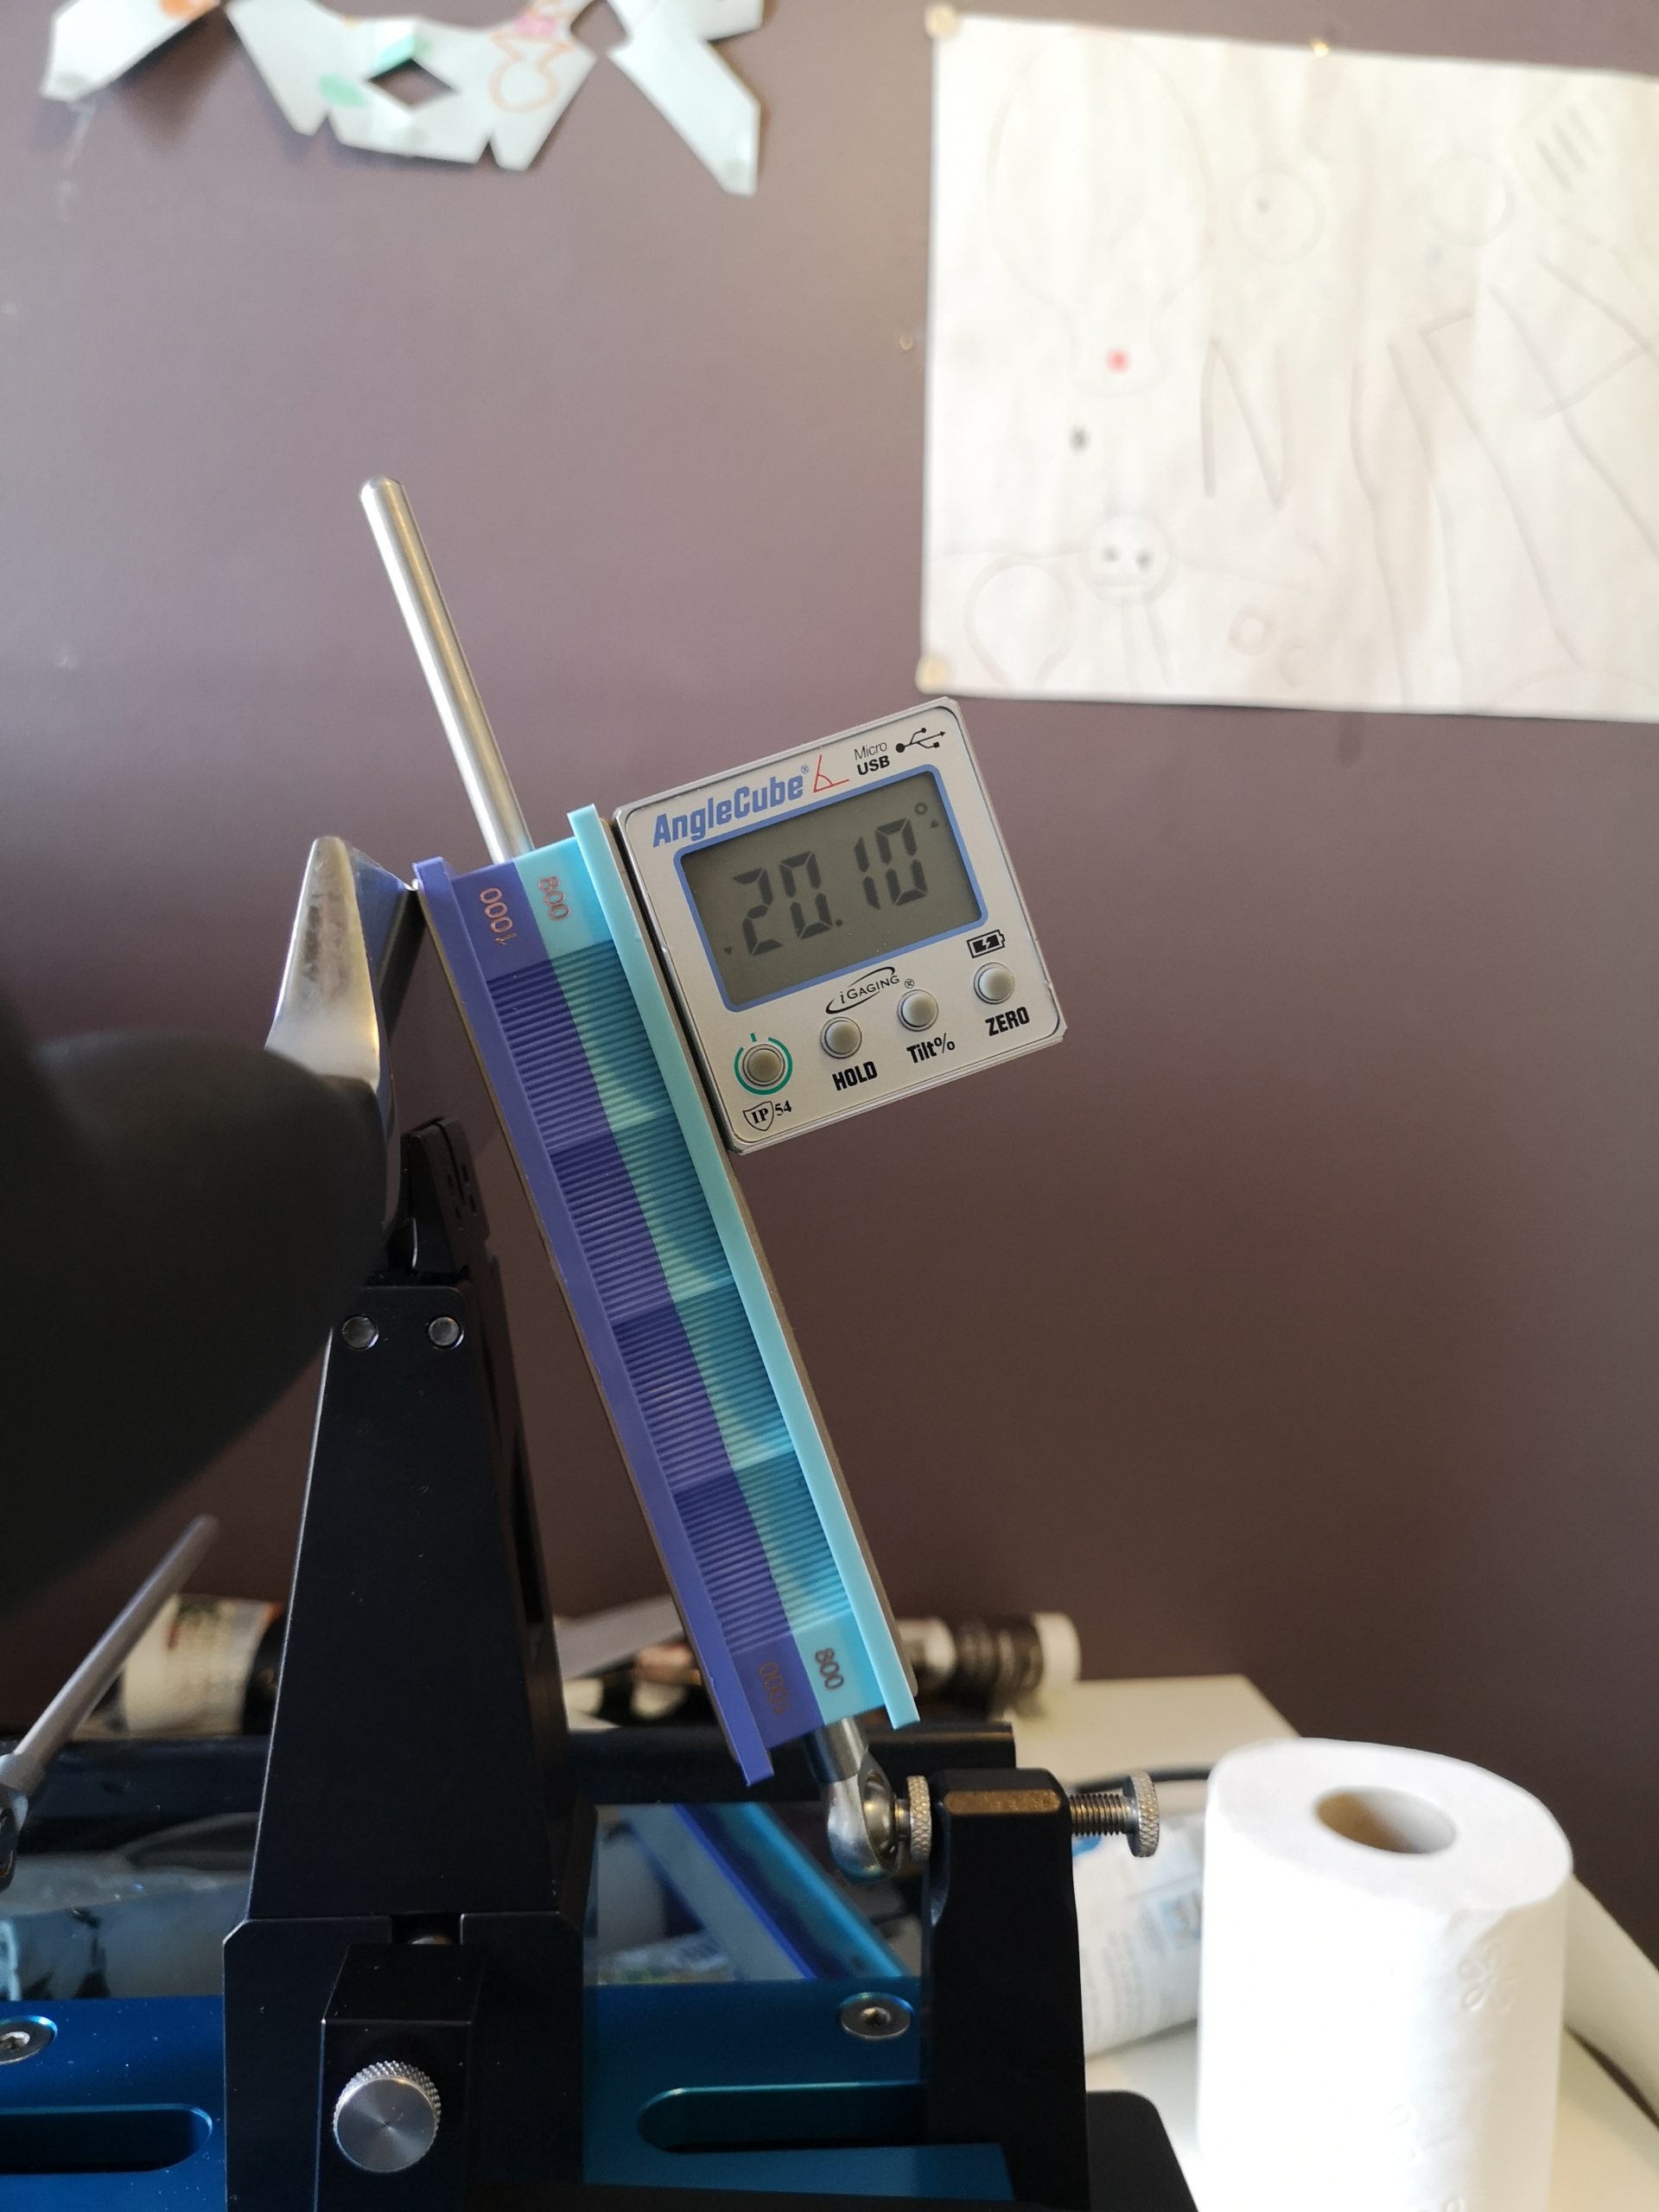
- Secondly the angles on each side are off by like 0.70 degrees (Using the same stone on each side). Its the same on every knife and when measuring without a knife against only the clamp
Is this normal?

-
This topic was modified 4 years, 1 month ago by
Nivmannen.
-
This topic was modified 4 years, 1 month ago by
Attachments:
You must be logged in to access attached files.
03/05/2020 at 5:54 am #53644Some side to side angle variation is normal on the generation 3 pro model. The micro adjustment knobs should have more than enough range to compensate for that issue. I usually set mine somewhere towards the middle of their range to allow adjustments to be made in either direction when sharpening. If it is an issue that bothers you then I suggest that you contact Wicked Edge customer service and get their thoughts on the matter.
Those ball joints and rods look normal to me.
4 users thanked author for this post.
03/05/2020 at 8:05 am #53648I agree with Organic… your new Gen 3 Pro looks just as it should. The newest models have a short threaded guide rod end with no jam nut. The angle variation you see from side to side is within the normal variances seen with the gross angle adjustment levers. The micro-angle adjuster screws can easily fine adjust for that slight variation. That’s exactly what the precision sharpener was designed to do. That’s why it has a two step adjustment procedure; coarse and micro-fine.
I suggest you measure the side to side, positioning of the vise mounted on the blue deck plate. Sometimes the vise can be loosened and ever so slightly re-positioned more evenly, straighter and more centered, then re-tightened on the blue deck plate to improve the vise’s position. You do have to dismantle the Gen 3 Pro to get to the under-mounted screws to achieve this re-positioning. It’s a lot of work to attempt to overcome only that slight side to side difference you see.
Marc
(MarcH's Rack-Its)4 users thanked author for this post.
03/05/2020 at 11:35 am #53649Thanks Organic and MarcH! Great answers!
03/05/2020 at 4:44 pm #53655Organic and Marc are two of our best resources here on the forum and you can count on them for great info. I would add that the angle number engraved on the WE sharpeners are for reference only and you will get different readings for every blade, depending on its width and which key position you use for clamping in the vise. I believe WE has said that the angles are based on an edge positioned 5/8″ above the top of the vise.
I’d also like to add that taking angle readings while the stone is allowed to rest gently against the blade is not good practice. There is some amount of looseness in the ball joints and between the rods and the handles. Add to this the fact that accelerometers are sensitive enough to detect vibrations caused by someone walking through the room, or by a truck driving by and there is a good potential for error, so I always do the following:
Grip the stone with the fingers on my opposite hand reaching around the base of the vise. I realize that those with small hands will have to find some other arrangement, just so the AngleCube will be solidly anchored to a known, repeatable position.
The stone is positioned so that it is centered on the vise and that about 3/4″ extends above the edge of the blade.
I grasp the bottom of the stone handle and I pull the stone with a constant force toward the vise. I probably apply about 2 Newtons. About a half pound is close enough. Or a pound. /doesn’t matter, just so it’s fairly constant. A Newton is a bit less than a quarter of a pound, so think of the weight of a stick of butter.
This provides a solid, fixed position for the AngleCube sand reduces the amount of jitter felt by the ‘Cube’s accelerometers. It will settle more quickly and more consistently to provide a reliable reading.
4 users thanked author for this post.
03/05/2020 at 5:37 pm #53656Not intending to contradict any of tcmeyer’s suggestions I will hone in on this part of the statement and expand from here:
just so the AngleCube will be solidly anchored to a known, repeatable position.
Sharpening knives while using our Wicked Edge Precision Sharpeners, (WEPS), is an individualized process. You will develop your personal sharpening technique after trying different suggestions you pick up here from reading, from watching various sharpening videos and ultimately after a lot of trial and error and practice.
Setting sharpening angles is one of the most important aspects of any of our sharpening techniques and methods. Consistency and repeatability is always key, in every step or process along the way, but especially when setting our bevel sharpening angles. However you find to make your angle measurement process easy for you, a comfortable method to employ that you can use over and over again, each and every time you set a bevel angle, is key.
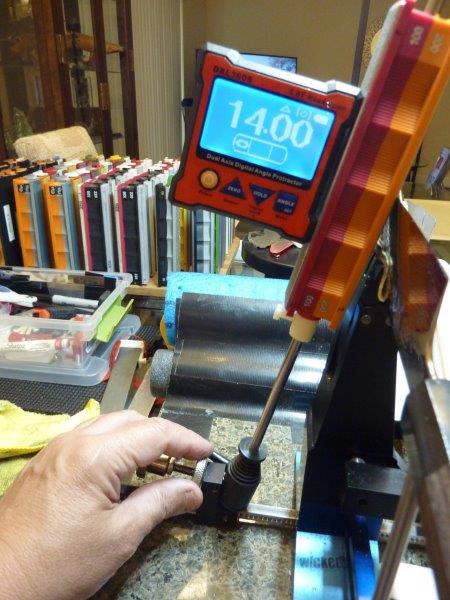
I rest my stones against the knife edge with the stones elevated by resting on a lower stone stop with the properly zeroed, digital cube firmly in place and make my angle adjustments, hands off. I like the mid point of my stone centered to the knife blade and the vise. We are measuring and setting our bevel angles relative to the knives clamping position. As long as each and every angle is set consistently, time and time again, that’s what matters. This stone position is easily done and consistent for me, every stone, every medium and every knife I do the same way.
When I reclamp a knife a year from now for a touch-up I’ll do it the same way I’ve been doing it for the past several years. Find consistency and ease of repeatability in you technique. It will pay off in your results.
Just to be clear…only zero your digital angle cube once at the very beginning of your sharpening session. Then work with it that way until the next time you sharpen another knife. You will be able to tell if the table is shaking or the floor is carrying vibrations through the house, through the cube readings. Then adapt your angle measuring technique accordingly, to deal with that.
Marc
(MarcH's Rack-Its)Attachments:
You must be logged in to access attached files.
03/08/2020 at 1:32 pm #53683The only time I use the angle guide on the WEPS is when I’ve used a Sharpie on the edge and am trying to find the angle of the blade, I can adjust the angle back and forth at 0.5 degree increments until I find it. The rest of the time, I’m using my angle cube, not a big deal.
1 user thanked author for this post.
-
AuthorPosts
- You must be logged in to reply to this topic.