Mounting a knife
Recent › Forums › Main Forum › Techniques and Sharpening Strategies › Basic Techniques and Sharpening Strategies › Mounting a knife
- This topic has 46 replies, 7 voices, and was last updated 03/26/2018 at 1:09 pm by
 Marc H.
-
AuthorPosts
-
03/24/2018 at 9:39 pm #45641
The biggest thing, I want to be confident that the WE can do the knifes I enjoy without modifying or adding a whole lot to it. That’s the biggest key for me. I’ll pay the premium if it’s worth it. I appreciate your input and help.
03/24/2018 at 9:39 pm #45642Roikyou, have a good one. It’s late in the East. I’m out and off.
Marc
(MarcH's Rack-Its)1 user thanked author for this post.
03/24/2018 at 10:35 pm #45643I really think with the benchmade you can clamp that closer to the tip and bury the back of the blade as deep as you can to level the edge a bit. You should have plenty of room to sharpen at 22 degs.
Did you hit the clamp with the stones on one side and not the other after measuring 22 degs. with the angle cube?
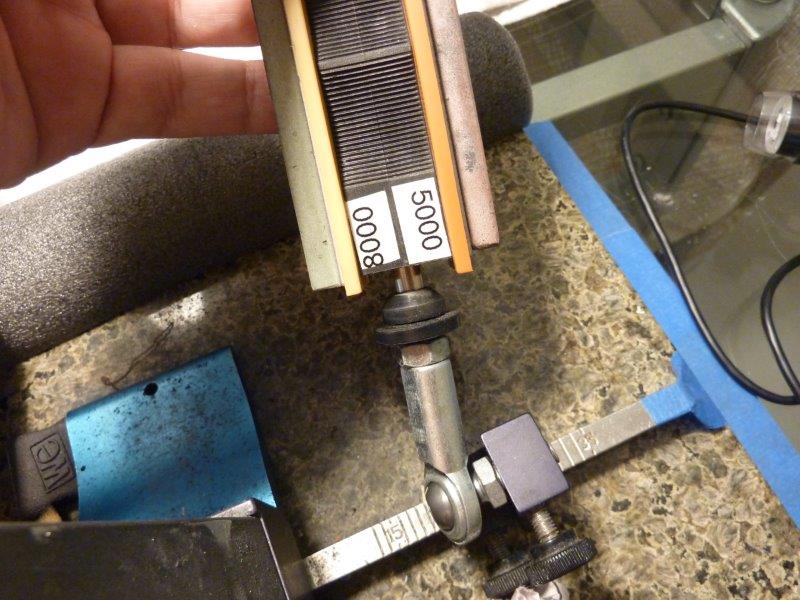
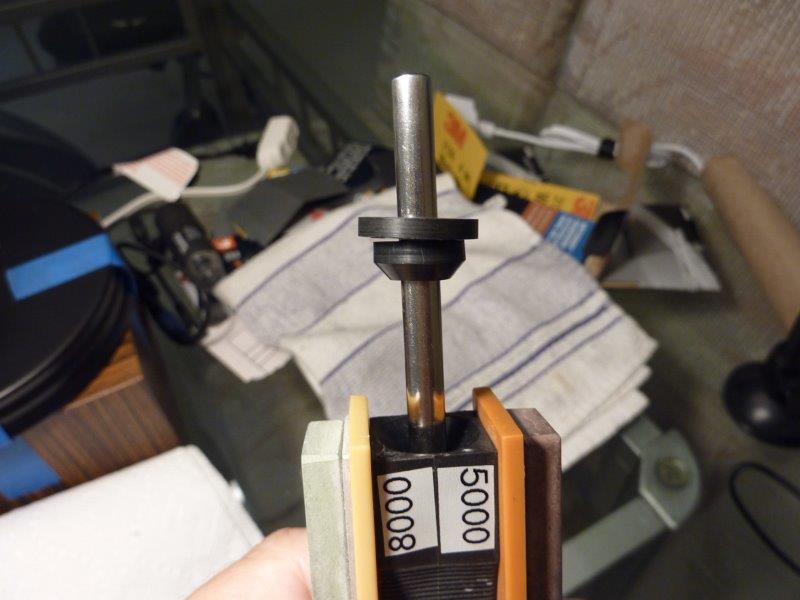
03/25/2018 at 5:18 am #45647Can we get a picture of the set up of your system, because I think of wrong installing the guide rods.
Or the symmetry of the knife blade.
Or the blade is not straight in the vise.
03/25/2018 at 9:21 am #45652I ran into the same issues as you with some of my first few knives. I have the LAA and it has an annoying big screw head sticking out of the side. I’ve read in some threaad here that some have modded the screw and picked up an allen screw at their local hardware store. I don’t know if WE’s LAA still has that big screw head as I bought mine off Ebay so it might be an older version.
Even with the LAA I still had to move blade on small or thin knives to towards the top of the jaws to avoid hitting the jaws when sharpening at angles near 14 degrees.
Had my system maybe a month now. You said you already have over $1,000 invested. Instead of using the LAA that might have come with your set up. WE gets like $75 for it. Do what others have suggested above . . . order the Tormek small knife adapter as I did. It’s 1/2 the price of the LAA (you could also re-sell your LAA). For $34.95 on Amazon, it will instantly solve your frustration with clamping small or thin blades.
As I new user, I too wanted to use the system as it was designed for when clamping a blade. But I found the same thing you did that the depth holes are only a guide and blades vary from one to another. And small knifes are an issue even with the top of the line jaw unit.
Also, watch this guys video link below on using the tormek adapter. Don’t pay attention to what he thinks the angle selector tells him what his angle is. Use an angle cube. He is using the scrubbing and mostly scrubbing up technique to raise a burr. If you use the motion the system is designed for I found it actually erases the burr. I wish I had seen this technique used before I wasted my time thinking I had to use the WE sharpening motion as the system is designed for when raising a burr. I did see some early on vids on raising the burr by scrubbing, but it was before I decided to buy my system so I forgot about that technique.
He has learned a few other helpful techniques which I had to learn them by trial and error. Like he uses his finger to support the tip opposite the side that your stone is working. This is good to do especially with long thin kitchen knives or you might get an uneven bevel towards the tip or round off the tip from the flexing.
He has only been using his WE 2 months. One thing I thought he is doing wrong is has a heavy touch with his stones which I found only serves to make it harder and longer to remove the scratches from the previous stones if you are going for a clearer mirror finish. He did say in the vid he is in the middle of sharpening a 27 knife set for a friend, so maybe he rushes as he is just throwing a kitchen knife type sharp edge. Unless you have a lot of band aids I would not rush working the stones as by the 1500 grit these edges get “wicked” sharp (git it?). Be real careful geting too close to these edges with a loupe. I just got a 20X lighted loupe off amazon for like $9.99. Its great, but im going to also get a 10x (also has a bigger field of view) as its probably better as the 20x forces you too close to the blade especially, if its still clamped.
But check this guys vid using the tomek adapter.
Lastly, you sound like a guy who just got a divorce (KME) and found a new girlfriend who is sexier, prettier and edgier . . yet you still pine away for your first wife. And after all you have spent wooing this sexy new girlfriend . . . I’d stay with your new girlfriend for a little longer. Keep asking questions as to technigue. The regulars here (not me, Im still new like you) have a wealth of experience and if you let them they will get you through your beginner issues and frustrations :o)
-
This reply was modified 6 years ago by
 Expidia.
03/25/2018 at 9:49 am #45654I didn’t view the entire video. I’ll comment on the technique employed to raise his first burr. The gentleman is using roughly less than 2 inches of the stones length with his scrubbing motion. If you can maximize the length of your draw, up and down, (scrubbing), to employ as much of the length of the stone as possible without running down off the bottom or up off the top of the stone your efforts will be more efficient and result in less wear to a small portion of the center of the stone. Use long full strokes up and long full strokes down. The speed isn’t what it’s about. Fast short strokes only wear a small area of the stone out. Long full strokes remove more steel.
The use of stone bump stops above and below the stone limits the slide of the stone to allow you to maximize the length of the stroke without falling off below the knife edge or running off above the knife edge. Either of these motions can cause damage and aberrant scratches to edge and knife sides.
Again I’ll use similes: when sawing wood with a hand saw you use a little short back and forth to just to get started. Once your into the wood you use long full saw strokes, pushing all the way forward then pulling all the back, to most efficiently cut through the board. The same applies to the WE stones.
There is no “hard and fast rule” to using the Wicked Edge Systems. They are purely a tool to hold your knives securely allowing the opposite sides to be sharpened simultaneously. I’ve seen it time and time again, those of us with a gift of intuitiveness and the ability to improvise do the best with this tool. Some need to be shown how to do everything and learn best by watching. Many of them lack the ability to figure out or tackle difficulties. Others of us excel when faced with difficulties and love the challenge of sharpening a difficult grind. Each of us has to figure out how to it somewhat on our own and to develop our own individual method, “technique”, that works best for that person.
This Forum is a good make-up of the give and take from the experiences of all these kinds of users and a good sounding board to work out the difficulties.
Marc
(MarcH's Rack-Its)Attachments:
You must be logged in to access attached files.
03/25/2018 at 11:09 am #45659Here’s where I sit, just to try to get an edge on this knife, try to mount it and set the angle.


You can see to set to 16 degrees, one side has to be almost to the end of the micro adjustment and the other has room, it’s a pretty big gap, if you were doing this in person, you’d understand. My thought, with the knife being 90 degrees, if one side needs more adjustment than the other, there’s a cant and you’ll end up with uneven bevels. So, I’m catching the resolution is to add a degree or two and buy add on’s if your knife is too small. Sorry, having a hard time swallowing it.
03/25/2018 at 11:46 am #45660Couple things. Don’t use the symmetry side to side as an indicator of the knife’s positioning. Not unless you have verfied that the vice, arms, gross and micro-adjustments, side to side when set identically, with the adjustment screw threads backed all-the-way in, give you equal angle readings when measuring a clamped flat, straight piece of metal like a machinist ruler with a zeroed calibrated digital angle cube. I have tried this, others have tried this and I’ve found it to vary some from side to side. The difference was a couple 10th of a degree, not that much, but still there was a variance.
Also, knives are hand ground and hand finished. They are not true and symmetrical side to side, either. Some I’ve found are very close. Others are way off side to side. As a regular part of my sharpening process, I clamp then visually inspect all knives under lighted magnification before sharpening. Seldom do I find a knife right out-of-the-box with even appearing bevels, side to side.
I do lay my machinist ruler against the side of a clamped knife, when possible and check the angles of the flat sides with the zeroed angle cube, side to side when I believe a knife may be misshaped, missground or cockeyed in the clamp.
Unless you’ve taken steps to identify what your working with, both tool and knife, I wouldn’t and couldn’t make any assumptions or draw any conclusions about the source of the variance. There are too many variables.
Lastly, for me, I don’t care what the “L” bracket settings read side to side, and where the micro-adjustment screws are positioned, as long as it visually appears mounted straight and vertical and the bevel angles measured with the zeroed angle cube are the same +or- 0.02º or so. Afterall what maters is how it looks to the naked eye and how it cuts.
I given this some further thought. If you’re still convinced the knife clamps at a cant, I’d reverse and reclamp the knife with the knife point towards you, this time. If it’s a knife issue the cant should reverse with the knife. If it’s a vice issue the reversed knife should still lean left as your initial complaint. You may also want to swap the vice jaws side for side. Just push the pins out and exchange their position and remount. It be interesting to see if that has any influence. I realized they’re a machined part but there is a possibility of a fault in the quality control when machining.
Marc
(MarcH's Rack-Its)1 user thanked author for this post.
03/25/2018 at 12:07 pm #45661I didn’t view the entire video. I’ll comment on the technique employed to raise his first burr. The gentleman is using roughly less than 2 inches of the stones length with his scrubbing motion. If you can maximize the length of your draw, up and down, (scrubbing), to employ as much of the length of the stone as possible without running down off the bottom or up off the top of the stone your efforts will be more efficient and result in less wear to a small portion of the center of the stone. Use long full strokes up and long full strokes down. The speed isn’t what it’s about. Fast short strokes only wear a small area of the stone out. Long full strokes remove more steel. The use of stone bump stops above and below the stone limits the slide of the stone to allow you to maximize the length of the stroke without falling off below the knife edge or running off above the knife edge. Either of these motions can cause damage and aberrant scratches to edge and knife sides.
Again I’ll use similes: when sawing wood with a hand saw you use a little short back and forth to just to get started. Once your into the wood you use long full saw strokes, pushing all the way forward then pulling all the back, to most efficiently cut through the board. The same applies to the WE stones. There is no “hard and fast rule” to using the Wicked Edge Systems. They are purely a tool to hold your knives securely allowing the opposite sides to be sharpened simultaneously. I’ve seen it time and time again, those of us with a gift of intuitiveness and the ability to improvise do the best with this tool. Some need to be shown how to do everything and learn best by watching. Many of them lack the ability to figure out or tackle difficulties. Others of us excel when faced with difficulties and love the challenge of sharpening a difficult grind. Each of us has to figure out how to it somewhat on our own and to develop our own individual method, “technique”, that works best for that person. This Forum is a good make-up of the give and take from the experiences of all these kinds of users and a good sounding board to work out the difficulties.thx Marc, all good tips as usual! I mainly post the vid to show the OP that the Torec adapter can solve a lot of small blade related clamping issues. I recently ordered one for myself. I’ve seen this adapter mentioned in other threads, but I thought it was just for use with a grinder type sharpener. Now from the vid I can better see how that horizontal metal bar on the tormek can also be used to clamp in to the jaws of a WE.
I’m surprised WE has not come out with their own version yet. I know Josh uses one as thats where I think I heard him discussing it in one of his vids.
What do the regulars here do when they say have to replace their stones like the 100/200’s. Isn’t it like starting all over scratch wise with a new set of stones again? I’ve also read rubbing the new stones together to smooth them down a little, is not a good thing to do.
03/25/2018 at 12:20 pm #4566203/25/2018 at 3:54 pm #45663If you are worried about your machine not being up to standards then I think a call to the WE team might be your best bet at this point.
1 user thanked author for this post.
03/25/2018 at 4:10 pm #45665The idea of buying an add on to be able to sharpen a 3″ knife which half my knives are three inch, kind of bugs me. Instead of buying an add on, why not keep the KME for small knives. Then again, why two systems for two different sizes of knives. I agree with you skssharp, I think I’ll be contacting them tomorrow. Thanks again for everyone’s help.
03/25/2018 at 4:30 pm #45667WE customer service is very good and they should be able to help you diagnose the issue.
03/26/2018 at 11:55 am #45669Couple things. Don’t use the symmetry side to side as an indicator of the knife’s positioning. Not unless you have verfied that the vice, arms, gross and micro-adjustments, side to side when set identically, with the adjustment screw threads backed all-the-way in, give you equal angle readings when measuring a clamped flat, straight piece of metal like a machinist ruler with a zeroed calibrated digital angle cube. I have tried this, others have tried this and I’ve found it to vary some from side to side. The difference was a couple 10th of a degree, not that much, but still there was a variance. Also, knives are hand ground and hand finished. They are not true and symmetrical side to side, either. Some I’ve found are very close. Others are way off side to side. As a regular part of my sharpening process, I clamp then visually inspect all knives under lighted magnification before sharpening. Seldom do I find a knife right out-of-the-box with even appearing bevels, side to side. I do lay my machinist ruler against the side of a clamped knife, when possible and check the angles of the flat sides with the zeroed angle cube, side to side when I believe a knife may be misshaped, missground or cockeyed in the clamp. Unless you’ve taken steps to identify what your working with, both tool and knife, I wouldn’t and couldn’t make any assumptions or draw any conclusions about the source of the variance. There are too many variables. Lastly, for me, I don’t care what the “L” bracket settings read side to side, and where the micro-adjustment screws are positioned, as long as it visually appears mounted straight and vertical and the bevel angles measured with the zeroed angle cube are the same +or- 0.02º or so. Afterall what maters is how it looks to the naked eye and how it cuts. I given this some further thought. If you’re still convinced the knife clamps at a cant, I’d reverse and reclamp the knife with the knife point towards you, this time. If it’s a knife issue the cant should reverse with the knife. If it’s a vice issue the reversed knife should still lean left as your initial complaint. You may also want to swap the vice jaws side for side. Just push the pins out and exchange their position and remount. It be interesting to see if that has any influence. I realized they’re a machined part but there is a possibility of a fault in the quality control when machining.
I agree, I think the finishing grind is rarely even which I think your right, could be the reason one side could take more adjustment than the other. Here’s my over thinking, if that is true, than what you really need is both arms and micro adjustment as close to even as possible to help even out the finishing hand grind, even out the bevels. If that is true, than having the ability to adjust each arm could be difficult or even detrimental, cause you’d have to either eye ball it, get it as close to what you think is right. I guess if you really wanted to be absolute, you could set both arms with some kind of flat metal like you mentioned. Decide what degree your going to set, use a guide to set the arms exactly the same. When you get a knife, using a sharpy, do the normal test, you could see how much each bevel on each side is off, then re-profile to even out the bevels. Sounds like a lot of work to be really detailed about it but I kind of over think things like that.
-
This reply was modified 6 years ago by
Roikyou.
03/26/2018 at 12:34 pm #45671I can’t understand why you care so much about the adjustment or the position of the arms. That all doesn’t mean anything. All that matters is what the digital angle gauge reads when measuring each side bevel angle, (i.e., the same angle within reason, say +-0.02º). Some knives the adjustments and arm position are close, some knives I find them way different, side to side. The even bevels come from the knife being clamped vertical and the amount of grinding work you do to each bevel side. The bevel size/height is effected first by angle setting, then by time and effort spent on the edge, the number of strokes, hand pressure and finger position. Don’t confuse that I’m saying an equal number of strokes on each side will give you an even bevel. If one side is smaller then the other it needs more strokes, time, effort and work. I do what it takes to make the bevels appear the same while bringing both side bevel to a precise meeting place at the apex of the edge, along the entire length of the knife.
Marc
(MarcH's Rack-Its)1 user thanked author for this post.
-
This reply was modified 6 years ago by
-
AuthorPosts
- You must be logged in to reply to this topic.