Angle Settings from stone to stone
Recent › Forums › Main Forum › Angle Settings from stone to stone
- This topic has 20 replies, 2 voices, and was last updated 12/24/2019 at 3:11 pm by
 Marc H.
-
AuthorPosts
-
12/09/2019 at 11:42 pm #52695
Edward Riley wrote: I don’t want to spend hundreds but don’t want to wish I had gotten a better one.
Well a small block of wood with the “desired angle” cut in the side and placed where the angle cube goes. Now put on top of that block a “String Level” for a reference to flat. the block of wood could be held tight to the paddle with a “rubber band”. One of those triangle shaped “Roofing Squares” should get the line drawn on the block for the cut.
A little time with sand paper and a small “Machinist Square” to true up the contact point of the wood block to the stone.
The base of the sharpener needs to be level for this to work, and is only good for one angle.
12/10/2019 at 12:55 am #52696I’ve got the DXL360S and like it a lot. I have a four-inch long piece of tool steel ( about 1.5″ X 4″ X 1/8″plate) which is surface ground on both sides an I attach it to one side of the gauge when I want to measure something which is too short to attach the cube or is non-magnetic. I can turn the plate on edge to get access to blade surfaces which are too small.
By the way, before there were a bunch of these low-cost angle gauges on the market, some guys used their smart phones, using a free app of an “inclinometer.” Works really slick, plenty accurate, but requires that you come up with a flat base or holder to be repeatable if your phone doesn’t have a flat surface. Lots of apps on Google Play Store.
12/10/2019 at 7:43 am #52699Welcome Edward. Not to play the devils advocate here but all of us enjoy this hobby in different ways. We can quickly spend dollars on accessories and it adds up fast. A decent angle cube off Amazon for $20-30 bucks is the way to start. I initially bought the WE 3 Pro unit and upgraded the vice only because I did not like the metal particles falling easily inside the old style more open to the cam vice. But there is no rush to spend more money so soon because I’ve learned from the helpful contributors here that its really more about developing your own technique. You don’t sit down at a piano and just start playing! It takes many knives to get your WE stroking motion consistent. In my early days I cut or nicked myself often. Mostly by not focusing on what I was doing. I rarely nick myself anymore because like learning a piano with practice my motions are now somewhat locked in.
As a hobby, we can get very deep into sharpening knives. Or with a kitchen knife I sometimes just stop at the 800 grit and it goes back into my knife rack.
As to checking the angle with every grit I was taught here to always start with the 1000 grit with the angle cube on it and then I continue with my progression if I’m doing my initial re-profile with the 100 grit and progress from there. I don’t bother to re-check the angle again unless I’m using the small knife Tormek adapter which can slip as its held in place by the knife’s handle.
I will re-check the angle once when I’m going from the diamonds to DLP’s but I mostly use the ceramics now in place of the DLP’s which I found to be pricey and contaminate easily (but can be cleaned with alcohol on a rag or paper towel).
I do go through the extended grit progression when I’m mirroring my (expensive to me) folders I collect, looking for that hair shaving mirrored razor edge.
There are a bunch of good videos up on Youtube which will show you how the creator of each vid developed their own techniques including the ones done by Clay the owner of the WE system. There are some excellent instructional vids put out by Oldowan Tools (an authorized dealer of WE systems and accessories) I’d start by viewing all of Clay’s first. I rarely spend hours on a knife edge anymore. I spend maybe 45 minutes now to achieve similar edges that took me 1-2 hrs before. I attribute this to leaning tips from the experts here and having probably sharpened 100-150 edges under my belt and approaching maybe 2 years with the system now.
12/10/2019 at 11:33 am #52703So you also set each stone to the original angle? I’m just having trouble getting each stone to cut perfectly across the whole bevel. I thought once I had the ability to adjust the micro angle refining the edge to the new grit would only take a few strokes. Before I got the adjustable arms I would spend an 1-2 hours per stone getting an even bevel across the whole blade. And yes it is faster now that I can adjust the micro angle but not really by that much.
That is an awfully long time spent per stone. Are you using a magnifying device to help you see what is going on at the edge? I use the angle cube on each grit change, but I also use the sharpie method to double check because my angle cube is finicky. The sharpie does not lie.
12/24/2019 at 1:13 pm #52787Wow, 7 hours on one knife !!
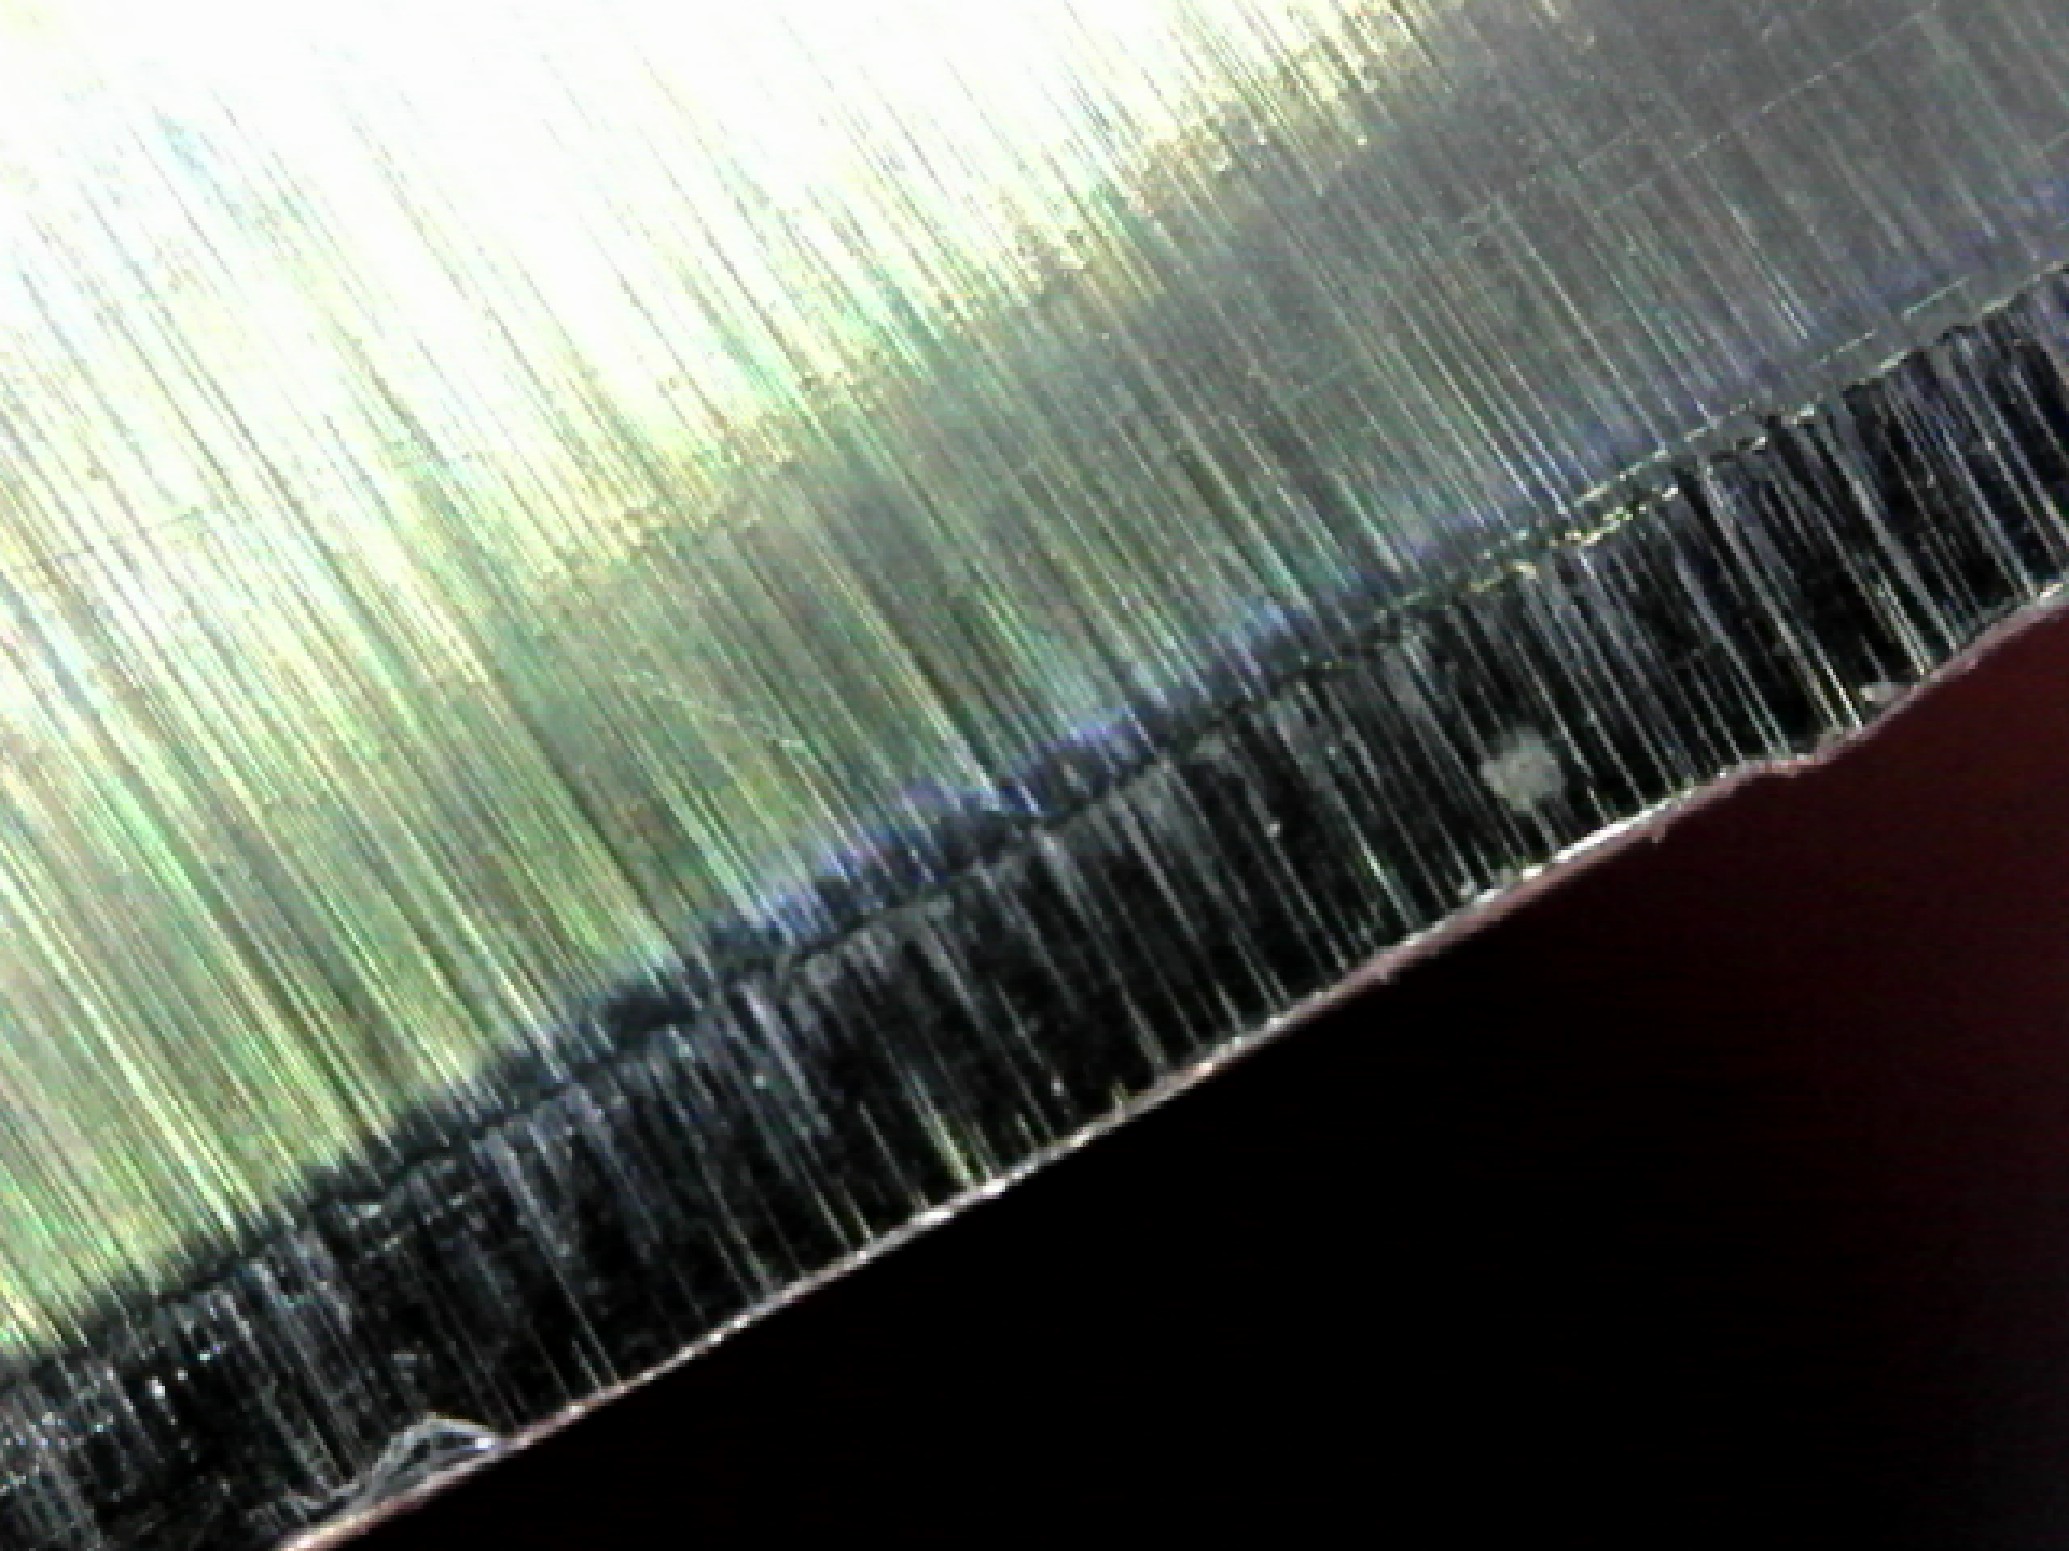
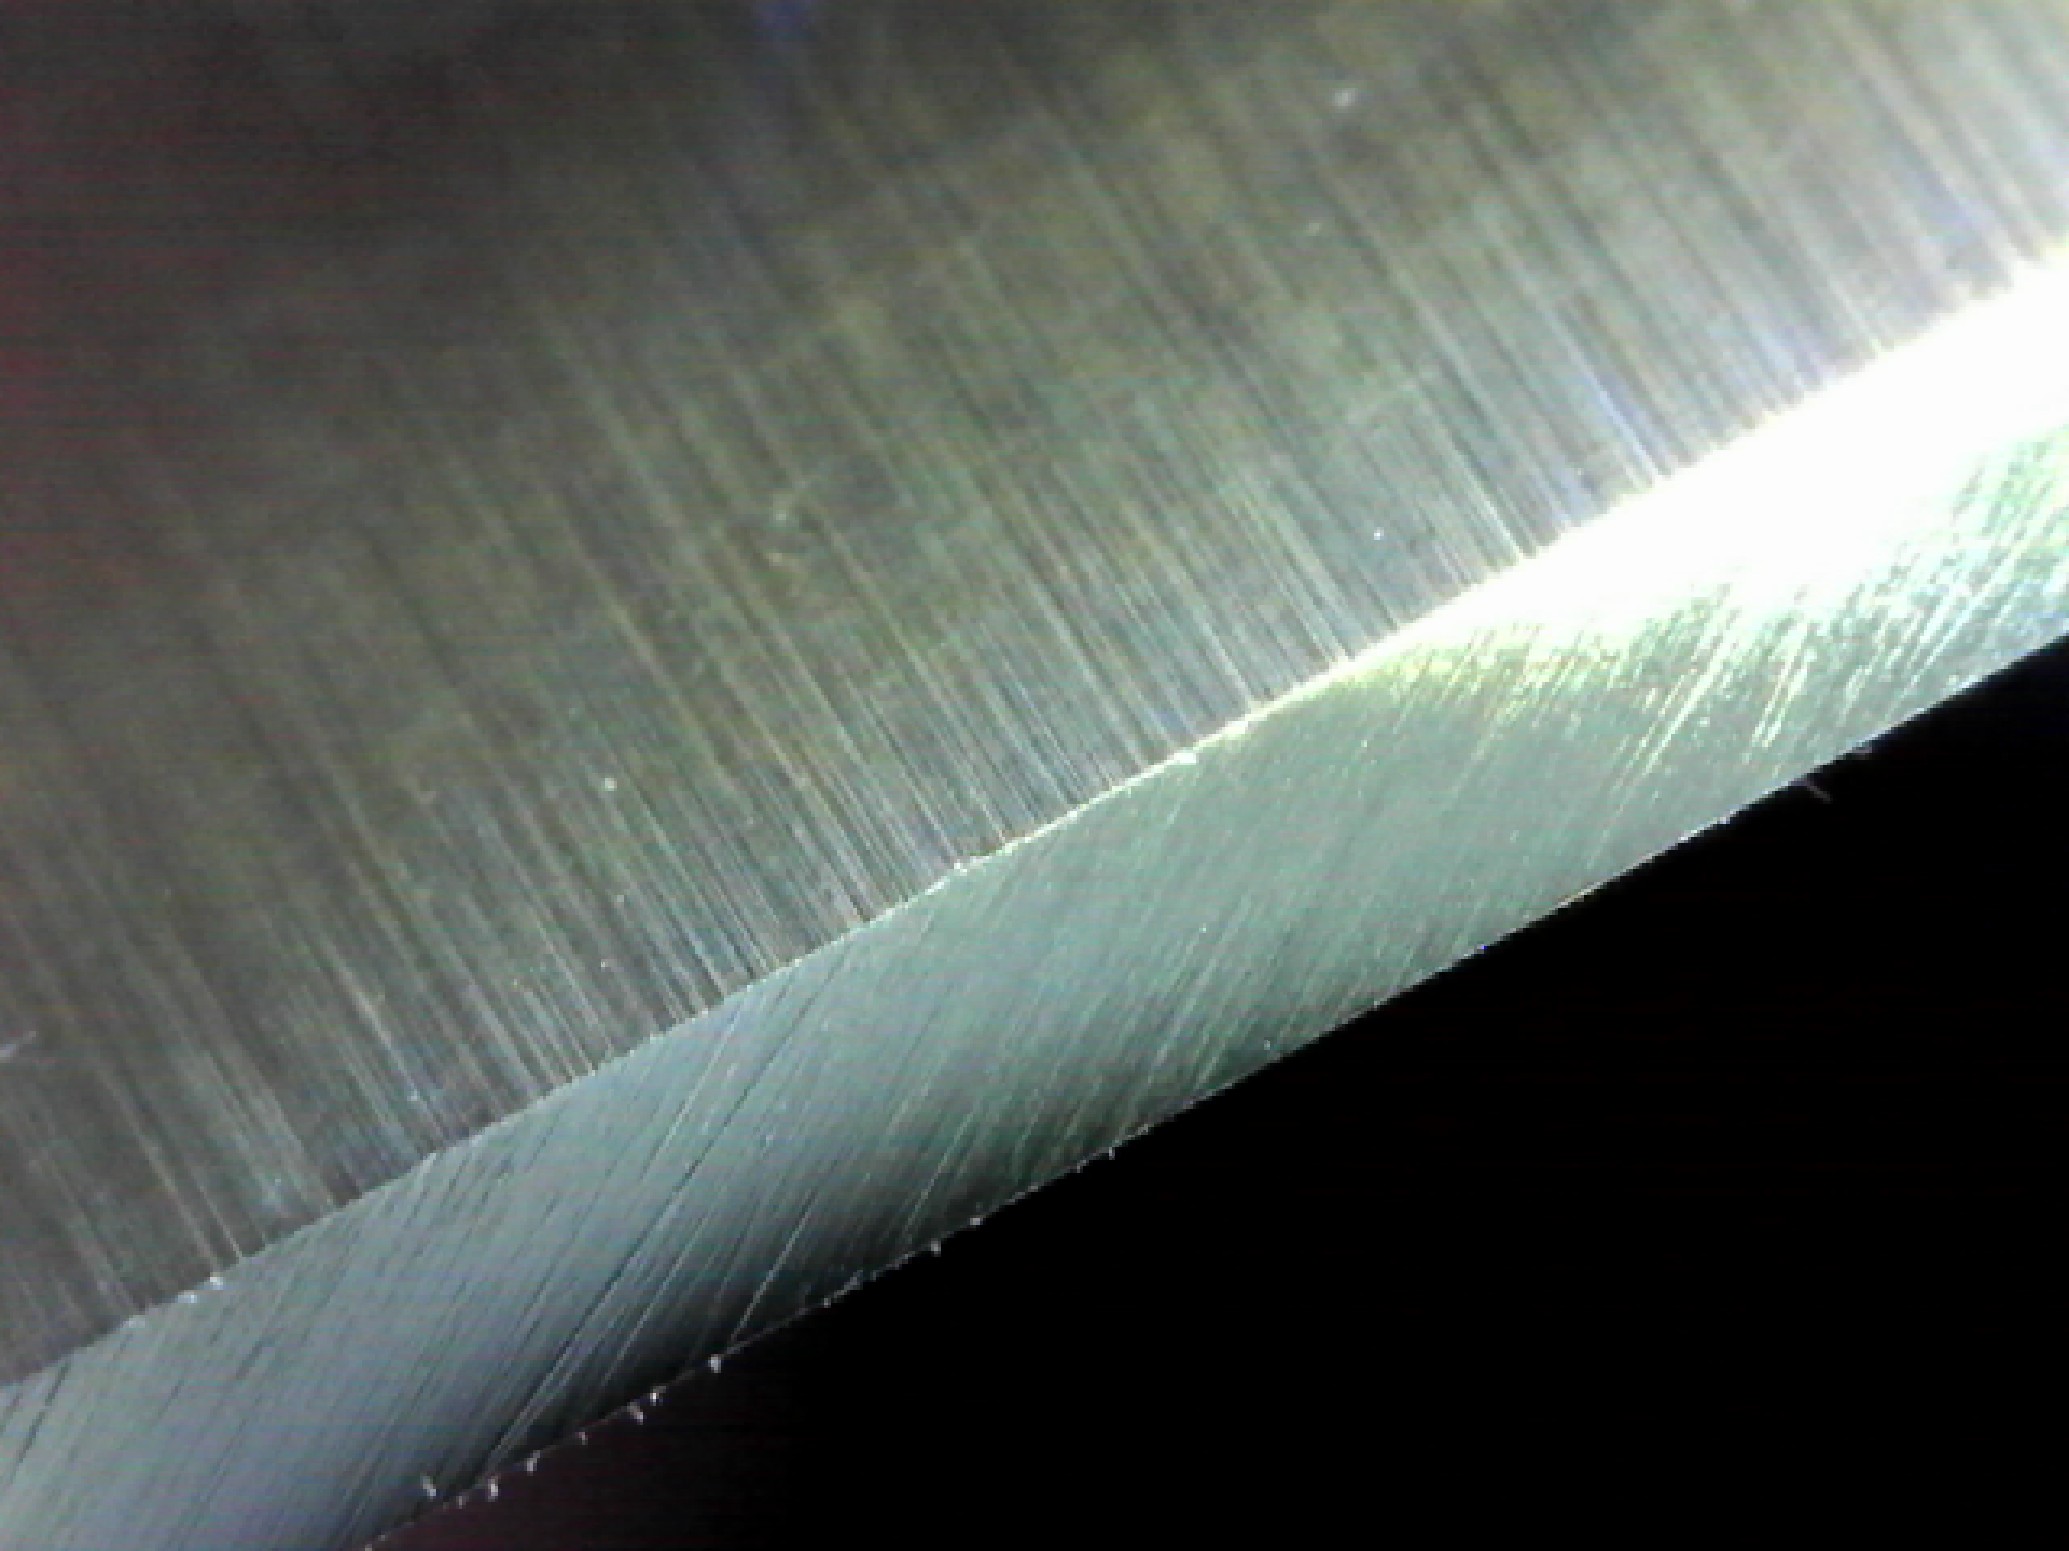
For me, I check the angle only once during the initial bevel/burr process (~50 hard scrubs per side = 10-30 mins depending on redo vs. new). Once that is done I go straight thru the progressions including film and leather (25 alternating single passes per side + 5 extra light with leather = 10 mins) and I am done. Mirror finish to the eye, slight left over grit marks under 200x scope (you may never get done if you try to get them all out – lapping process). It cuts scallops out of shiny magazine paper. Its all in the initial setup and then trust the WEPS. I have the Field pro version.
What are you trying to accomplish that takes 7 hours ?
Before:
After:
Attachments:
You must be logged in to access attached files.
1 user thanked author for this post.
12/24/2019 at 3:11 pm #52792I never consider how long it takes to sharpen a knife. For me this is an enjoyable hobby. It takes what ever time it takes. I continue working at it till I have results I’m satified with. Whether it’s a 30 minute touch-up or a two day sharpening marathon, it’s all the same.
That’s not to say I don’t recognize that I’m extending more effort then I think I should have to and then I may step down to coarser grit stones or change to other sharpening mediums to help improve the efficiency of my effort.
The bottom line is, the Wicked Edge Sharpeners are a “hand tool”. It is simply a bench vise that securely holds th e knife at a precisely and determined position. We then move an abrassive medium across hardened, tempered steels as long as it takes to shape these steels in the manner we are working towards. Some newer steels are compounded with very tough and durable components. These new steels are exceeding all previous specifications and expectations we have experienced while sharpening in the past. Possibly our contemporary sharpening stones will become ineffective and obsolete. In the mean time as long as I see it’s doing the job, and I’m making progress, I’ll continue working at it, while sharpening with these stones I have available.
You may change up your sharpening technique to make the effort a little easier. Try starting at a wider bevel angle setting then your planned profile angle. Then lower bevel angle as you have removed the steel from the bevel near the knife’s edge. This will limit the swatch or width of steel you’re grinding off, at one time. This way you’re only working on a smaller strip of this extra hard steel at a given time. As you adjust the bevel angle lower you’ll add some fresh untouched steel to the strip you’re working on. Eventually you’ll be working the entire bevel width at your desired bevel angle.
When you’ve finally reached your desired bevel angle you’ll have profiled the entire bevel height, shoulder to apex, completely and thoroughly. The progressive grits in your sharpening routine will be flattening and refining the bevel as you continue this repetitive process. It shouldn’t be as tough as the beginning coarsest grit since all the profiling has been completed.
Whether you choose to verify and adjust your bevel angle with each and every grit change, that’s up to you. Whether it’s necessary has been debateable but still it’s a personal decision. I prefer to take the few minutes to do this. I feel more comfortable knowing my bevel angle is set appropriately and my guide rods are tight and secure. Sharpening results with the Wicked Edge Sharpeners is a consistency driven repetitive process. Our results are based on our attention to detail and the time and effort extended. I’m ok making this little routine a regular part of my sharpening routine. It may be helpful. It certainly can’t hurt.
Marc
(MarcH's Rack-Its) -
AuthorPosts
- You must be logged in to reply to this topic.