Need Forums help with a Sharpening Concept
Recent › Forums › Main Forum › Techniques and Sharpening Strategies › Advanced Techniques and Sharpening Strategies › Need Forums help with a Sharpening Concept
- This topic has 15 replies, 6 voices, and was last updated 12/30/2016 at 5:07 pm by
 wickededge.
-
AuthorPosts
-
02/15/2016 at 12:14 am #31261
Im not sure if it is a new idea or been discussed before but I will do my best to explain what is rattling around in my brain and I would be grateful for all constructive feedback as it pertains to this…please bear with me as it has 2 parts to setup the question.
Ok so first concept is along the lines of stuff that has been posted by Science of Sharp in his awesome blog with SEM images:
Burr Removal – part 1
Down at this level of edge refinement and magnification it has always appeared to me as if the steel is behaving and even looks more like soft clay?
Isnt that what a burr is? Metal that has been pushed or deformed beyond the point where the apex should be, and that edge trailing strokes leave a bigger burr then edge leading, but both methods will develop a burr that “flops” back n forth until it is ripped off or honed off.The second concept involves vertical scratch patterns and specifically where and how they intersect at the apex leaving a jagged “ridge line“
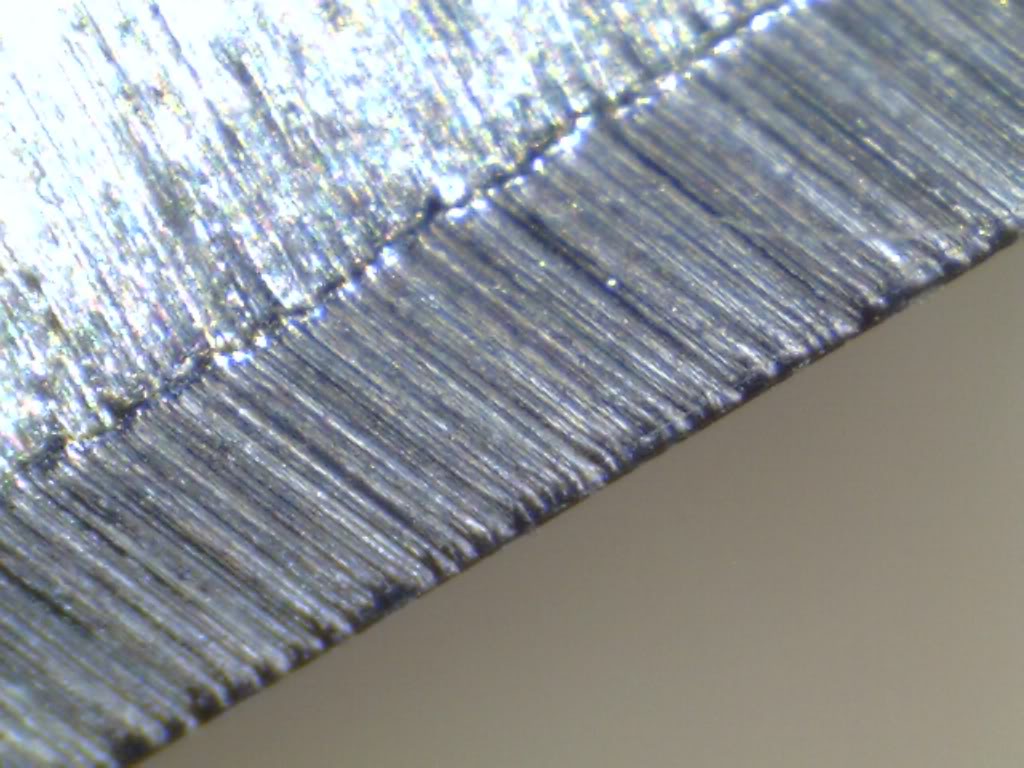
This is why progressively finer grit abrasives are used to refine this scratch pattern and remove the “tooth”. Finer vertical scratches will leave finer grooves, will leave smaller “scallops” along the apex where the opposite sides intersect.So my question/theory is….what would happen if you did a sharpening progression laterally along the blade instead of the traditional edge leading/trailing vertical method? Or maybe a better question is what does it look like under a SEM? In my minds eye I can see the clay like scratches formed horizontal and I dont see a ragged ridge line anymore. This pondering all came about as a result of the recent work on the damascus delica:
Theres enough going on here so I dont want dillute this to talk yet about what I did actually to finish the apex but I can say it was hair splitting sharp before I did the final touches to it and tree topping after. So this isnt just an idle mental exercise…this thing was sharp!!!
Which also brings up, what stropping would do to my “imagined” horizontal scratch pattern? Stropping is its own strange world that I see as controlled melting… if that makes any sense.
Is there a burr being formed? My hunch is that there still would be ofcourse but it would be small. Imagine only lateral force along the apex no pushing metal over the top or squishing it in.I have actually spent considerable time trying to achieve higher magnification on a shoestring budget and hope to report back in the future on that. You know you got the itch bad when you’ve googled “How to Build a Scanning Electron Microscope”. Hahaha
Have a great night everybody! Aloha, Cliff
Attachments:
You must be logged in to access attached files.
4 users thanked author for this post.
02/15/2016 at 8:15 am #31265“Side Sharpening” is talked about with woodworking tools, see if this link helps…
http://www3.telus.net/BrentBeach/Sharpen/sidesharpen.html
2 users thanked author for this post.
02/15/2016 at 8:30 am #31266Cliff,
The way I understand it is that a burr is when metal is rolled away from the apex in only one direction which will effect the cutting ability of the edge. As Todd points out here, a foil or wire edge is different in that it is more typically associated with very thin metal at the apex of the edge (thinner than the preset angle) during the finishing stages.
This is a burr:

This is a wire edge (Todd’s notes: “Cross-section after Chosera 1k with edge trailing strokes. The near-apex bevel angle is 4 degress less than the 16.5 degree spine-defined angle; a foil-edge burr by definition.”)

There is some discussion and experimentation by Todd which shows that lower grit stones don’t always mean a toothier grit edge such as the DMT 325 vs the DMT 8000 grit stones. He has even successfully shaved off of a DMT 325 + stropping and gotten a close/comfortable shave! But generally yes I totally agree that lower grit stones create irregularities in the apex which we know as “toothiness”.
Quick note: At Todd’s work place they will take SEM’s for people for a small fee, it isn’t bad so I would suggest contacting him if you are interested.
Stropping has to be done carefully and correctly, from what I’ve seen, or it can keep or even develop a burr. Take a look here.
It is an interesting thing you are proposing about sharpening horizontally (i.e. parallel to the edge)…. I would only do it on mirrored edges if I ever did, because on lower grit I like the teeth 😀 But it may work perfectly for the mirrored edge!
3 users thanked author for this post.
02/15/2016 at 1:18 pm #31282Thanks guys, I may have to send in a blade processed with a lateral sharpening just to satisfy my curiosity.

I can only imagine that at some point in the future technology will allow us to watch on screen in real time while we sharpen at 10k magnification. It would be amazing to see…
Ill have to play around with stropping media next. I have a nano-cloth strip maybe to try next and compare to kangaroo and balsa. 🙂
02/15/2016 at 3:12 pm #31283I’ve spent a bunch of time playing with edge-parallel strokes today. The first observation I have is that it appears to be a very quick route to a mirrored edge. I went through the diamond plates, both sets of ceramics and the diamond lapping film down to .5 microns. So far it’s very impressive visually.
-Clay
4 users thanked author for this post.
02/15/2016 at 3:57 pm #31284I’ve spent a bunch of time playing with edge-parallel strokes today. The first observation I have is that it appears to be a very quick route to a mirrored edge. I went through the diamond plates, both sets of ceramics and the diamond lapping film down to .5 microns. So far it’s very impressive visually.
Thats was the first thing I noticed going side to side was that even at coarser grits a mirror “like” finish begins to appear and without going down to a full mirror progression a nice satin finish can be had in minutes by the first couple swipes with 1500 or 2000 grit. That is what I typically do to my customer blades and if desired a quick toothy micro bevel added on top. Quick and easy ways to make a pro looking bevel IMHO.
Playing with ceramics, strops, and possibly an elevated kitchen knife mount today. Good stuff!

1 user thanked author for this post.
02/15/2016 at 4:49 pm #31285Luckily, a customer had sent in his Benchmade 940-1 for sharpening, so I had something to play with today to test out the technique:
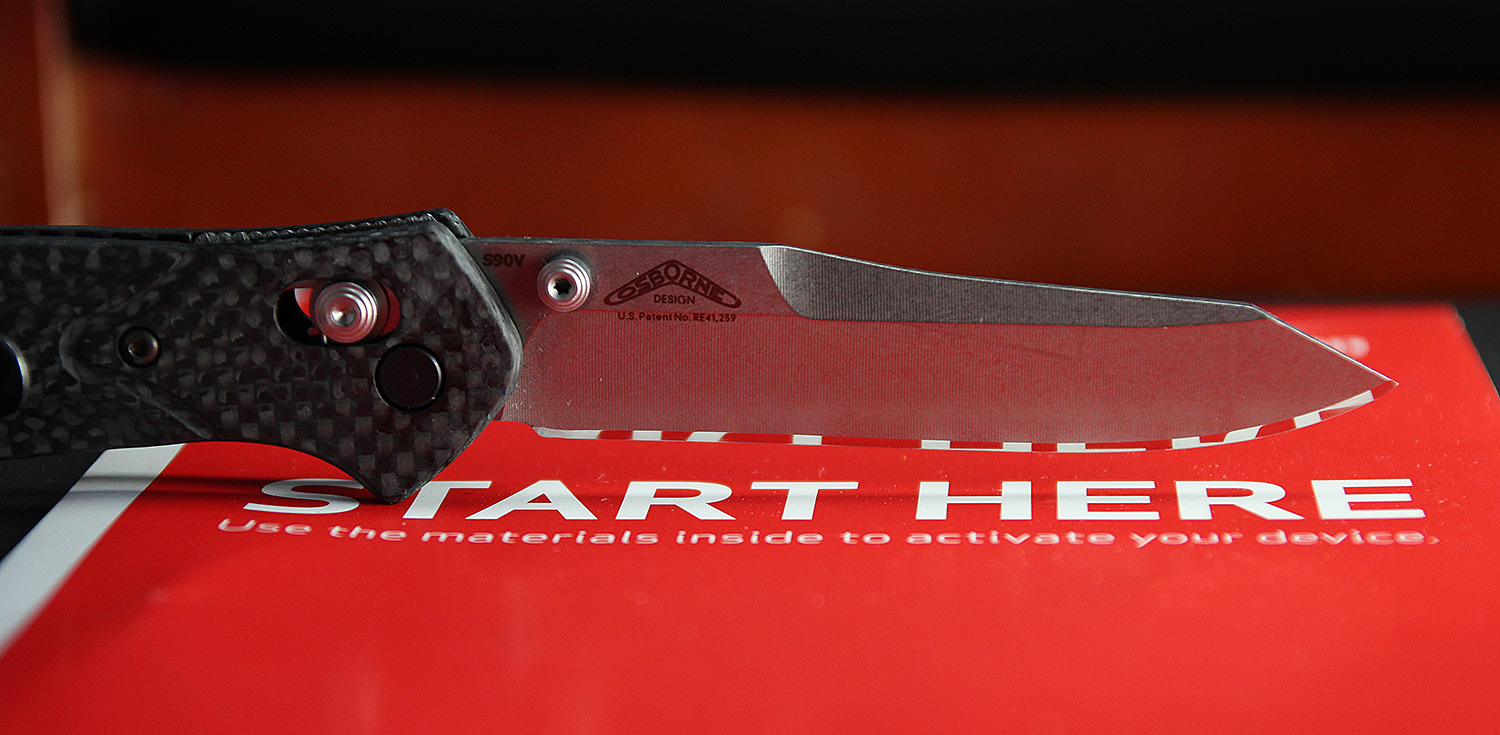
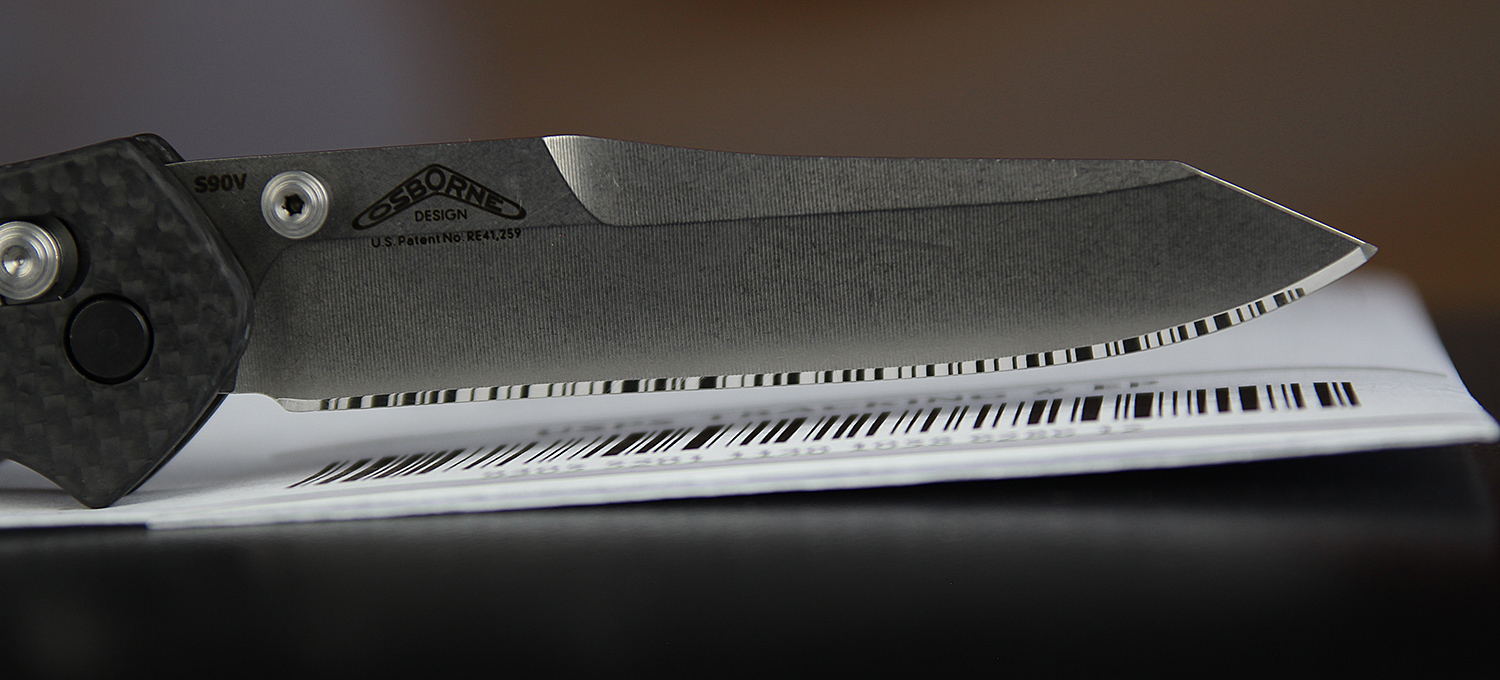
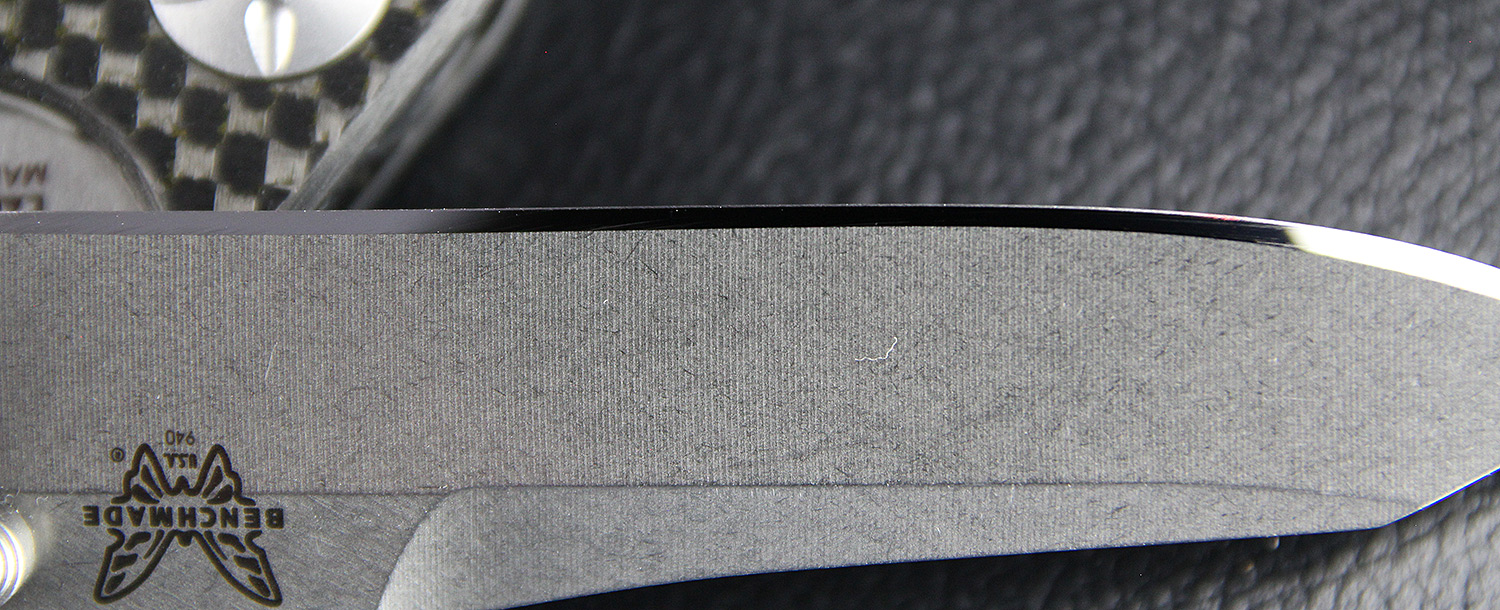
I also added a micro-bevel to get a little tooth on the edge. It’s just barely visible in the last photo.
-Clay
Attachments:
You must be logged in to access attached files.
02/15/2016 at 4:52 pm #3129002/15/2016 at 4:56 pm #31292And I noticed the exact same thing: even with the 200# diamond plates, the edge-parallel strokes produced a really nice polish that was easy to improve upon with each higher grit. I went up through both sets of ceramics and then on to the lapping films. I started with the 1.5µ films and went to the 1.0µ and then to the 0.5µ films. I think it would have been even easier if I’d started with the 6.0µ and progressed downwards.
-Clay
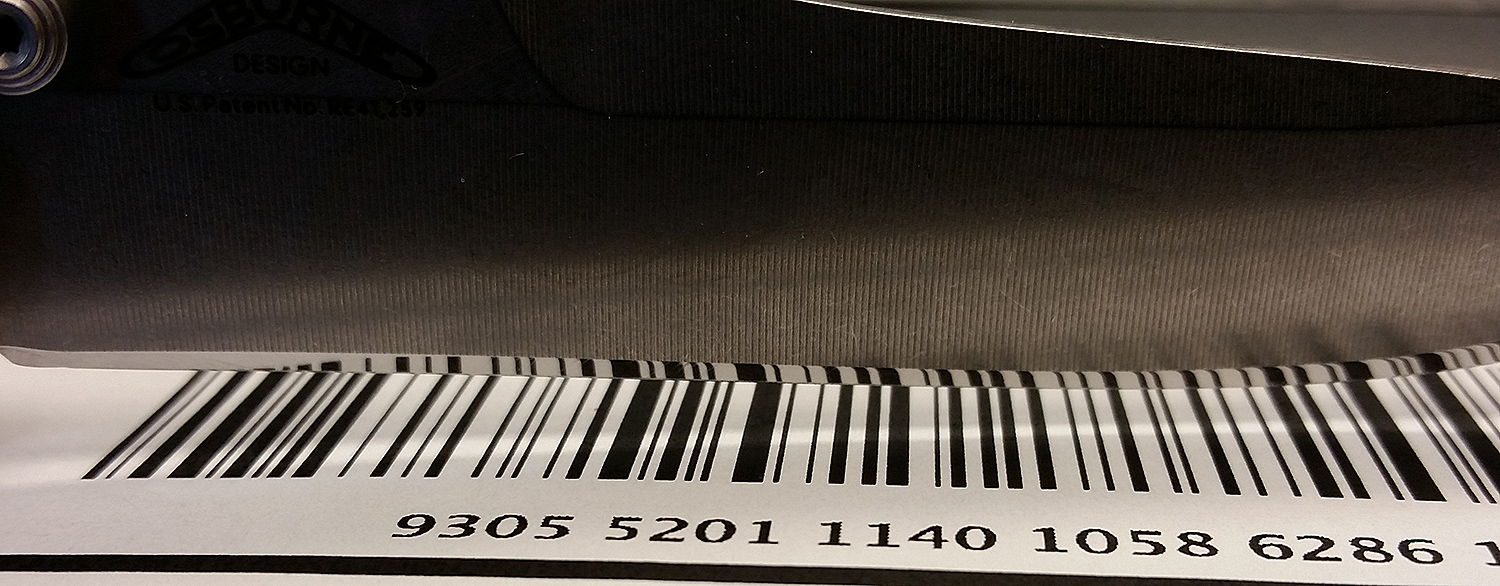
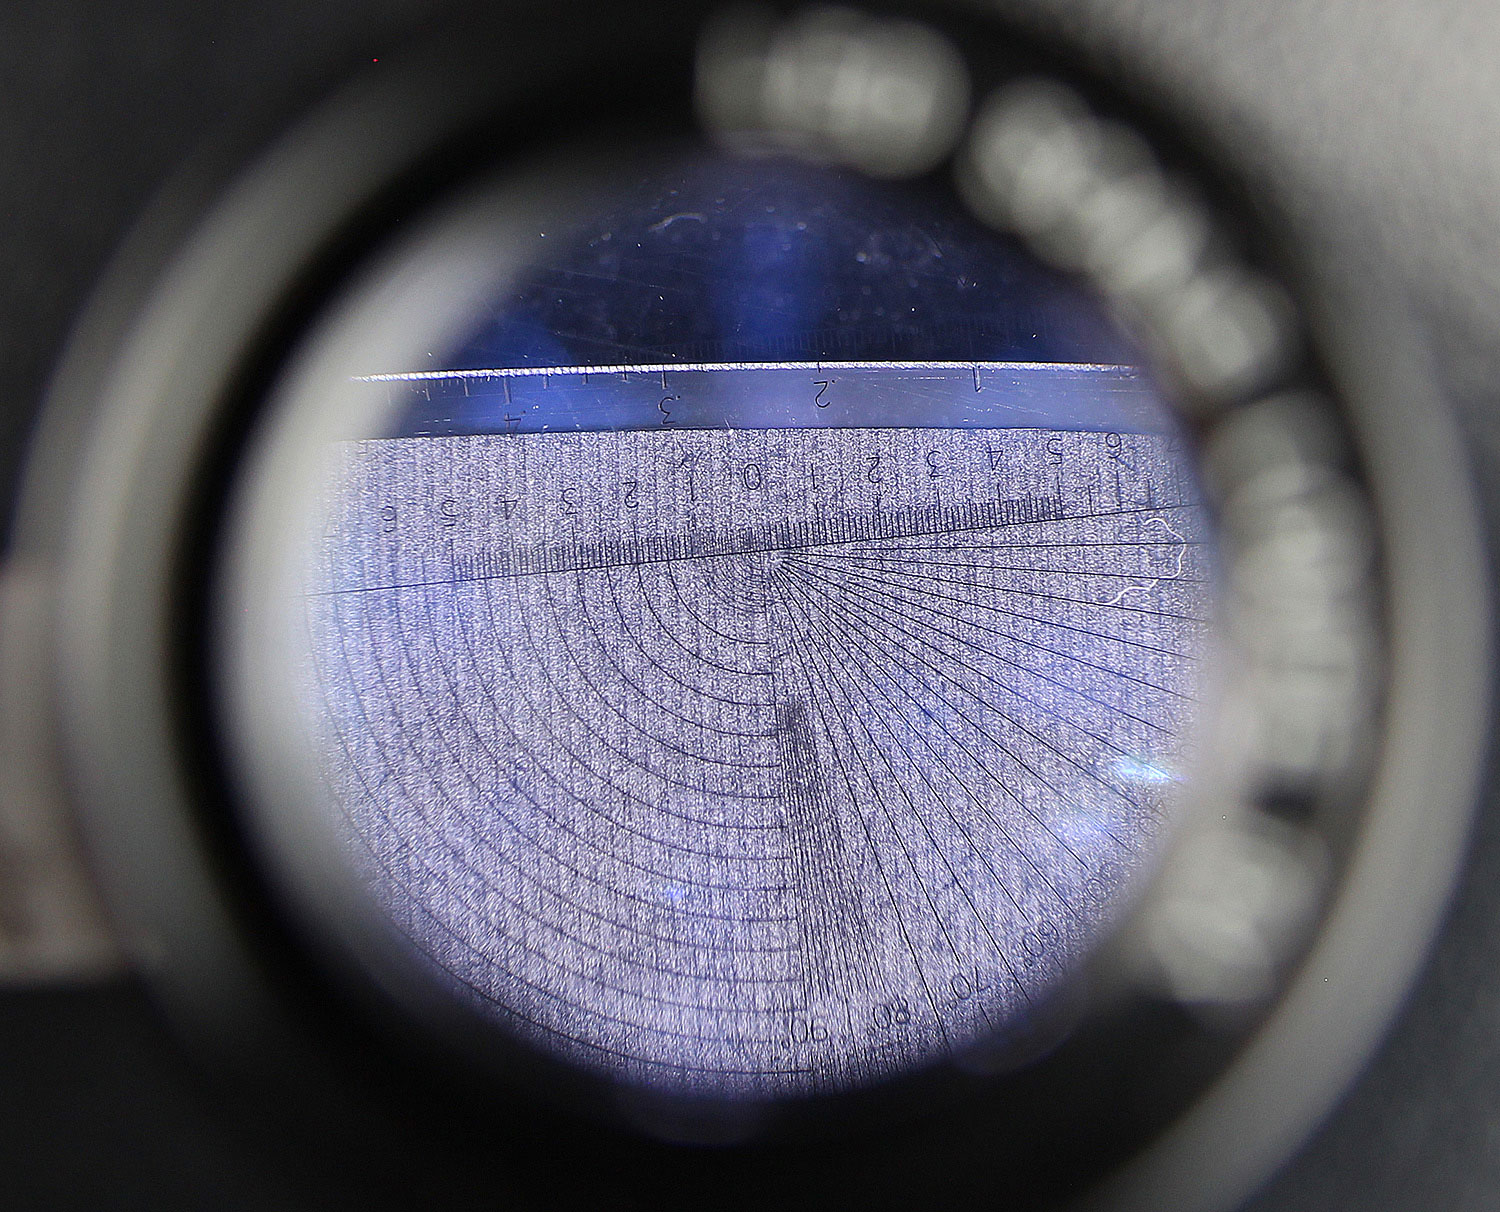
02/15/2016 at 5:10 pm #31293Here’s another shot under a little magnification:
 And for fun, I did a little video like Cliff’s because I thought it was so cool:
 Great video editing btw! That is so cool. 😀
1 user thanked author for this post.
02/15/2016 at 5:16 pm #31294And I noticed the exact same thing: even with the 200# diamond plates, the edge-parallel strokes produced a really nice polish that was easy to improve upon with each higher grit. I went up through both sets of ceramics and then on to the lapping films. I started with the 1.5µ films and went to the 1.0µ and then to the 0.5µ films. I think it would have been even easier if I’d started with the 6.0µ and progressed downwards.
Its funny Clay, I have a video where I started it and then on camera say “Opps guess I need to go back up a grit to start”.

I know Im in the groove when it takes under a minute to remove the previous scratches…This last couple days has started a late spring snowstorm of ideas going. I really want to sit down with a thin edge bevel and do lateral strokes and see how really sharp the apex is as well even before a stropping. I dont see why it would be getting just as sharp if not a “hair” sharper!
Cheers and thanks for taking the time to experiment with this. Huh, guess Im not crazy…at least for today…but its still early here. LOL
2 users thanked author for this post.
02/16/2016 at 1:00 am #31305Hi Cliff: I’ve tried the parallel stoning a couple of times, but never concentrated on it enough to test the end result. Great thinking!!
3 users thanked author for this post.
12/29/2016 at 5:45 pm #36364Any updates on how this method worked for overall sharpness?
I’m still anxiously awaiting my new setup so I can start going through some of these new techniques I’ve been learning here!
12/30/2016 at 10:48 am #36378Any updates on how this method worked for overall sharpness? I’m still anxiously awaiting my new setup so I can start going through some of these new techniques I’ve been learning here!
My testing has shown that parallel strokes are pretty destructive and tear large chunks from the edge. I did find them to be superior for polishing. Lately, when I’m going for a high polish, I’ll grind the blade as usual until I get to the higher grits. Then I’ll use a series of parallel strokes to remove the vertical scratches. With the next grit I’ll go back to the regular strokes and then do the parallel strokes again to remove the vertical lines. I keep doing that all the way through the lapping films and I’m really impressed with the polish I get. Then I create my micro-bevel with regular strokes and end up with a super sharp knife with great looking bevels.
-Clay
3 users thanked author for this post.
12/30/2016 at 11:24 am #36380My testing has shown that parallel strokes are pretty destructive and tear large chunks from the edge. I did find them to be superior for polishing. Lately, when I’m going for a high polish, I’ll grind the blade as usual until I get to the higher grits. Then I’ll use a series of parallel strokes to remove the vertical scratches. With the next grit I’ll go back to the regular strokes and then do the parallel strokes again to remove the vertical lines. I keep doing that all the way through the lapping films and I’m really impressed with the polish I get. Then I create my micro-bevel with regular strokes and end up with a super sharp knife with great looking bevels.
Clay,
Thanks for the update and warning about the edge damage! Like they say, “Not all change is progress, but there is no progress without change!”
I still think this was a win in the polishing column, though. Basically doing this solidifies that this is a lot like regular sanding where you alternate scratch patterns to help see where you are as well as helping to erase the scratches from the previous grit. I thought this was an interesting concept since instead of getting an “X” pattern going from edge-leading to edge-trailing, this would be closer to 90 degrees (probably more like 45 though) and almost create more of a uniform look going across the bevel. In other words maximizing the shine produced since you are keeping the strokes going in the same direction and parallel to the edge. With the polishing process, we are trying to get to the same place. It looks like this technique just helps us get there a bit faster!
When you say the higher grits, are you talking about 800/1000?
Also, if I read your post correctly, you are saying that you are using normal strokes (either edge-leading or edge-trailing) with, say, the 1000 grit paddles, and then doing parallel strokes WITH THE SAME GRIT, correct?
Thanks again for all the input here. This forum is AWESOME!
P.S. My New setup is showing “Out for Delivery” – My favorite UPS status!
-
AuthorPosts
- You must be logged in to reply to this topic.