Extended Depth of Field Image Stacking
Recent › Forums › Main Forum › Welcome Mat › Extended Depth of Field Image Stacking
- This topic has 104 replies, 11 voices, and was last updated 05/23/2016 at 12:44 am by
 M1rrorEdge.
-
AuthorPosts
-
04/19/2016 at 11:34 pm #33496
I can’t find the video, can you post it or send it to me via e-mail?
Eddie Kinlen
M1rror Edge Sharpening Service, LLC
+1(682)777-162204/20/2016 at 5:52 am #33502Thanks a lot for your contributions, MirrorEdge. A whole new world is opening up for me… someone who has for years been struggling with making proper microscope images.
I am very curious about the results you have been able to get until now.
Molecule Polishing: my blog about sharpening with the Wicked Edge
04/20/2016 at 4:00 pm #33519I have been lacking access to the resources I once had available to me so I have been searching for new methods and incorporating what I know of DSLR photography into the world of micro small. It has turned out to be harder than I thought. But I am getting better. As I have posted earlier, I purchased a Dino Lite scope with built in EDOF and HDR, however, the magnification just isn’t enough to see what I wanted to see, so, I have requested a upgrade from the dino lite distributor sunrise dino. I am getting the 900X scope but this has different limitations that may have led to a dead end. I feel based on seeing Clays images that this may fall just a little short as well. I wish I had found this forum sooner.
I am looking at a similar metallurgy scope like Clay uses, however, I have been monitoring the prices of the newest HD models too. I think the trick is going to be blending everything together I just haven’t found the perfect “chemistry” yet. I have found some really cool 3D scopes out now too. These look really cool but are outrageously expensive and I must add completely ridiculous for a hobby even professional knife sharpening.
Once I get the perfect kit together I will share my results, I promise. I have had some great success with the tools I have already mentioned but I want more (LOL). It is possible to get great result with just about every camera product on the market with the right combination of patience and tenacity. This started out as a sharpening diagnostic tool for me but has turned out to be much more. I have also looked into 3D imaging of blade edges as well. I have a structure sensor (http://structure.io/) that is giving me some results but not what I am looking for. That is what led to the modeling of the blade edge with clay in my other post.
Eddie Kinlen
M1rror Edge Sharpening Service, LLC
+1(682)777-162204/20/2016 at 4:19 pm #33520I’ve had very limited success with image stacking so far. I’ve been trying it off and on for a couple of years. I’m not sure what’s failing for me but I’ll keep at it.
-Clay
04/20/2016 at 4:37 pm #33521Here is an attempt I made in 2014. Let me know if you guys think it was a significant improvement. Here are the four originals, taken at slightly different focus points:
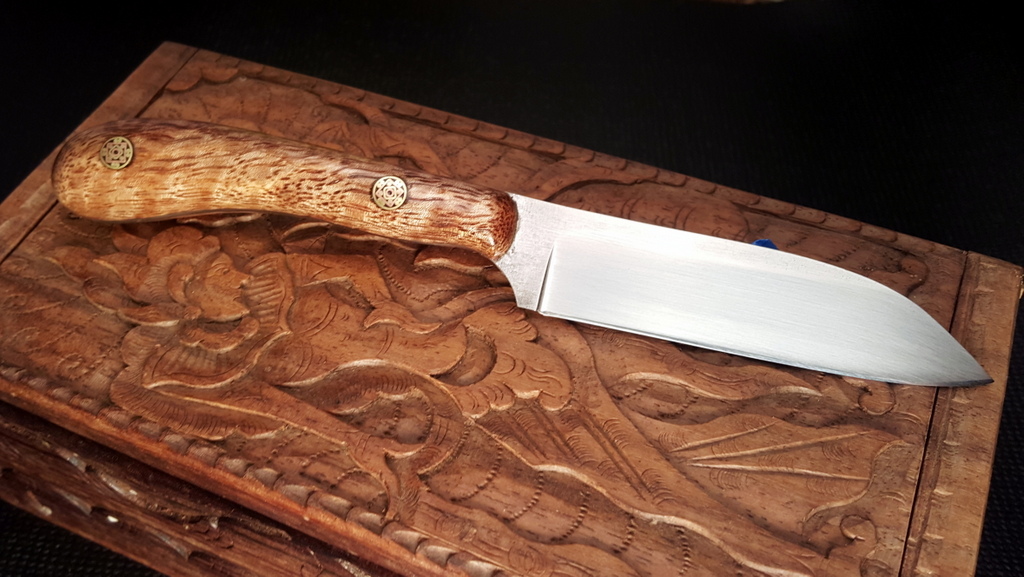
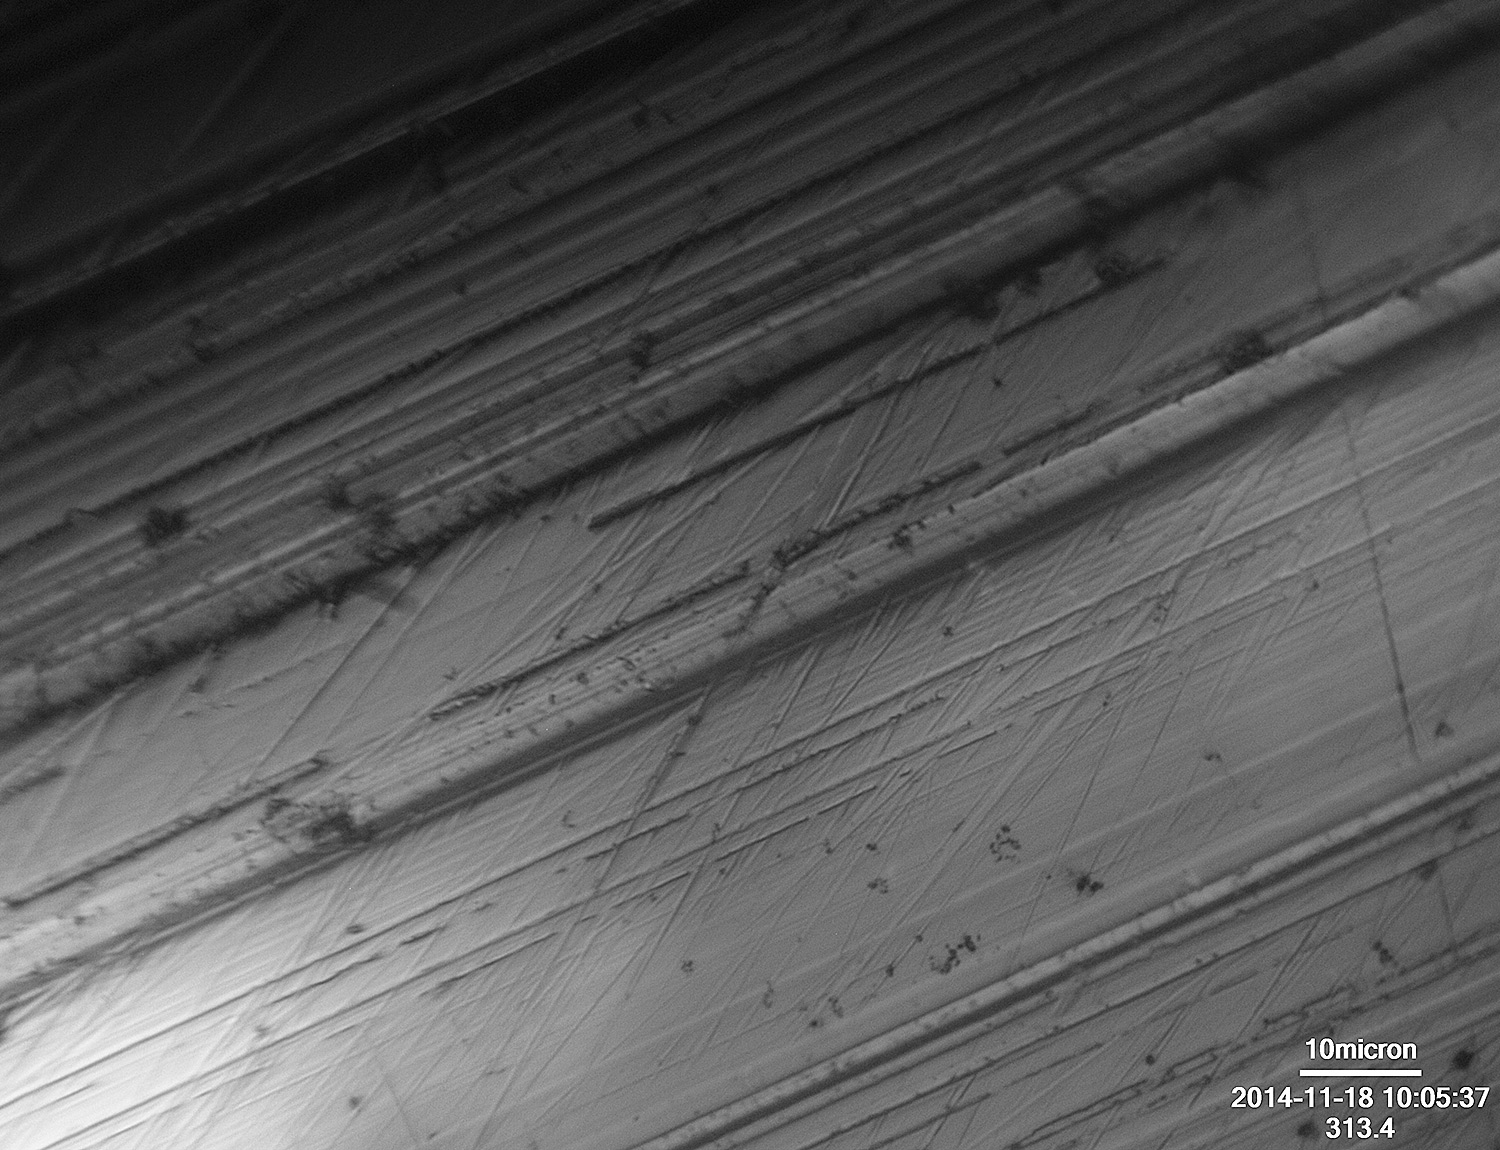
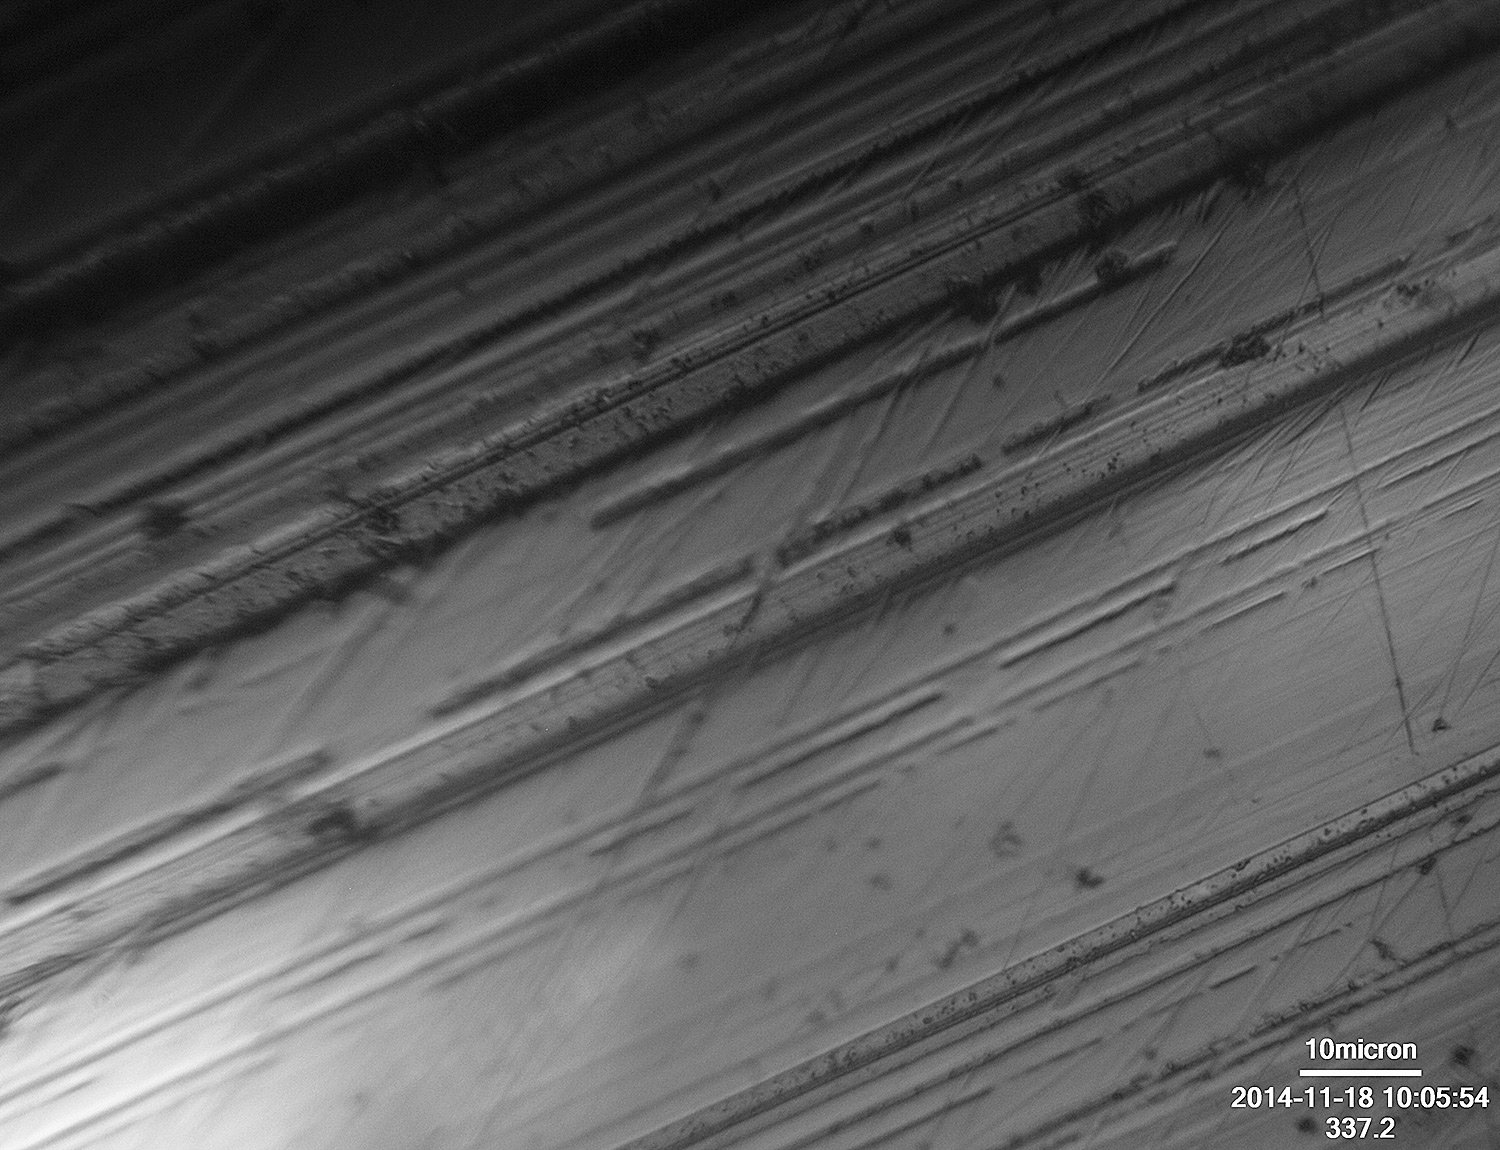
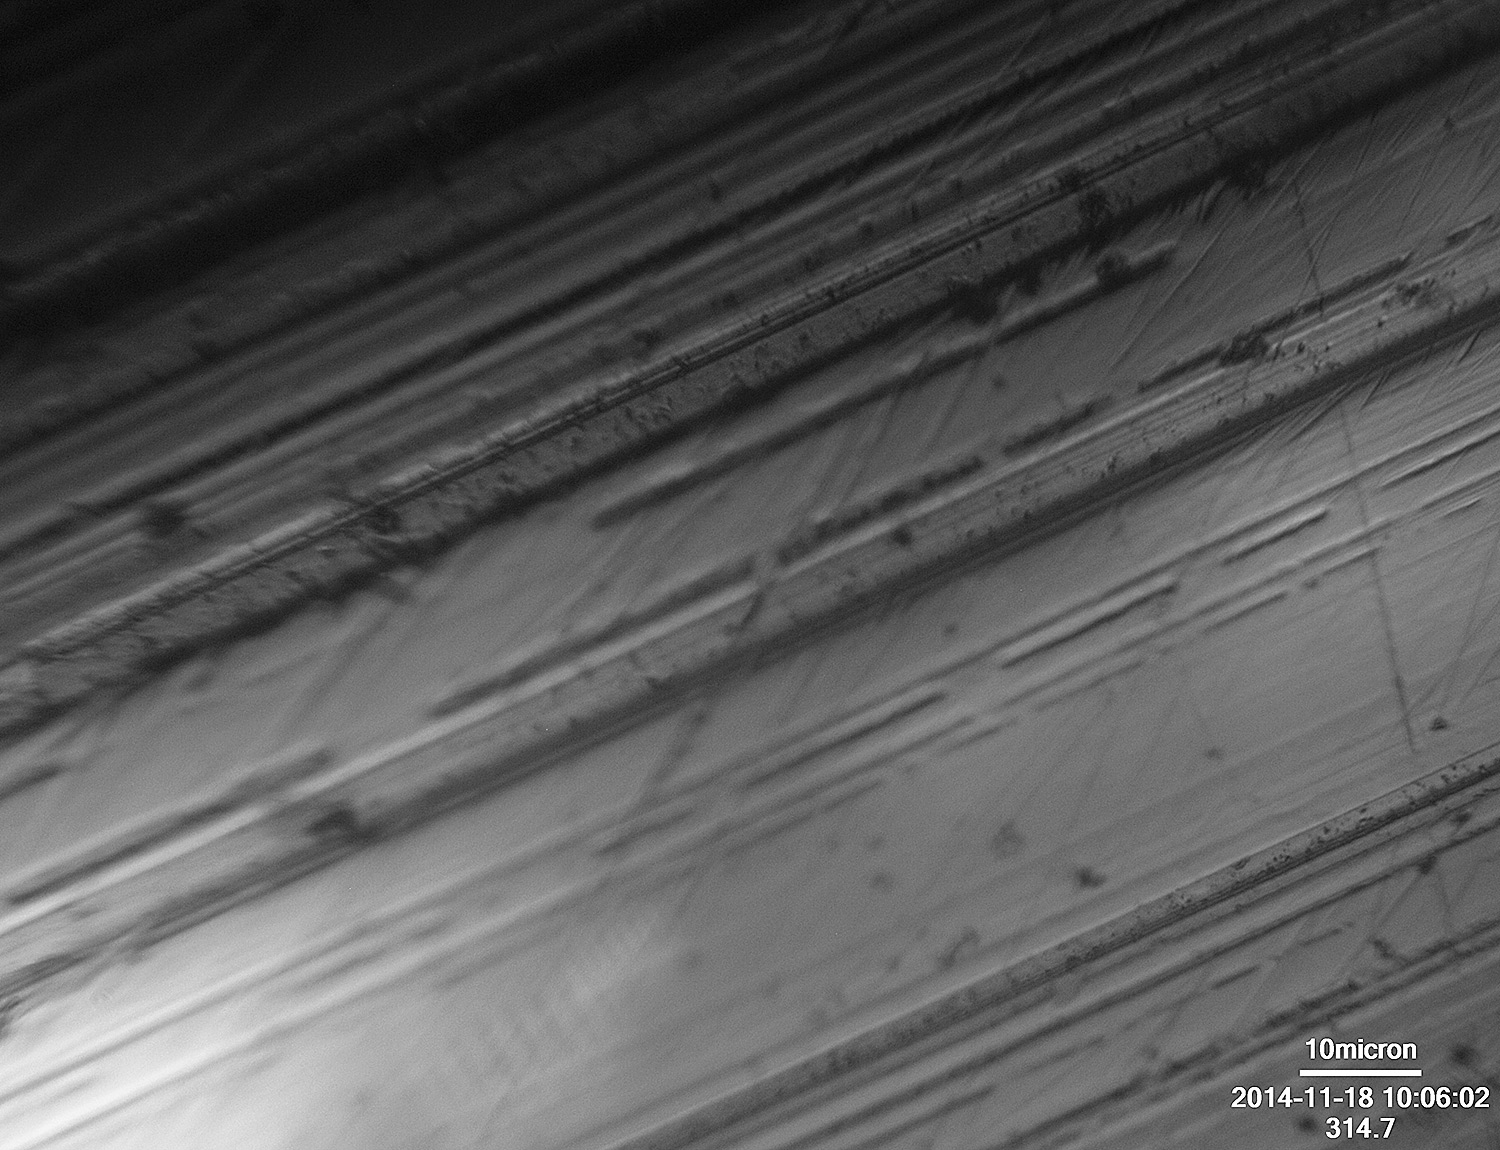
-Clay
Attachments:
You must be logged in to access attached files.
04/20/2016 at 4:38 pm #33526And here they are stacked:

-Clay
Attachments:
You must be logged in to access attached files.
1 user thanked author for this post.
04/20/2016 at 5:58 pm #33528I decided to have another go, this time at 800x. First are the three at different focus points, then the stacked image:
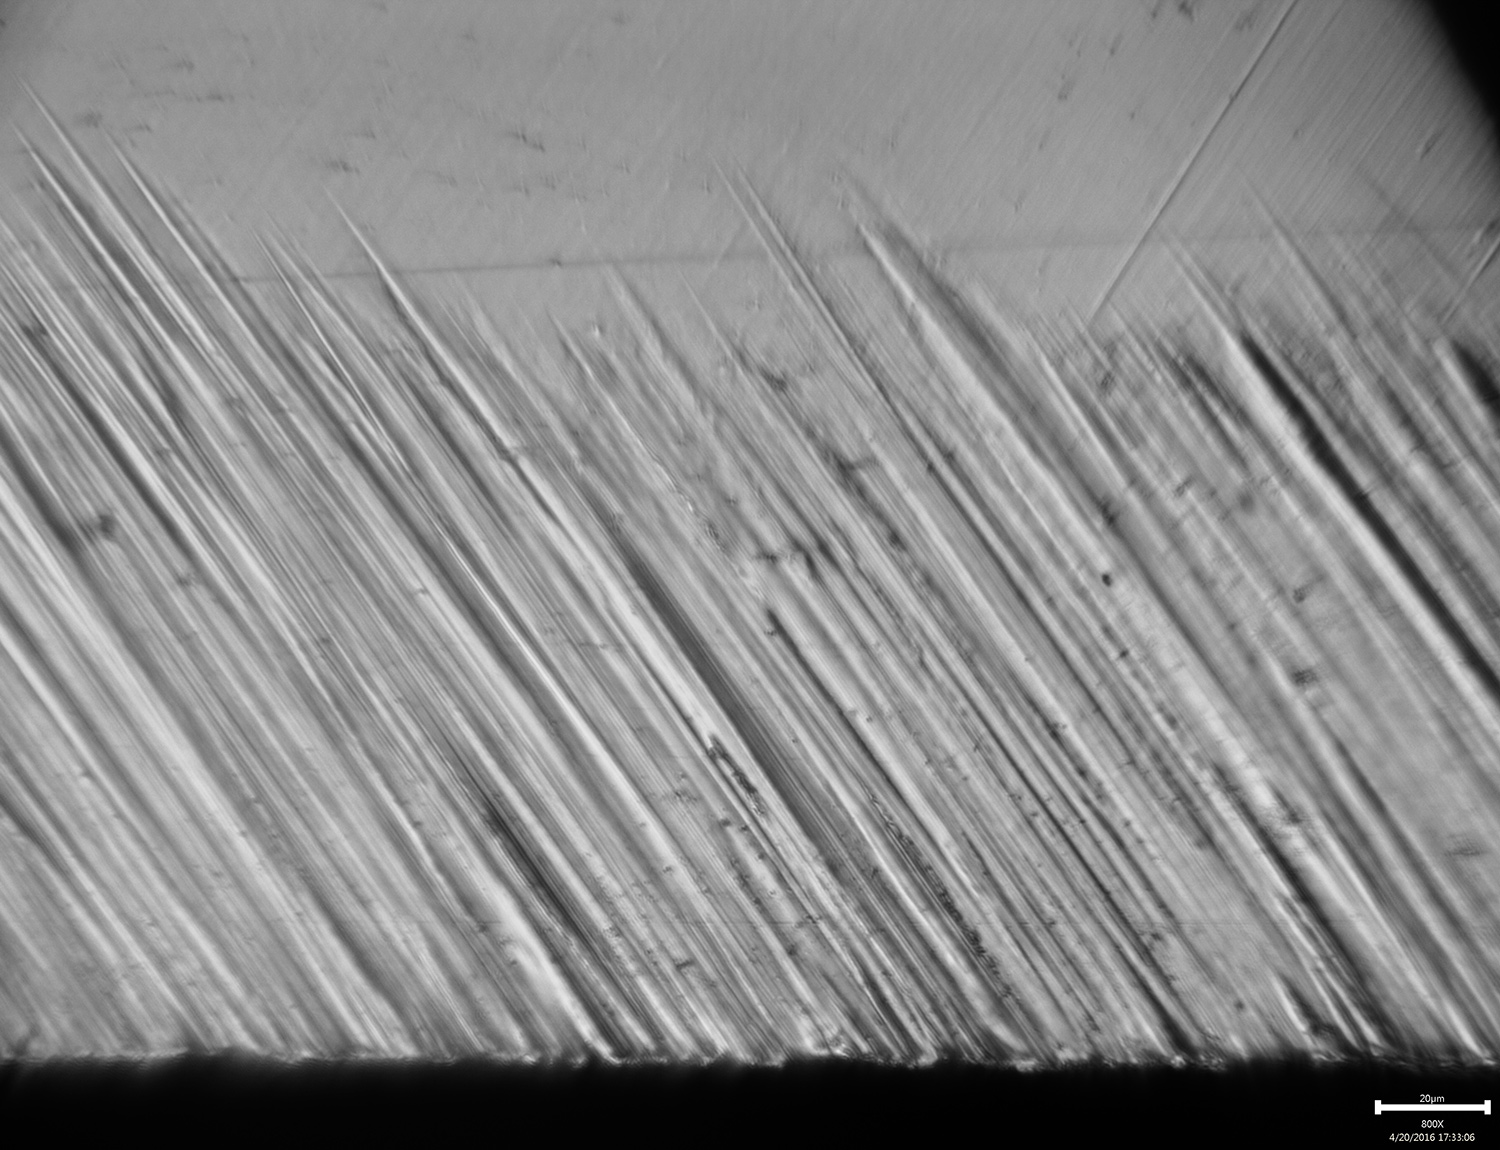
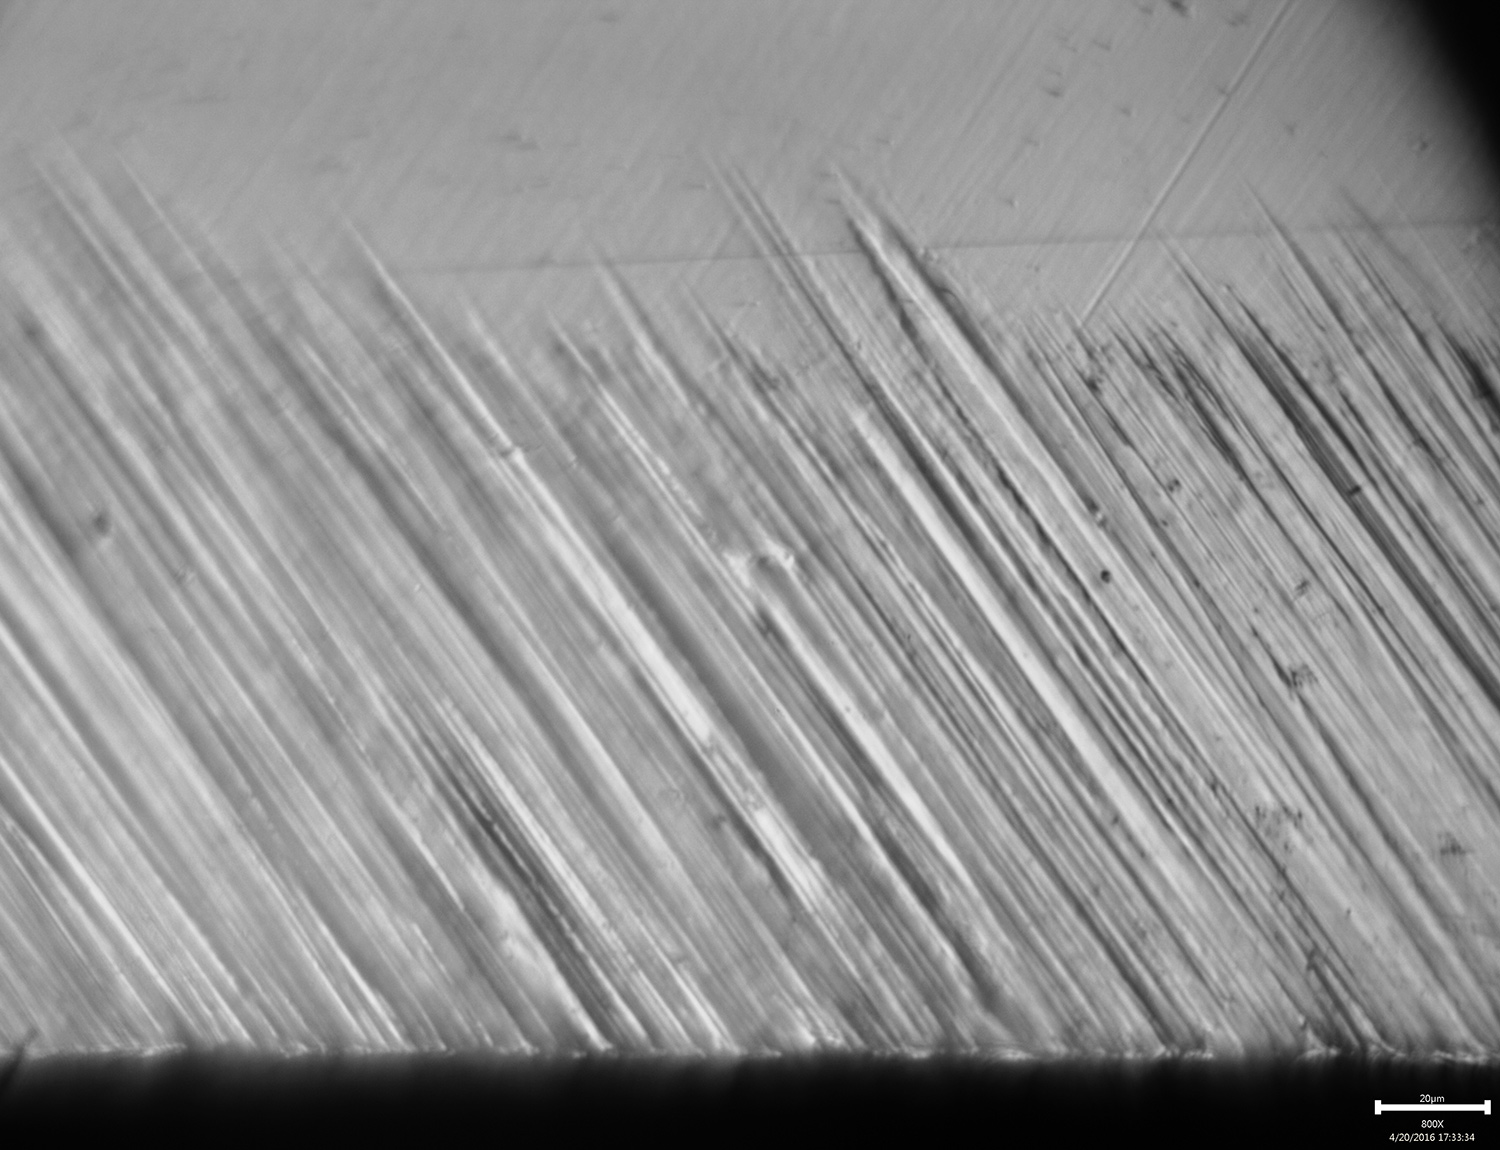
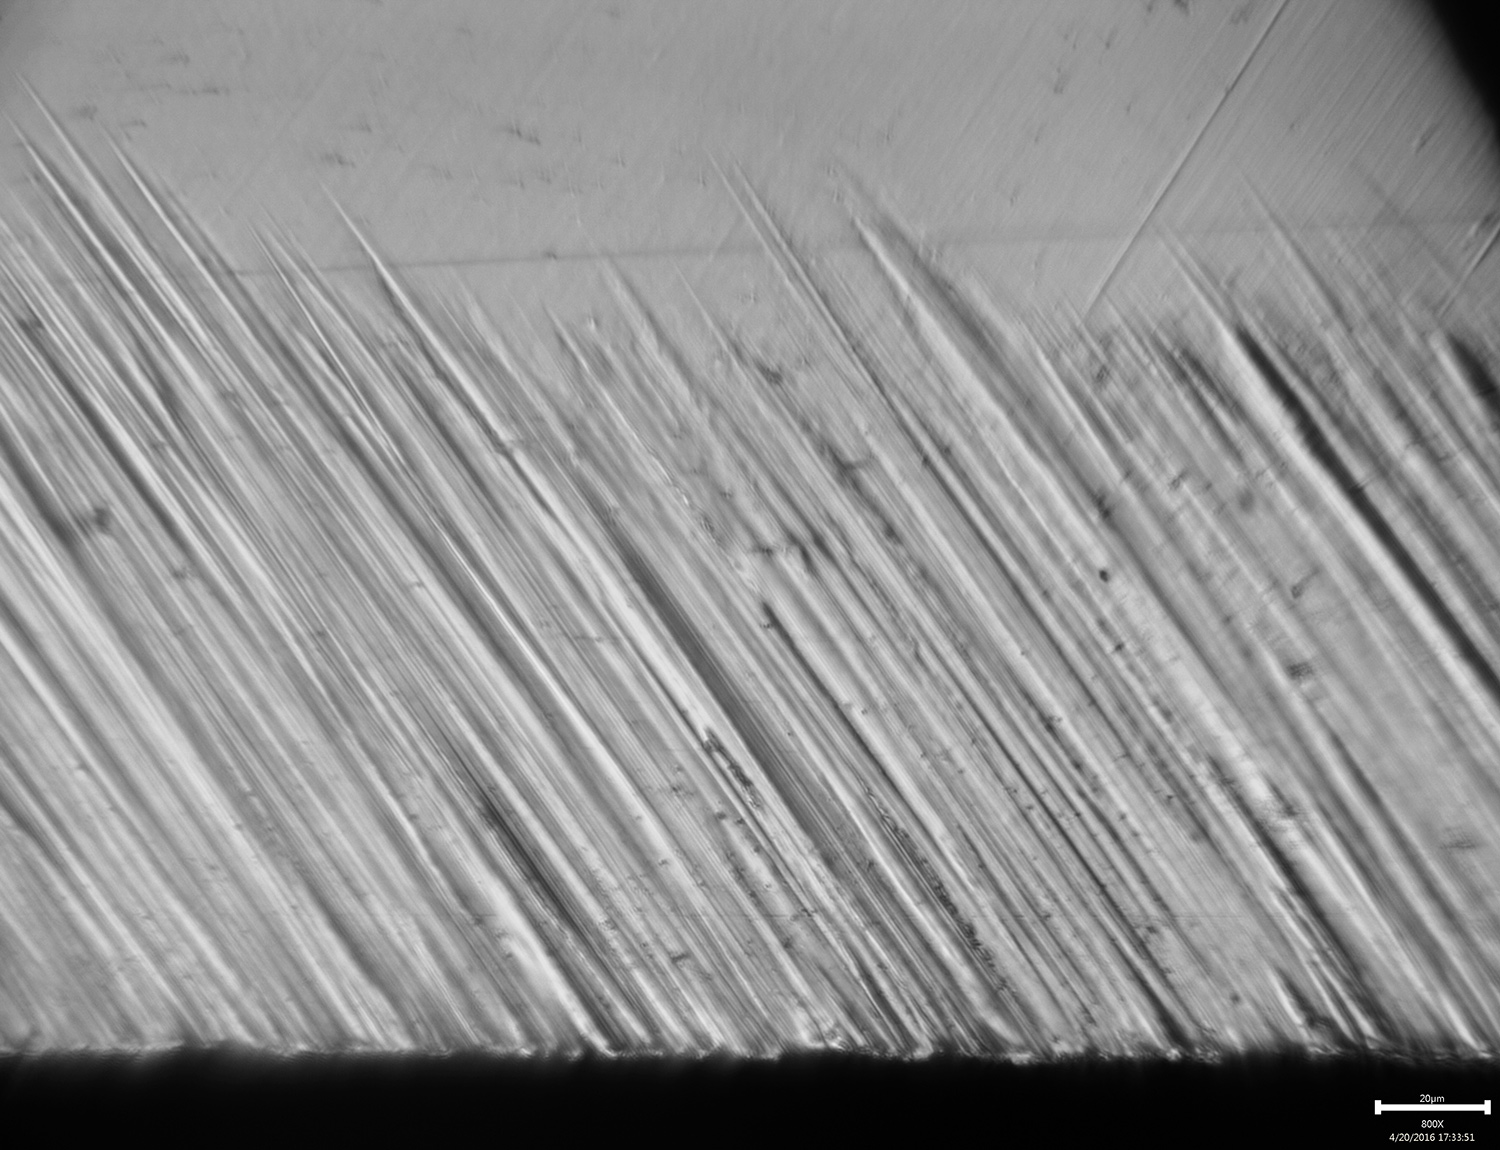
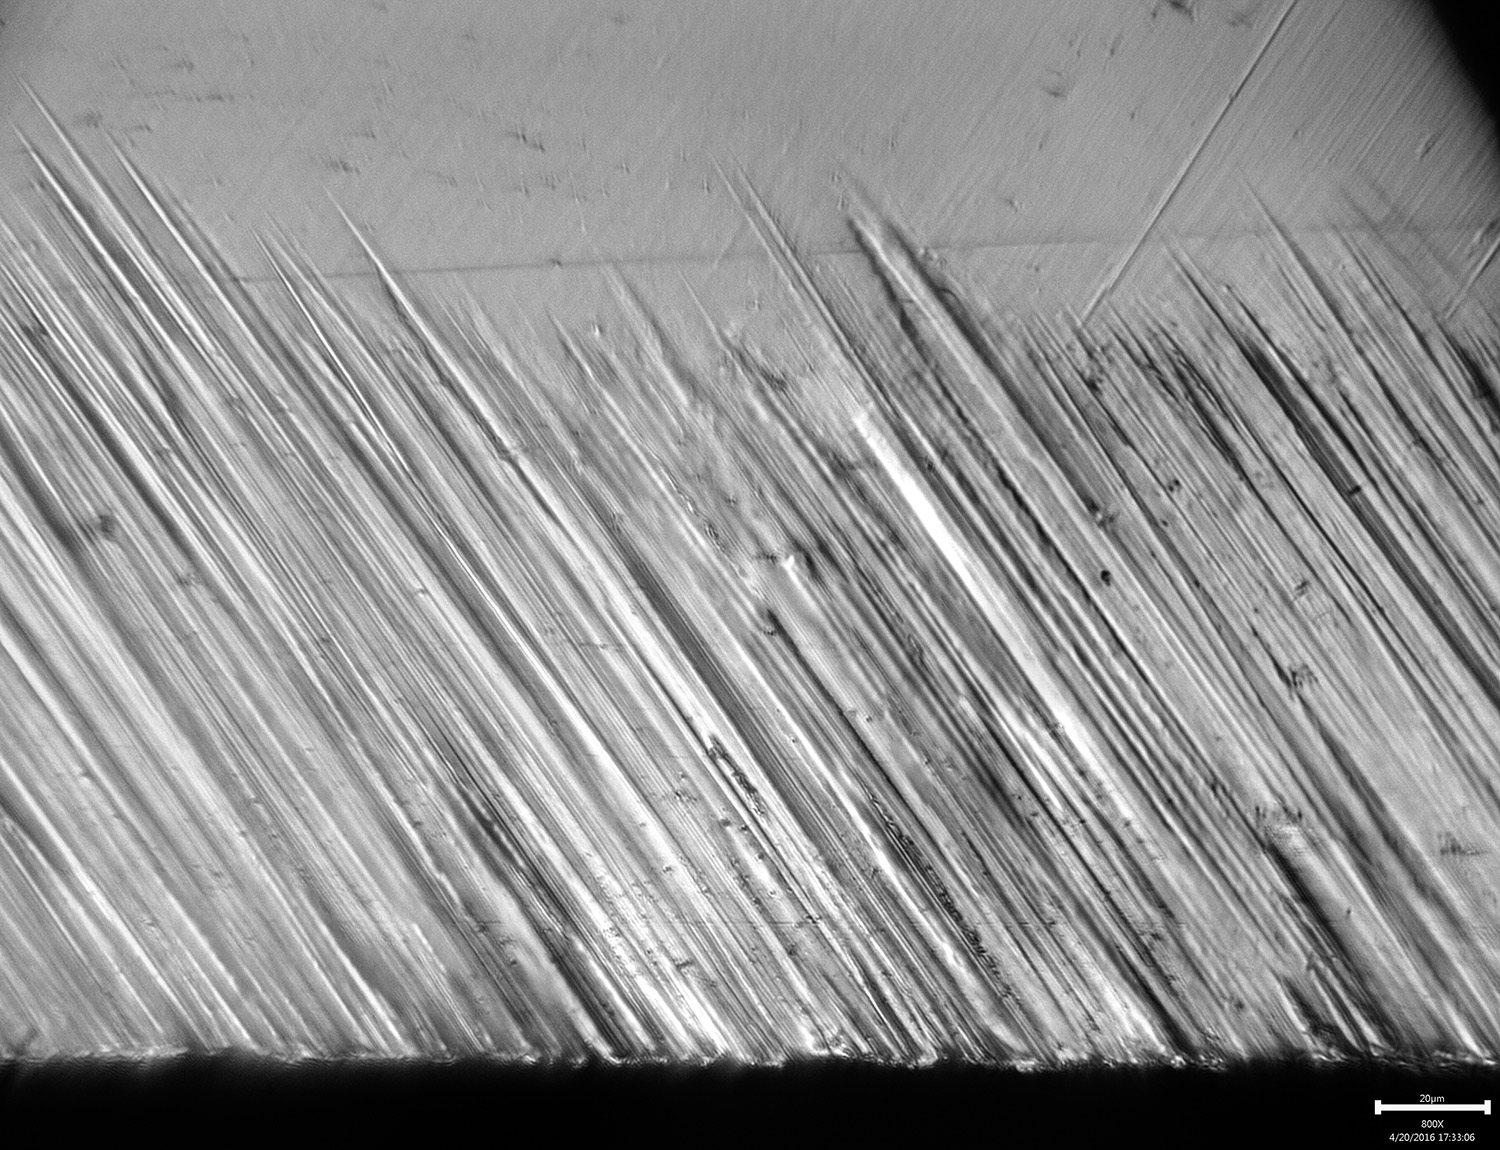
You guys will have to tell me if it’s a big enough improvement to warrant the extra steps.
-Clay
Attachments:
You must be logged in to access attached files.
1 user thanked author for this post.
04/20/2016 at 6:55 pm #33533Hmmm… the edge is clearer in the stacked image than it is in any of the others. I wouldn’t have expected that. Pretty cool.
I’ve been having some issues with my left eye and it’s amazing how much it helps my vision, even when it seems I can barely see out it. Your brain does some incredible things with your vision. So does Photoshop.
 04/20/2016 at 7:33 pm #33534
Yes, that is certainly a clearer image.
I have no idea how much work it is in photoshop but do you know Helicon Focus? It has a 30 days of fully-functional evaluation period.
http://www.heliconsoft.com/heliconsoft-products/helicon-focus/
It does it all automatically. The 3D model feature is very cool as well.
1 user thanked author for this post.
04/20/2016 at 7:48 pm #33535Yes, that is certainly a clearer image. I have no idea how much work it is in photoshop but do you know Helicon Focus? It has a 30 days of fully-functional evaluation period. http://www.heliconsoft.com/heliconsoft-products/helicon-focus/ It does it all automatically. The 3D model feature is very cool as well.
It’s not so much that it’s a lot of work in Photoshop, that part is pretty easy, but it means taking and saving multiple images with the scope which takes some time so if you’re doing a big progression, maybe 10 grits or so then it might mean taking 30-40 images and then to process them. If it really helps, then it’s worth it. I get the benefit of being the one taking the photos meaning that I get to see the edge at any focus depth I want as I’m working and so I already know what the shoulder, bevel and edge look like by the time I post the image. Great for me, but I’m posting them for you guys, so knowing if makes a difference is all I need to take the extra steps. I’ll download Helicon though and test it out. I’d forgotten about it, so thank you for reminding me. It looks great.
-Clay
04/20/2016 at 11:33 pm #33537Its a considerable and noticeable image improvement!
For actual apex examination Im not sure if the work vs reward is needed, but definitely on surface scratch pattern examination and for a certain reference set displaying the various grits for comparison it would be invaluable.
Hats off to all pushing boundaries on this!
04/21/2016 at 1:33 am #33540I also think it is a noticeable improvement. It may not be completely necessary at this resolution, but definitely clearer.
Molecule Polishing: my blog about sharpening with the Wicked Edge
04/21/2016 at 3:09 am #33544Thanks for taking the time to show us this Clay! I don’t think it is necessary for all the images we take but when we are comparing scratch patterns and micro details that abrasives make at the micron level, I think it would be very valuable addition to our observations. Yes, it takes more time, however, I think it is worth it especially for comparison evaluations and collaboration.
tcmeyer made a great point… When you are the “first hand” observer behind the microscope, your eyes and brain automatically assemble the images. So even when you adjust focus your brain remembers what it just previously saw and interpreted. From our vantage point, however, without those additional details, we are missing those observations because we didn’t observe the focus process first hand. This is what makes EDOF and HDR magic.
I don’t think we are all ready to make this more complicated yet but then again maybe we are….. combining both EDOF and variable exposures (HDR) creates even more dramatic results. This is because we are imaging the reflections of light or variances between light areas of the blade and dark areas of (dips , valley and micro crevasses) that tend to be very reflective (thanks to the Wickededge) and we are loosing one additional element of details.
I would try one additional experiment. Take the same image with the same focus three times with the variable being the actual light. First apply your normal external light (Take a picture), then you turn the light off (ambient room light only-Take a picture) and then you change the direction of the light at a angle (Take a picture). Then change the focus and perform the three light variations again. and then do it at least one more time at a different focus. Then stack the three HDR images into one focus stack. Check out that end result. You should now see a High Dynamic Range image that virtually looks 3D. I have gotten swapped at work as of late, so I am having trouble digging deeper right now. But I think you guys are getting the message “loud and clear” (Pun intended).
We could experiment with the several other variables as well like the warmness and coolness of different colors of light and small reflectors (Aluminum foil wrapped around the blade of gold foil and silver) and light diffusion. The process of taking multiple photos is the same. Each time you just change one variable until your are comfortable and then you literally can go wild and compose a symphony of variations of light. The goal is to reproduce all the details that the subject has to offer.
It’s just a theory at this point, but I believe we are going to see something that we have been missing. Below are my most recent images.
Eddie Kinlen
M1rror Edge Sharpening Service, LLC
+1(682)777-1622Attachments:
You must be logged in to access attached files.
04/21/2016 at 3:29 am #33549This is the composite from the images above taken with a 900X dino lite camera on their premium stand (RK-10A). For good reason the WickedEdge site is limiting the size of the images and the number we can upload per post so I had to add a new post. I am going to set up a external location to place higher resolution images soon. This will also make a difference in comparison observations as well. We then could leverage the power of the computer to zoom in digitally. Can you imagine using the EDOF and HDR capabilities in 1080p or 1440p? Or even the next level full 3D ( I think Frans would love that based on his fliker site). I can almost see him salivating now. LOL!

Eddie Kinlen
M1rror Edge Sharpening Service, LLC
+1(682)777-1622Attachments:
You must be logged in to access attached files.
1 user thanked author for this post.
04/21/2016 at 12:29 pm #33559If the goal is to show the scratch pattern along with a side view of the edge, wouldn’t it be easier to build a fixture which holds the blade with the bevel face perpendicular to the axis of the camera?? It would put everything you’re interested in at a common plane. Yes, the fixture would adjust the angle to whatever angle the bevel is being sharpened at. Maybe it’s a set of wedges, one for each of the commonly used angles. And maybe a wedge at a half-degree angle to handle those variants. Like maybe one for 3.5 degrees, so for a 20.5 bevel, you’d use the 17 and the 3.5. Magnets inset to lock them tightly together. And/or to hold the blade against the wedge (sorry about those real stainless blades).
Not sure if that would handle convex edges, but I thought I might as well toss it out there.
-
AuthorPosts
- You must be logged in to reply to this topic.